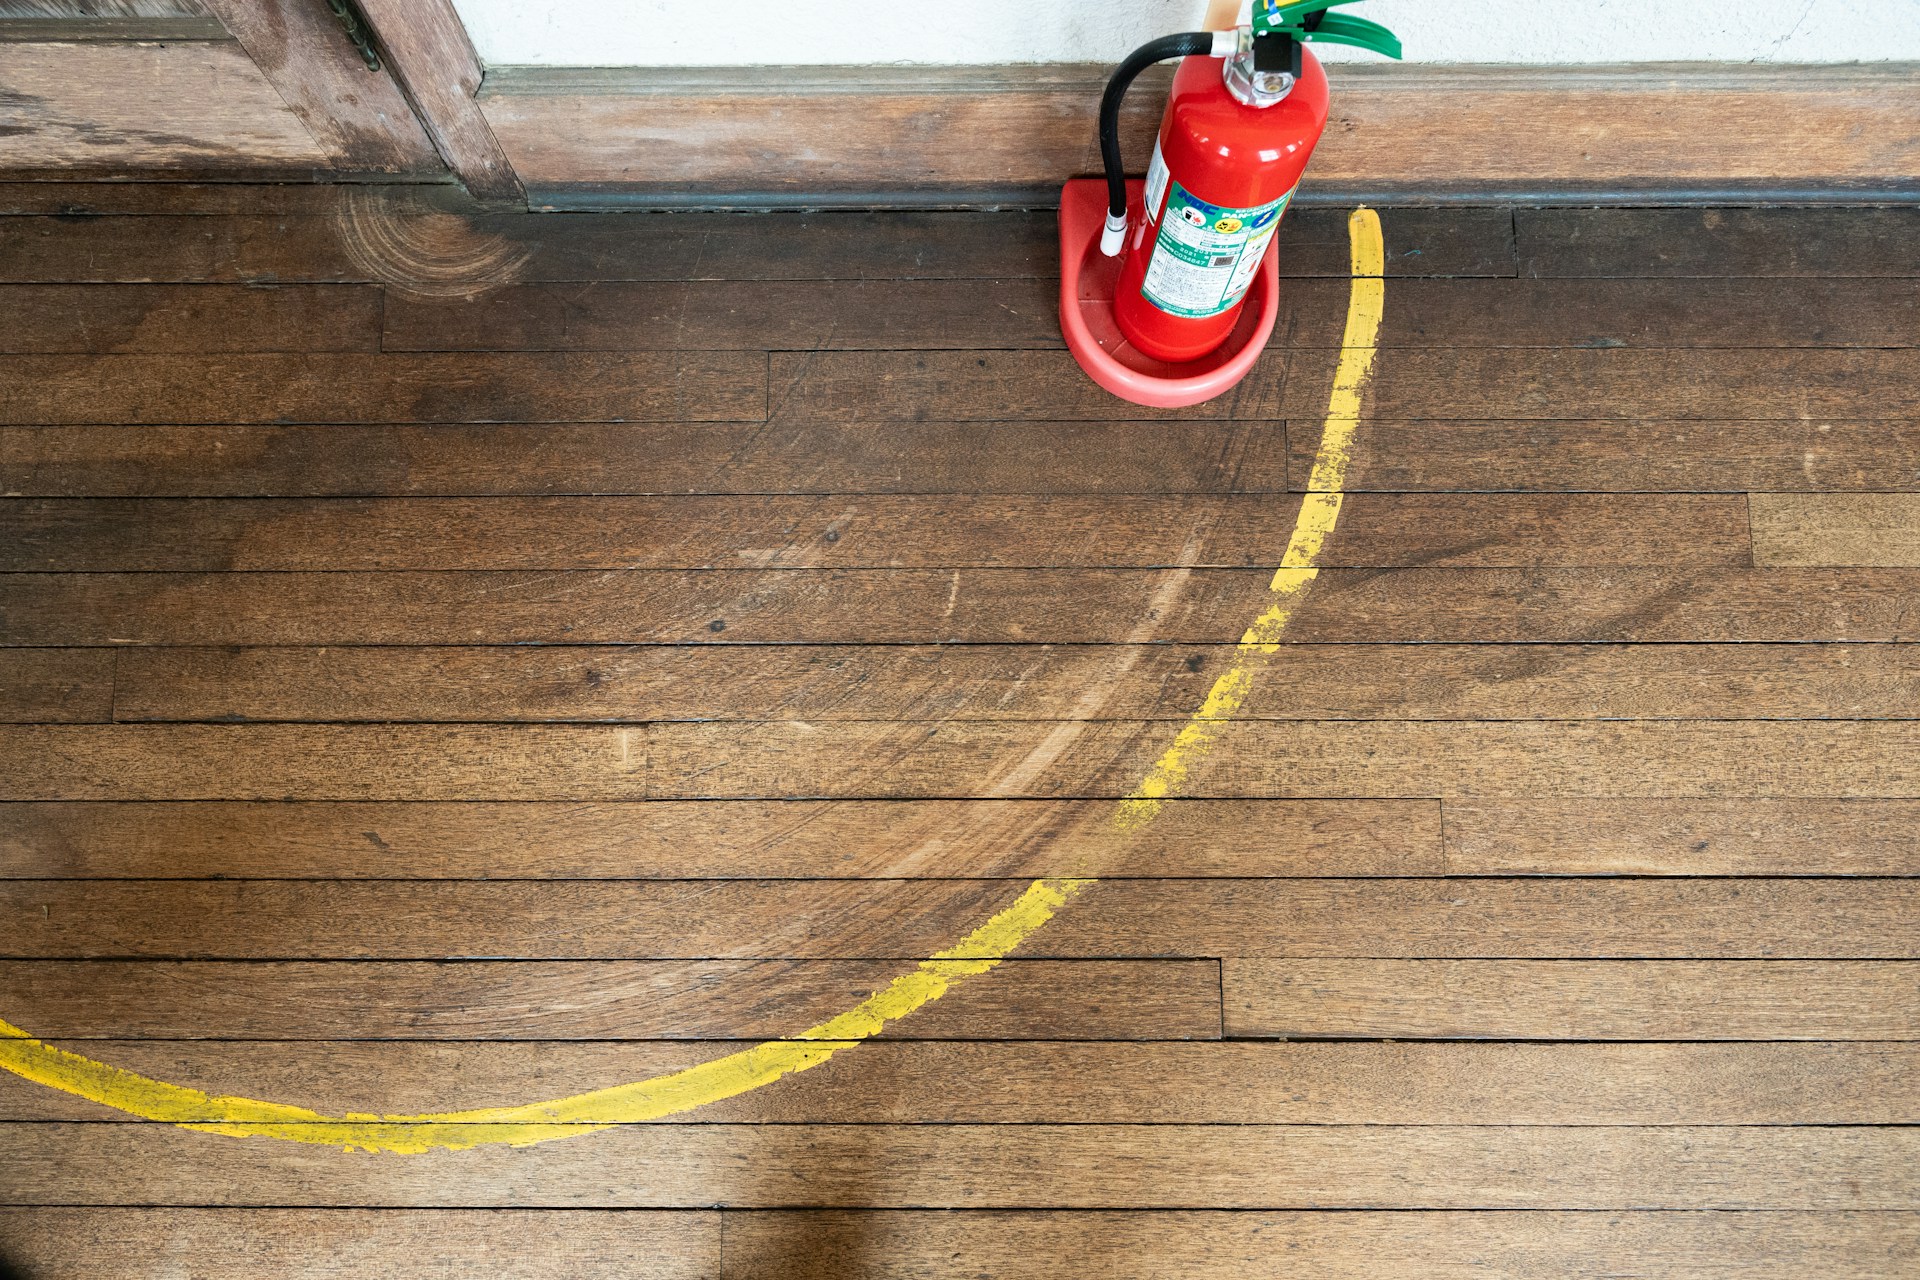
Uneven stain on hardwood floors can be tough to ignore. That patchy, blotchy look stands out, especially when light hits the surface just right. It can make a freshly refinished space feel unfinished or poorly done. This issue shows up in older homes just as often as in newer renovations, and it can frustrate homeowners who expect a clean, consistent finish after a sanding or staining job.
For homeowners in Toronto and Southern Ontario, changes in temperature, humidity, and even subfloor conditions can add to the problem. Combine that with rushed prep, poor technique, or using the wrong type of stain, and you’ve got a perfect storm. The result is a hardwood floor that looks more like a checkerboard than a uniform surface. Let’s look at why this happens and what can be done to fix it properly.
Understanding Uneven Floor Staining
There are a few different ways uneven staining can show up. Sometimes it’s just one board that looks darker or lighter. Other times, it’s whole sections with odd patches, edges that soak up more colour, or areas that seem washed out compared to the rest. This can happen even when using the same stain across the whole floor, and it usually comes down to how the surface was prepared before the stain went on.
Here are the most common causes:
- Inconsistent sanding: If the sanding isn’t even across the floor, the wood absorbs stain at different rates. Sanding too heavily in one area and not enough in another opens or closes the wood grain in a way that changes how much stain the wood takes in.
- Wood grain variations: Even in the same species, pieces of wood can have different densities or grain patterns. Some sections of wood might be smoother, while others are more open, which changes how the stain is absorbed.
- Improper wiping technique: When the stain isn’t wiped down evenly or is left to sit for too long in some areas, splotches can appear.
- Environmental conditions: High humidity, cold temperatures, or direct sunlight during the stain drying process can interfere with how the colour sets.
To use an example, say a living room floor in an older Toronto home was sanded with just a handheld sander near the walls and a larger drum sander in the middle. If the sanding wasn’t blended perfectly across these zones, those wall sections might end up darker or patchy after staining, simply from inconsistent prep.
Fixing the stain isn’t as easy as adding more on top. Most of the time, the surface needs attention from the ground up all over again. That’s where proper technique and the right professionals make all the difference.
Steps To Fix Uneven Floor Staining
Correcting uneven floor stain usually means going back to square one. Once the stain has set, you can’t really make small adjustments without creating new problems. That’s why it’s important to take it step by step and get each stage right.
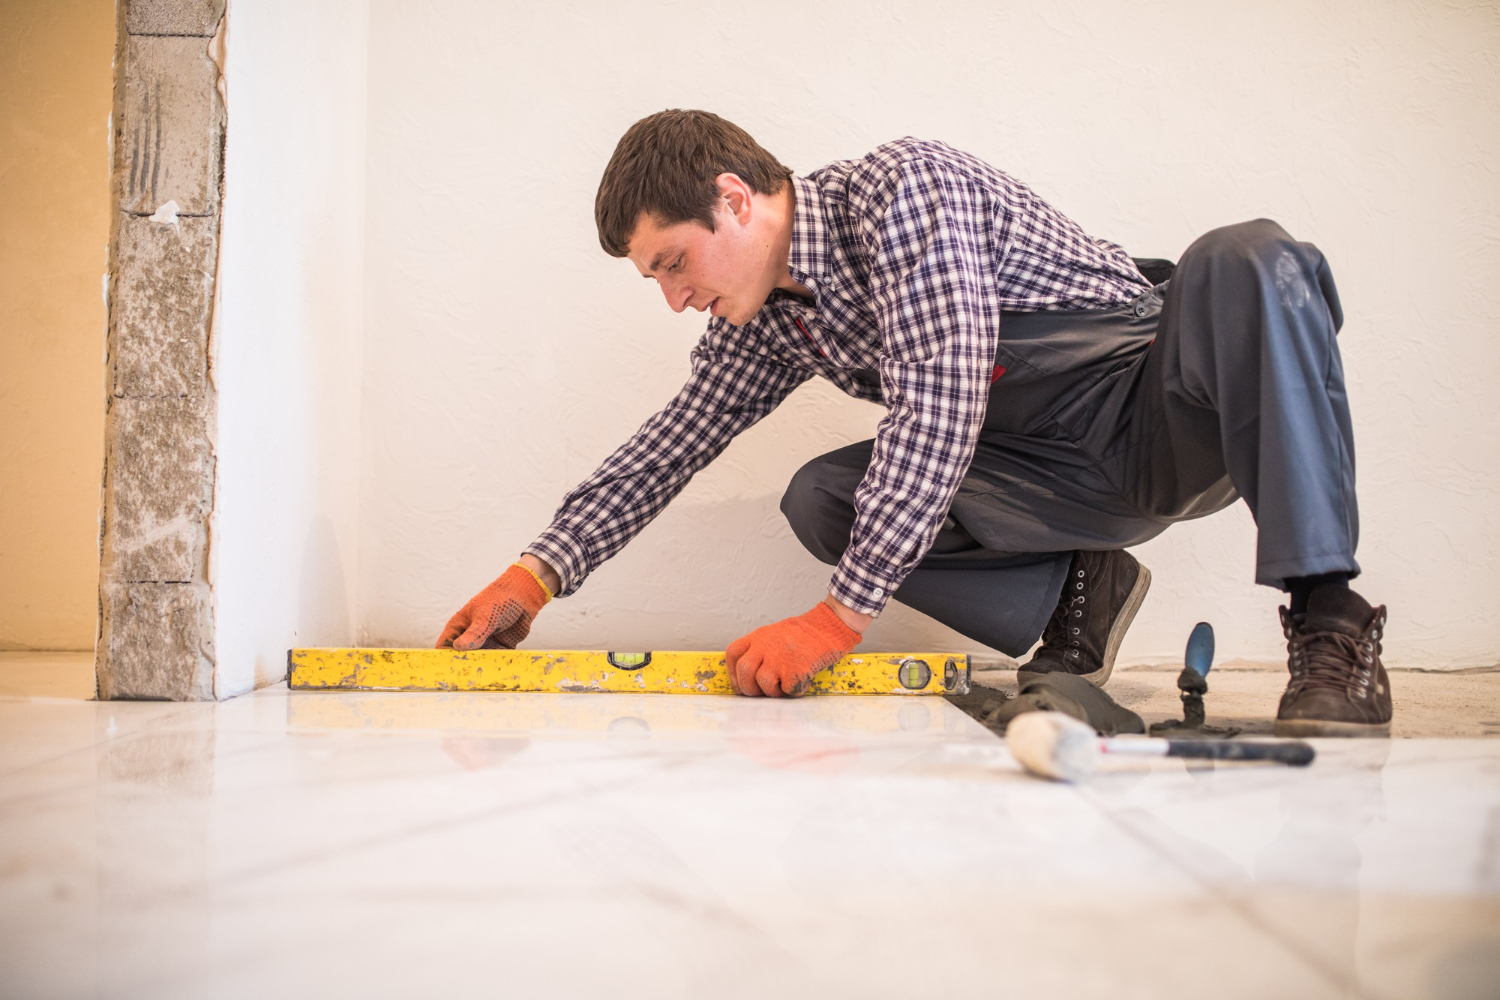
1. Assess the surface: Walk the floor and identify where the inconsistencies are. Look for areas that are blotchy, streaked, or too light or dark. Try to mark them so you have a visual plan for the next steps.
2. Sanding the affected area: In most cases, patch fixes won’t blend. The full area usually needs to be sanded again, right back to bare wood. This removes the stain and gives the wood a fresh, even surface. Using proper floor sanding services helps make sure the job is done without damaging the boards. Uneven sanding at this stage will only repeat the problem.
3. Applying a new, even stain: Once sanded, test the chosen stain on a small section first. Always apply it with consistent pressure and wipe down the surface evenly. This gives you a chance to confirm the colour takes properly before doing the entire floor.
4. Sealing the finish: After staining, a topcoat helps lock in the colour and gives the floor a smooth look. Whether using water-based or oil-based finishes, proper drying time and even application matter. This last step helps avoid future blotching or peeling.
This process takes time, but rushing it only guarantees more headaches. Spot treatment might seem faster, but on hardwood, it rarely looks right. A full resand and refinish tends to deliver better, lasting results every time.
Preventive Measures To Avoid Uneven Staining
Getting an even stain starts long before the brush hits the floor. Most uneven results come from skipping key prep steps or rushing the process. Taking your time with each stage can make all the difference in how the floor looks once it’s finished.
Start with surface prep. Sanding needs to be consistent across the entire room. Switching between different sanding machines without blending can create low or high spots that absorb stain differently. Always sand with the grain and double-check that all finishes, sealers, or waxes have been removed before staining.
Here are a few more best practices to follow:
- Always vacuum between sanding stages to keep dust from building up in the grain
- Use a pre-stain conditioner if working with softer woods or if the planks have noticeable colour variation
- Test stain colours on a scrap piece of the same flooring or an out-of-sight section
- Don’t leave excess stain sitting. Wipe it clean with a dry cloth in even motions
- Work in small sections to keep the drying process under control
- Keep an eye on temperature and humidity during the job, especially in spring and fall
Lighting can also be a hidden issue. Shadows from furniture or poor overhead lighting may cause uneven drying. Working in daylight or using consistent lighting across the room helps you see problems early before they dry in place.
Taking these extra steps can prevent patchy results. Even experienced homeowners make mistakes when tackling this process alone. Getting it right the first time saves time, money, and frustration later on.
Maintaining A Beautifully Stained Floor
Once your hardwood floor looks exactly how you pictured it, keeping it in that shape takes some regular maintenance. It doesn’t have to be complex, but doing the simple stuff makes all the difference over time.
Sweeping or vacuuming a few times each week helps avoid dirt scratching the surface. Use a vacuum without a beater bar to protect the finish. Microfibre mops or dry dusters are great between deeper cleanings. When it’s time to clean more thoroughly, pick a wood-floor-friendly product that’s neutral and doesn’t leave residue behind.
Avoid harsh cleaners, steam mops, or anything that soaks the floor with moisture. Water can cause finish damage or warping if it sits too long. If spills happen, dry them up right away with a cloth. Placing mats at entry points can also stop debris from getting tracked in.
Every couple of years, depending on foot traffic, a professional inspection can spot early signs of wear or fading. This helps catch problems like UV damage or dull spots before they need major work. A buff and recoat may be all that’s needed to keep the floor looking fresh.
For homes in Toronto and Southern Ontario, spring and fall are common times when homeowners notice changes in their floors. Humidity shifts can affect both the boards and the finish. Taking seasonal care steps like checking for drafty windows or using a humidifier in winter can help keep things balanced.
Keep Your Stains Even Year After Year
Fixing uneven floor staining can feel like starting over, but it’s worth it when the result is a smooth, even look that brings the whole room together. Flawed staining distracts from all the effort that goes into sanding and sealing, and it’s an issue that doesn’t go away on its own. Catching it early and correcting the technique and product choices saves larger repairs down the line.
But just as important as the fix is avoiding staining problems before they begin. That means understanding how hardwood reacts to its environment, taking time with prep, and using the right finishes from the beginning.
Hardwood flooring holds up best when it’s treated right from day one. That includes both the way it’s installed and how it’s looked after year to year. With the proper stain application and a good ongoing care routine, floors can stay beautiful and even for years in Toronto homes where changing seasons bring extra challenges. Staying consistent with your care will pay off with a finish that keeps its colour and depth over time.
For those looking to maintain the elegance of their hardwood floors, ensuring a consistent stain is key. Whether it’s tackling uneven surfaces or setting up preventive measures, our team’s expertise in floor sanding services can make a world of difference. Trust NewRidge Refinishing Group to help you achieve a floor finish that’s both beautiful and enduring. Explore how we can assist you with professional solutions to keep your floors looking their best by discussing your needs with us.