When planning a hardwood floor installation in Toronto, there’s one thing that often gets missed in the excitement of picking wood types and finishes: the subfloor. That layer under your flooring might not be visible once the job’s done, but it has a big say in how well your hardwood holds up over time. A well-prepared subfloor helps avoid creaks, gaps, and movement. It also helps hardwood floors last longer and look better.
In places like Toronto where climate changes cause shifts in moisture and temperature, subfloor prep matters even more. A floor can only be as smooth and solid as what lies underneath it. So whether you’re installing new hardwood or replacing old floors, making sure that base layer is sound, level, and clean should always be the first step. Here’s how to do that right.
Assessing Your Subfloor Condition
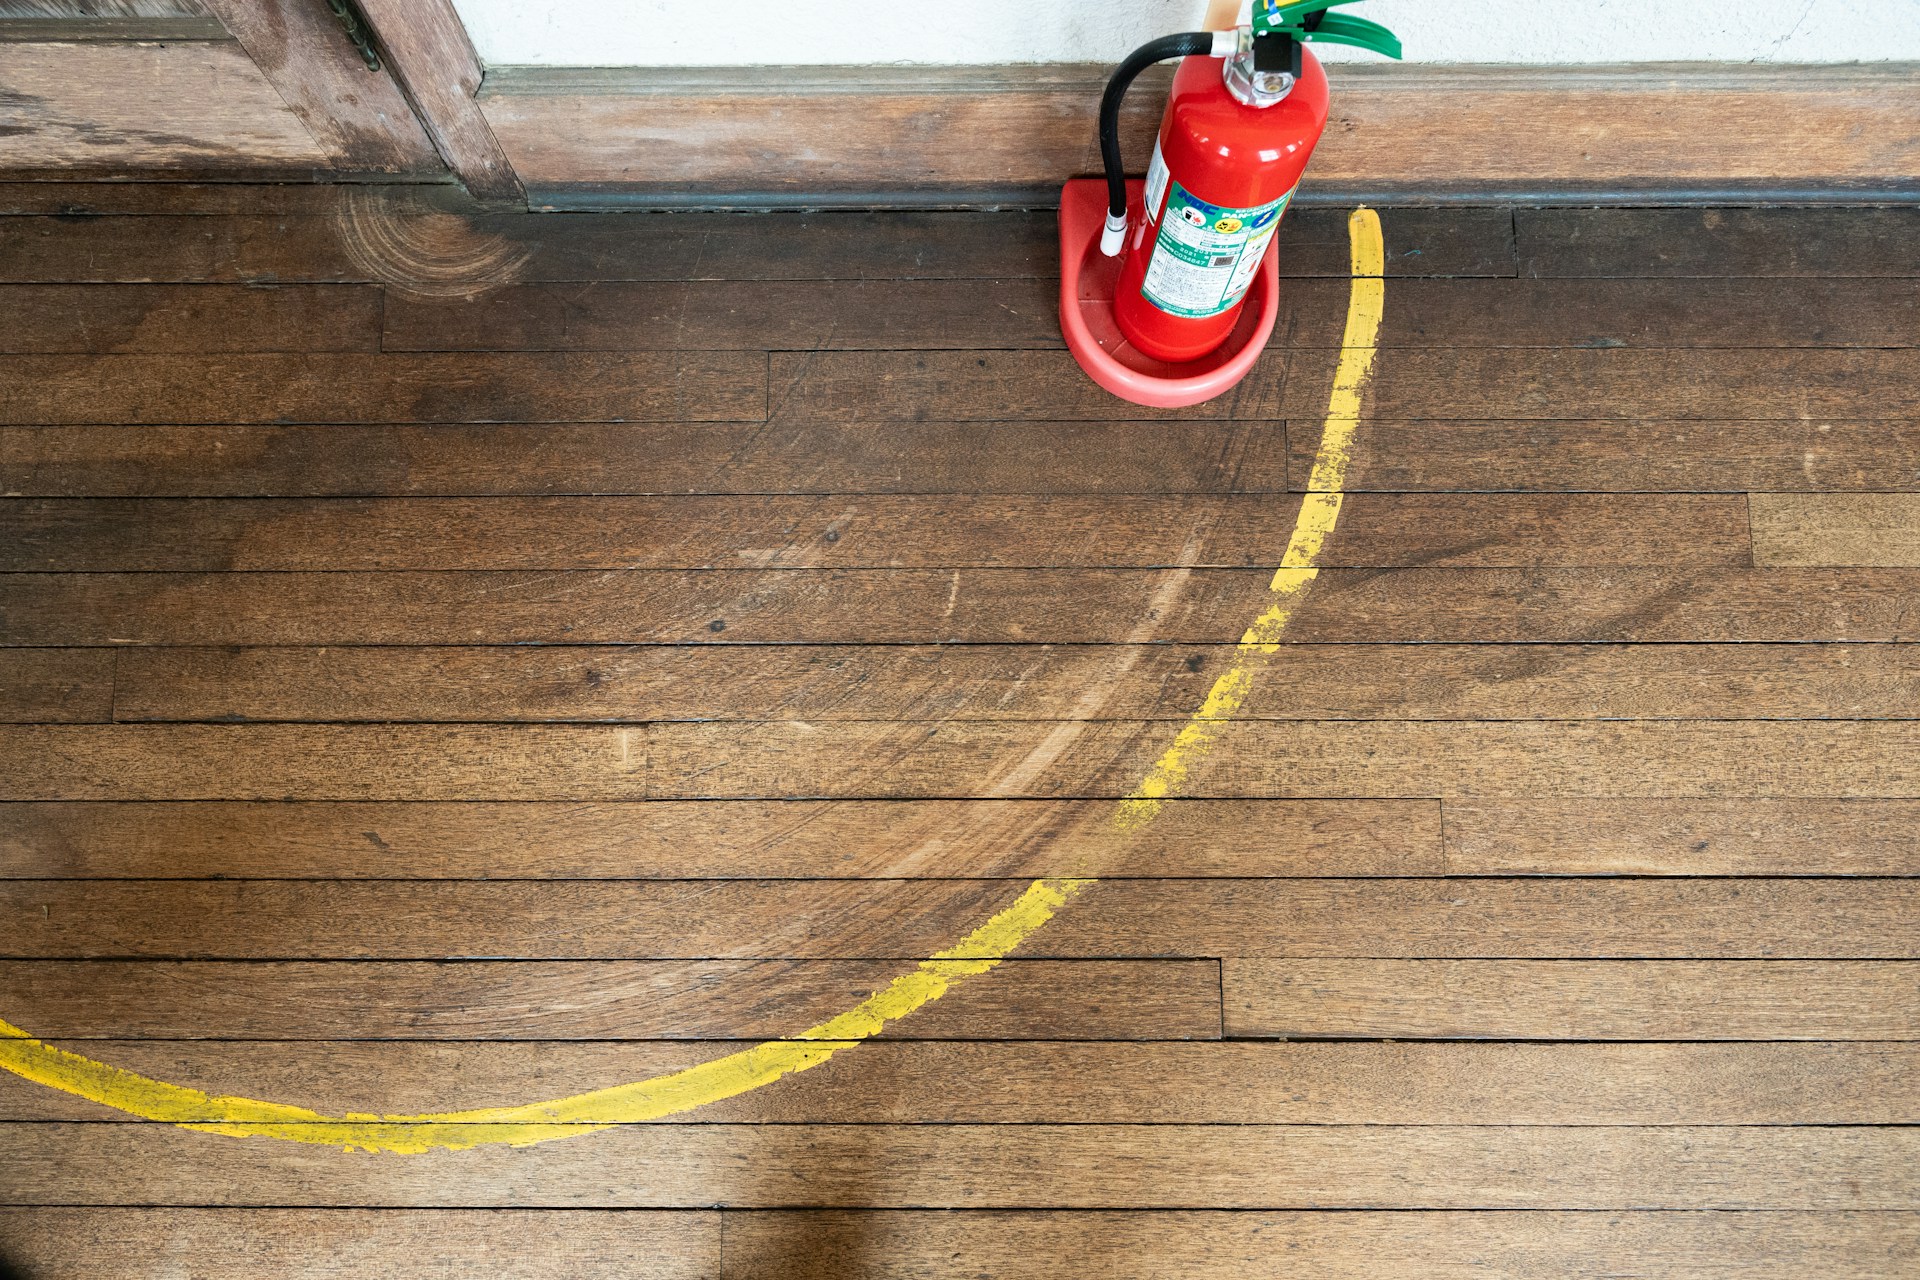
Before installing hardwood, it’s important to know exactly what you’re working with. Even if your floor feels solid underfoot now, there may be hidden spots that need attention. Ignoring these can lead to issues later, like uneven boards, loud squeaks, or lifted planks.
Start with a basic walkthrough:
- Walk slowly across the entire floor area in different directions
- Take note of any spots that feel soft, bounce under pressure, or produce noise
- Check for signs of water staining near walls, windows, and plumbing fixtures
- Look around for nails popping out or seams that seem to be shifting apart
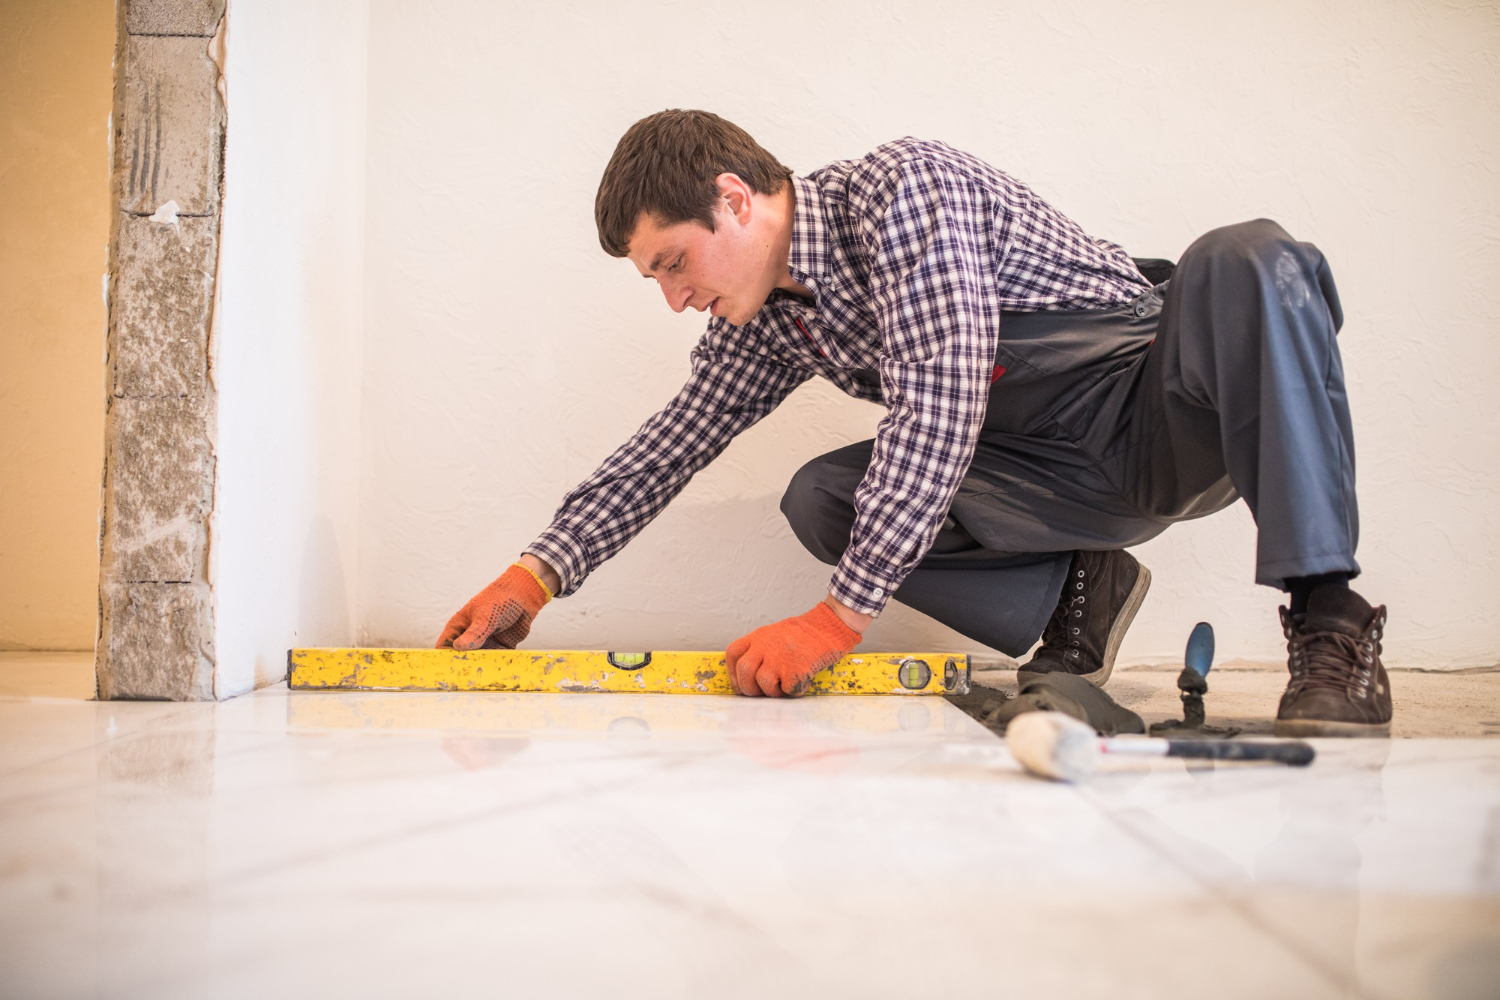
To take it further, grab a moisture metre and test different areas of the subfloor. Wood subfloors that hold too much moisture can warp once hardwood is laid on top. You can also use a long spirit level or straight edge to detect every dip and slope. Don’t trust the human eye alone. A floor might appear level but still have trouble spots that will affect installation.
Depending on the age of the home, you might have a plywood, particle board, or concrete subfloor. Each one comes with its own set of things to look for. For example, plywood might have loose spots or squeaky nails, while concrete can crack or show signs of heaving. Use these inspections to decide what needs fixing before jumping to new floors.
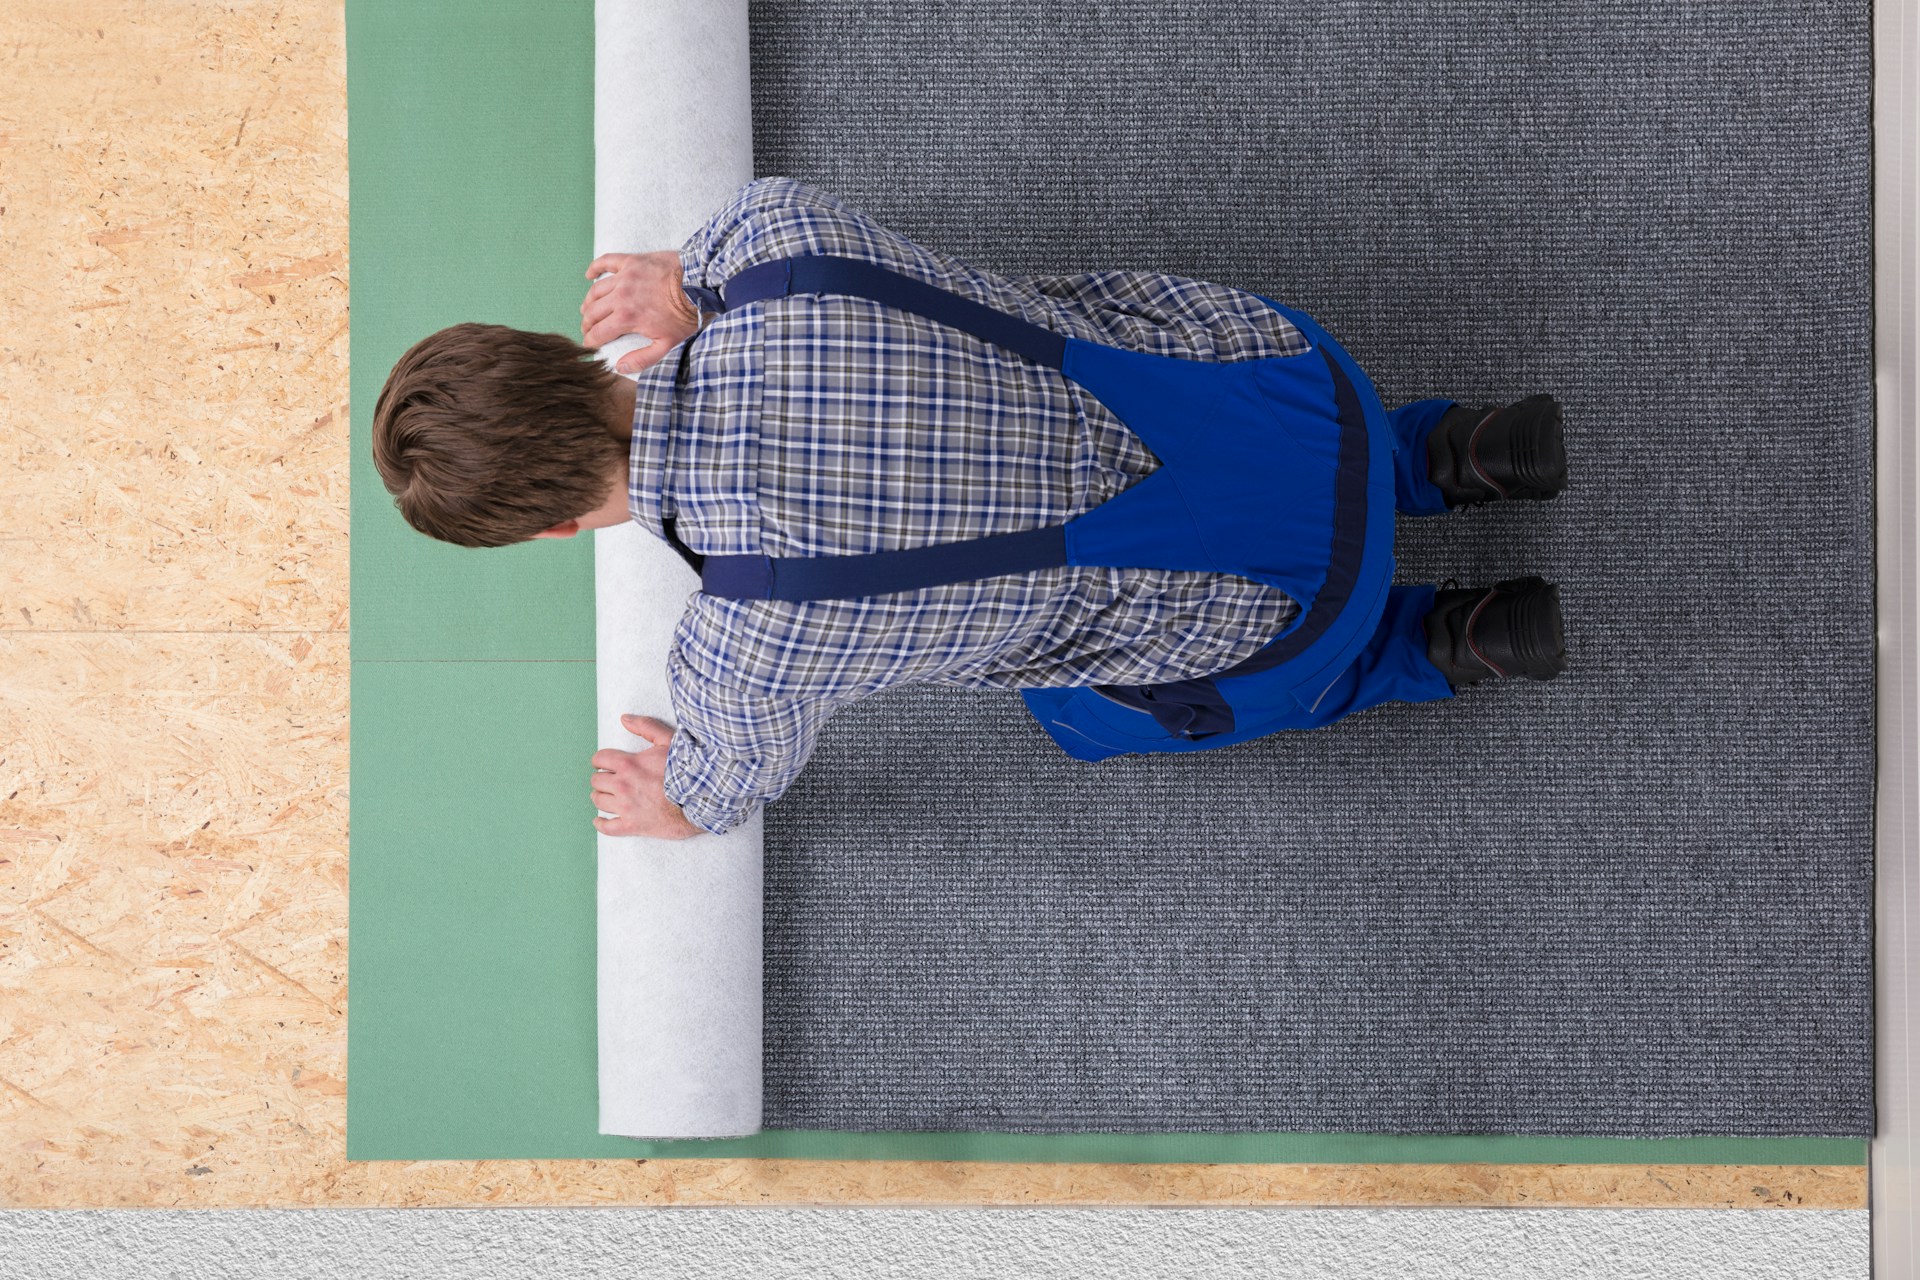
Cleaning and Clearing the Subfloor
Once you’re sure of the subfloor type and its general condition, it’s time to prep it by cleaning thoroughly. Dirt, dust, old glue, and leftover nails might not seem like a big deal, but they can cause installation problems fast. Debris under hardwood boards can stop them from sitting flush, eventually leading to hollow spots or awkward movement when walked on.
Before any repairs start:
1. Remove baseboards and trim where needed to fully access the subfloor edges
2. Sweep or vacuum everything thoroughly, covering corners and tight spots. Don’t forget under any bumps or dips
3. Remove any leftover glue, staples, or nails. Use a scraper for old adhesives, and pliers to remove loose objects stuck in the wood
4. Inspect the flooring for stains where previous damage or leaks might’ve soaked in. If there’s any sign of mould, split wood, soft areas, or residue, mark it down for repair
Even dried latex or paint drops can be uneven enough to mess with new flooring. It’s best to create a totally smooth surface across the entire floor plane so the boards stay tight and stable once they’re installed. One common mistake is rushing this step thinking that the new floor will just cover everything. But hardwood has to stick or lock into place properly, and that all starts with a clean base.
Repairing and Levelling the Subfloor
Once the subfloor is clean and free of debris, the next step is making sure it’s even and secure enough to support hardwood. Floors in older Toronto homes often settle over time, and it’s not unusual to run into high or low spots that need fixing before installation.
Here’s how to tackle common issues:
- For cracks or holes in concrete subfloors, use a patching compound to create a flat, stable surface. Make sure the area is completely dry first, then apply the compound using a trowel and smooth it out evenly
- If the floor is wooden and you spot squeaky boards or lifting at the seams, screws can help tighten everything up. Replace any rotting or damaged sections as needed
- For uneven spots, self-levelling compound works well, especially on larger dips. Pour it in, guide it with a straight edge, then let it settle into a smooth finish. Follow drying times closely to avoid problems later
Some wooden subfloors also need extra help when the dips or slopes are more than what compound can handle. In those cases, installing plywood layers or adding shims underneath can help raise the surface to match surrounding areas. It takes more time and precision but fixes framing issues that patching alone can’t solve.
Making sure the floor is level isn’t just about looks. If this step is skipped or rushed, hardwood planks won’t sit right. That can lead to bouncing boards, faster wear, and even damage over time. One area where this really shows is along walls. If boards start to lift or pull away from trim, chances are the subfloor underneath wasn’t even.
This step takes patience, but it saves a lot of trouble once the flooring starts going in. Level doesn’t mean perfect across the whole house. But it does mean even enough that the floor won’t flex or pull apart when you walk across it.
Ensuring the Subfloor is Ready for Installation
After repairs and levelling are done, there are still a few final checks to make sure the floor is ready. These steps help avoid surprises during installation and give the hardwood a strong base to stick to.
Here’s a list of things to double-check:
- Make sure the subfloor is dry. Use a moisture metre to test multiple spots, especially along exterior walls and near plumbing. Moisture that’s left behind can affect adhesives and lead to warped boards
- Confirm it’s flat. Use a long level or straight edge, sliding it across the room to catch changes in height. You’re not aiming for a perfectly flat surface, but anything more than a couple of millimetres off might need to be fixed
- Look for movement. Step on different boards around the room. If you feel bounce or hear squeaks, secure those areas with screws before moving forward
- Check for gaps at the edges or seams. These can indicate spots that may shift later or allow moisture to sneak in. Fill or reinforce as needed
Another thing to watch for is leftover dust from sanding or patching. Even a thin layer can interfere with adhesives or underlays. Give the entire floor one more vacuum and wipe before calling it ready.
If the flooring is glued down, the subfloor needs to be solid enough to hold that bond for years. For nail-down installations, it has to be strong enough to keep fasteners from working loose. Going through these last steps carefully gives the new wood flooring the best chance at staying tight, even, and attractive for a long time.
Toronto homes, especially those that have been around for decades, come with quirks. The base might sit on older concrete, have tilted framing, or see moisture shifts from season to season. Taking the time to check and meet the needs of your specific home helps avoid redoing work down the road.
Why Subfloor Prep Makes All the Difference
It’s easy to focus on what your hardwood floor will look like once it’s installed. But what sits underneath plays a big part in how it holds up over time. A solid subfloor means a floor that won’t shift, squeak, or wear unevenly. And that work happens long before the first board is laid down.
The level of prep that goes into subfloor work shows in how the final floor feels underfoot. A flat, clean, and secure surface won’t just protect your investment. It’ll make every step feel smoother and every room quieter.
Preparation also saves time during installation. When the groundwork is solid, installers can move efficiently. They won’t have to stop for last-minute fixes or adjustments that slow down the project. Less stress, fewer surprises, and a better finish overall.
For homeowners in Toronto, things like winter moisture, basement humidity, and shifting old structures are real concerns. These conditions make subfloor prep more than a checklist item. It becomes a smart way to ensure hardwood floors last as long as they should. A little more effort at the beginning can prevent repair jobs or costly replacements later on.
If you’re ready to enjoy the peace of mind that comes with a perfectly prepared subfloor, explore how our team at NewRidge Refinishing Group can guide you through the process. Discover more about our services for hardwood floor installation in Toronto and ensure your floors are built to last. Let us help bring your vision to life with skill and precision.