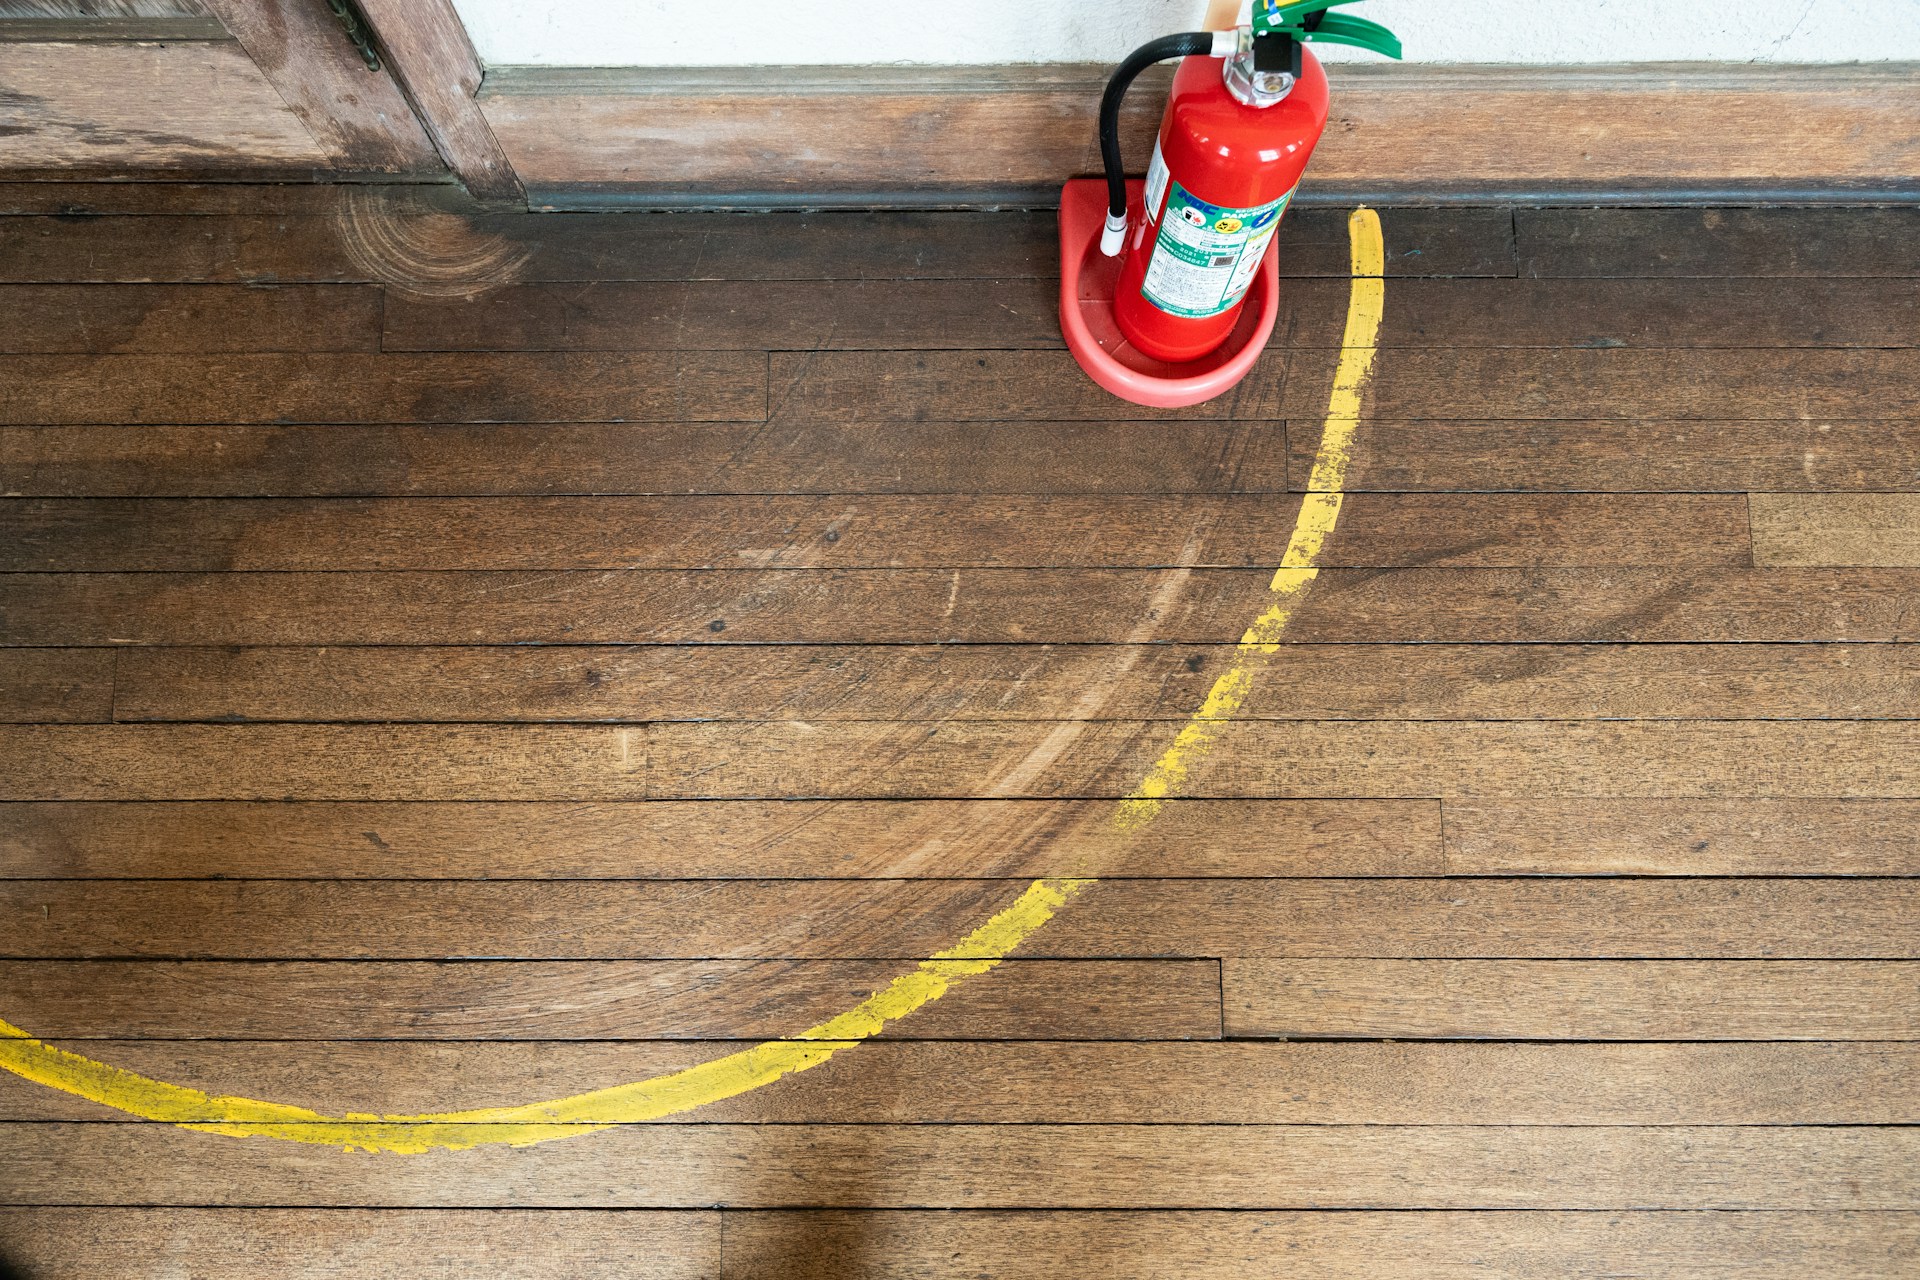
Even after a beautiful refinishing job, hardwood floors can become scratched. Whether it’s from moving furniture, pet claws, or everyday wear, these marks can detract from your floor’s charm. Fortunately, many scratches can be fixed without too much hassle.
Start by understanding the type of scratch you’re dealing with. Surface scratches often require simple solutions, while deeper gouges might need more attention. Recognizing the damage helps determine the best approach to restoring your floor’s finish.
Using handy tips and easy-to-use products, you can transform scratched floors back to their original splendour. From quick DIY remedies to more involved repairs, ensuring consistent maintenance keeps your hardwood floors looking new. Exploring these methods allows you to enjoy the warmth and elegance hardwood provides, keeping your home inviting and stylish.
Identifying Types of Scratches
Understanding the type of scratch on your hardwood floor is the first step in determining how to fix it effectively. Scratches can be broadly categorized into surface scratches and deep scratches. Surface scratches are generally shallow and affect only the top layer of the floor’s finish. These might appear as thin lines or scuffs that are noticeable but not structurally damaging.
In contrast, deep scratches penetrate through the finish and affect the wood underneath. These gouges are more challenging to handle as they may reveal the raw wood, requiring more intensive repair methods.
Common causes of scratches after refinishing include moving heavy furniture without proper protection, wearing sharp-soled shoes indoors, and pet nails. Everyday activities can also unexpectedly create wear marks over time.
To assess the damage, it’s crucial to closely inspect the floors. Run your fingers over the scratches to determine their depth; surface scratches will feel smooth, while deeper ones will often catch your nail. Knowing the type and extent of the scratches will guide you in choosing the appropriate repair tactics to restore your floor’s beauty and integrity.
Quick Fixes for Minor Scratches
Minor scratches on hardwood floors usually require simple, quick fixes. These scratches, often just on the surface, can be easily taken care of with a few DIY methods. One common solution is rubbing a walnut over the scratch. The natural oils in the nut can help blend the scratch with the surrounding wood, making it less visible. Baking soda paste, mixed with a touch of olive oil, can also minimize the appearance of these light marks.
For a more professional touch, consider applying touch-up markers or wood stain. These products are often available in various shades to match different types of wood. Simply colour in the scratch, let it dry, and gently buff the area to achieve a smoother look.
When dealing with multiple minor scratches, purchasing a scratch repair kit can be a smart choice. These kits typically include a selection of markers, wax fillers, and fine sandpaper to help you easily conceal scratches. Ensure you choose a kit that matches the finish and colour of your floor for the best results. Quick fixes not only save time but also extend the life and look of your hardwood floors with minimal effort.
Repairing Deep Scratches and Gouges
Addressing deep scratches and gouges requires more intensive solutions than surface-level fixes. These types of damage often penetrate the finish, exposing raw wood, which calls for a more detailed approach. Start by sanding the affected area with fine-grit sandpaper, following the grain of the wood. This helps blend the scratch while preparing the surface for refinishing.
Once the area is prepped, fill any deep gouges with a wood filler that matches your flooring. Apply the filler using a putty knife, ensuring it’s spread evenly across the scratch. Allow it to dry completely before sanding it level with the surrounding floor. This step is crucial for achieving a smooth finish that seamlessly merges with the rest of your flooring.
Finally, apply a stain or finish that matches your original floor’s hue. Use a soft cloth to gently blend the new finish into the existing one, wiping away any excess to avoid patchy spots. Allow the area to dry thoroughly before walking on it. By carefully following these steps, your floor will regain its uniform appearance, hiding those once-prominent scratches.
Preventive Measures to Avoid Future Scratches
To keep your hardwood floors looking pristine, implement preventive measures that protect against future damage. Start by adding protective pads under furniture legs to minimize scratches when pieces are moved. Rugs or runners can also be strategically placed in high-traffic areas to shield floors from wear and tear.
Regular maintenance routines play a crucial role in protecting your floor’s finish. Sweep or vacuum frequently to remove dirt and debris that can scratch the surface. Damp mop occasionally with a cleaner designed for hardwood, ensuring you don’t leave excess moisture that could warp the wood.
Consider applying a topcoat or sealant specifically made for hardwood floors. This protective layer acts as a buffer against scratches, preserving the shine and depth of your floors. Additionally, discourage walking with high heels or shoes that can leave marks. With these simple steps, you can maintain the beauty of your floors for years to come.
Conclusion
By understanding how to fix and prevent scratches, you ensure your hardwood floors remain a lasting investment. Whether tackling minor surface scratches or addressing more significant gouges, knowing the right techniques keeps your floors looking their best. Implementing preventive measures not only saves time and effort in future repairs but also enhances the longevity and appearance of your floors.
When it’s time to refresh your floors, consider reaching out to NewRidge Refinishing Group. Our team of experts is ready to assist with refinishing services, restoring your hardwood floors to their original splendour. Trust us to provide quality hardwood refinishing in Toronto tailored to your needs, ensuring your floors remain a beautiful and functional part of your home.