Installing hardwood flooring can transform your home, adding lasting warmth and elegance for years. Whether upgrading a single room or outfitting an entire house, the process can seem daunting. Fear not; with the right approach and guidance, installing hardwood can be a rewarding task.
Paying attention to detail makes all the difference as you lay down your hardwood flooring. Following each step carefully will help you tackle tricky areas and avoid common pitfalls. With these steps, you can enjoy hardwood floors’ beauty and durability for many years.
Preparing for Installation: Tools and Materials You Need
Before starting your hardwood flooring project, gather all the necessary tools and materials. Having everything ready will make the process smoother. Essential tools include a tape measure, saw, hammer or nail gun, pry bar, and a flooring nailer for precise work. You’ll also need a level, chalk line, and spacers to align your flooring properly. Sandpaper and a mallet are helpful for adjustments and finishing touches.
Choosing the correct type of hardwood is crucial. Consider the room’s usage and style. Oak and maple are popular choices due to their durability and timeless appearance. If you’re installing in areas prone to moisture, engineered hardwood is a better option as it resists humidity changes.
Acclimating the wood is an often-overlooked step. Bring the wood into the room where it will be installed and leave it for at least 48 hours. This allows the flooring to adjust to the room’s temperature and humidity, minimizing expansion or contraction after installation. Skipping this step could lead to gaps or warping, compromising the quality of your floors.
Prepping the Subfloor: Ensuring a Smooth Base
A proper subfloor preparation ensures your hardwood flooring looks and performs at its best. Start by thoroughly cleaning the subfloor and removing debris, nails, or glue remnants. A clean surface provides a strong foundation for the new flooring to adhere properly.
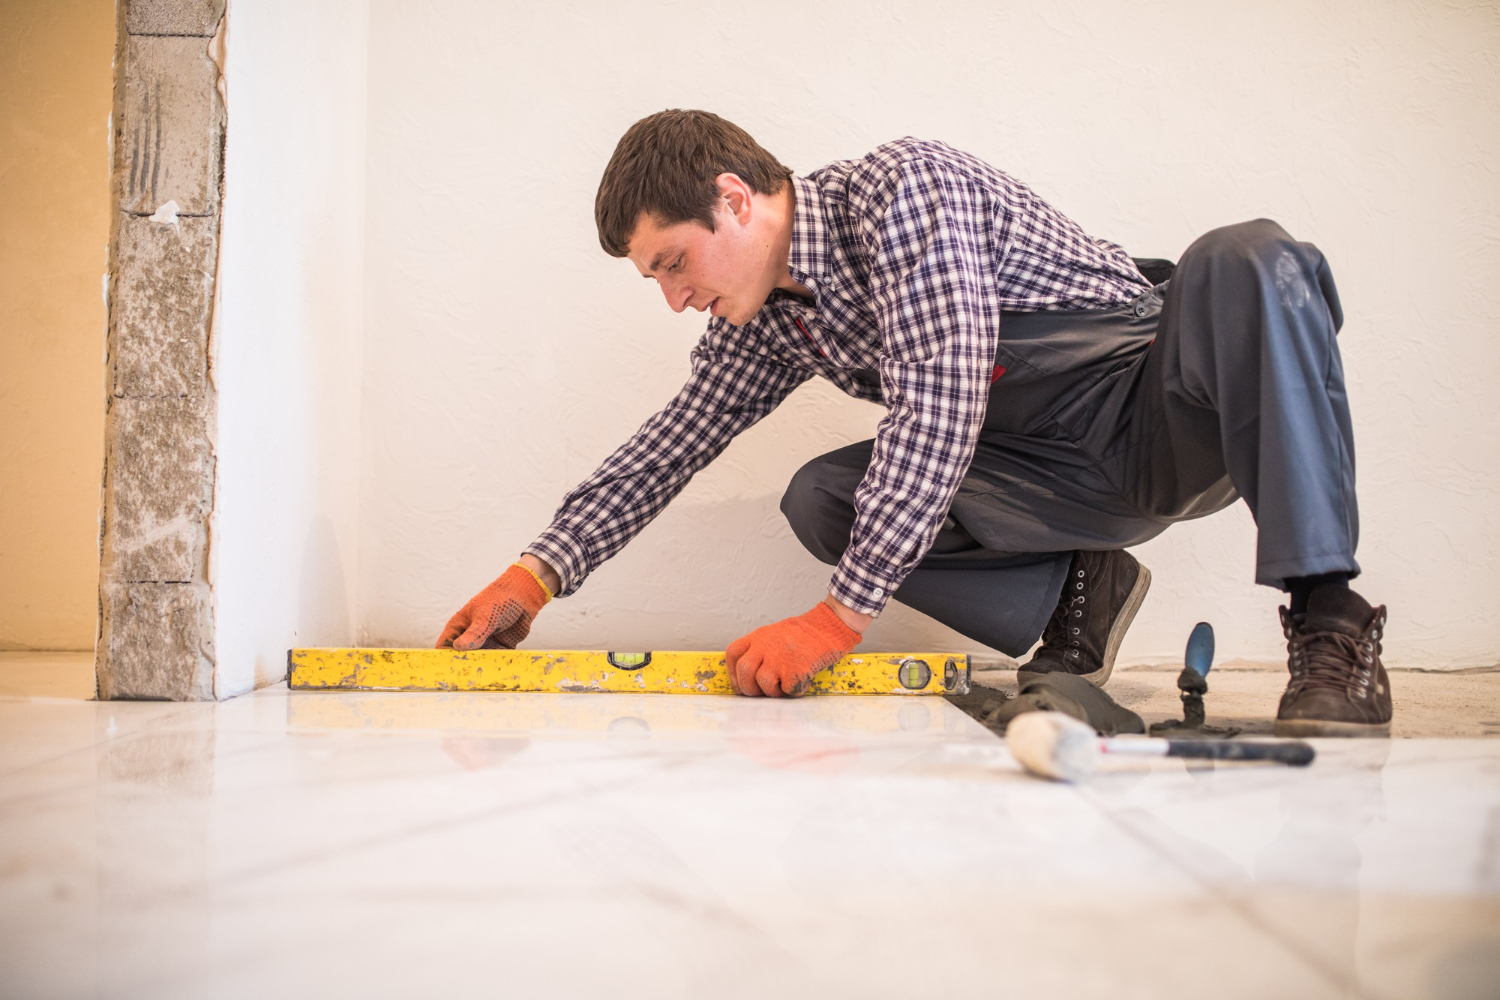
Next, address any unevenness. Check the subfloor for low spots or bumps. Use a level to identify problem areas, then sand down high spots and fill low areas with a floor patching compound. This step is crucial to prevent your hardwood from flexing or creaking underfoot.
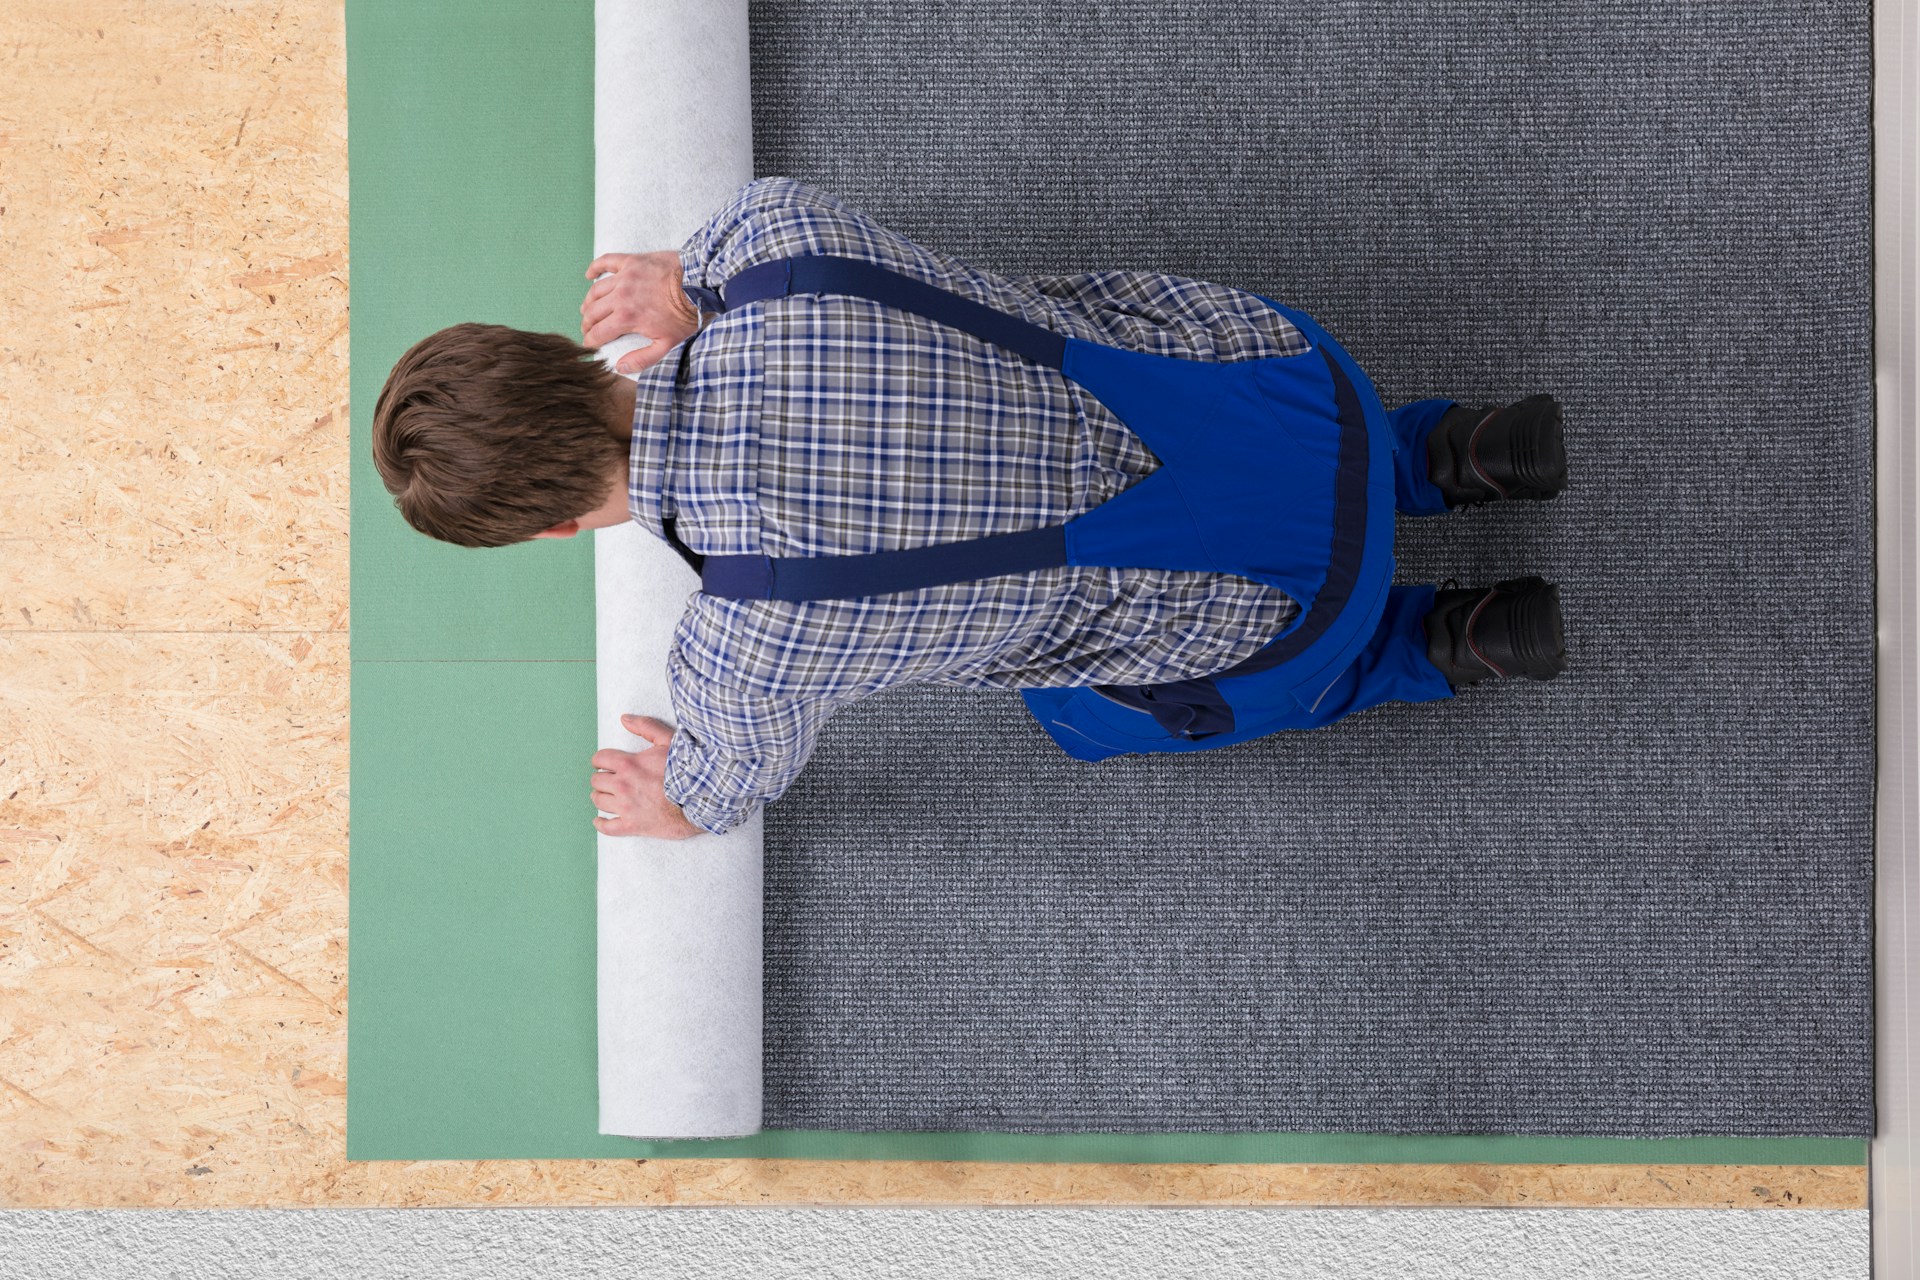
Underlayment plays a significant role in hardwood installation. It offers a smooth surface, enhances soundproofing, and provides moisture protection. Choose an underlayment that suits your specific flooring and subfloor type. Installation is straightforward; simply lay it out across the subfloor, ensuring no gaps or overlaps.
Ensuring a well-prepared subfloor may require some effort, but it pays off by extending the life of your hardwood flooring and preventing unexpected issues. You set the stage for a beautiful, durable floor by tackling imperfections before installation.
Laying the Hardwood: Step-by-Step Process
Once your tools are gathered and your subfloor is prepared, it’s time to lay the hardwood. Start by planning the layout of the planks. Decide the direction they will run; typically, it’s best to lay them parallel to the longest wall or towards a significant window for a more appealing visual effect. Measure the room carefully and use a chalk line to mark a starting point, ensuring straight alignment.
Begin by laying the first row. Place the boards tongue-side facing the wall and maintain an expansion gap using spacers. Secure these boards with nails or an adhesive suitable for your specific hardwood and subfloor type. Use a floor nailer or stapler to fix each plank tightly, being careful around the edges to avoid splitting.
As you continue laying planks, stagger the ends of adjacent boards to create a natural wood pattern and enhance stability. Precise cutting and fitting are key in tricky areas like corners or transitions. Use a mitre saw to cut planks to size and ensure a snug fit against walls and doorways. This attention to detail will make your floor look seamless and professionally finished.
Finishing Touches: Sealing and Maintenance Tips
Once the hardwood is securely in place, applying a finish is critical. The finish not only protects the surface but also enhances the natural beauty of the wood. Choose a finish that matches your aesthetic and traffic needs, whether it’s a glossy polyurethane or a satin oil-based option. Follow the manufacturer’s instructions for application, allowing ample drying time between coats for a durable seal.
Initial maintenance is simple but essential. Keep the newly finished floor and furniture free from heavy traffic until fully cured. Sweep regularly to remove dust and debris that can scratch the surface. Place protective pads under furniture legs to prevent dents and scratches.
Establish a regular cleaning routine for ongoing care. Use a soft broom or vacuum with a hardwood attachment to avoid damage. Periodically, use a hardwood-specific cleaner to restore shine and remove grime. By following these maintenance tips, your floors will retain their elegance and performance for a long time.
Conclusion
Congratulations! You have now learned how to install your hardwood flooring, from preparation to the final touches. Each step of the process is essential in achieving a beautiful, durable floor that will enhance the look of your home. Installing hardwood flooring can be a rewarding project that improves your living space and adds lasting value.
If you need professional assistance or guidance on materials and techniques, contact NewRidge Refinishing Group. With our expertise and commitment to quality, we can help bring your flooring dreams to life. Whether tackling a DIY project or seeking expert installation, we’re here to ensure your hardwood flooring in Hamilton, Ontario, is installed perfectly. Don’t hesitate to contact us for your next flooring project to ensure top-quality results that will stand the test of time.