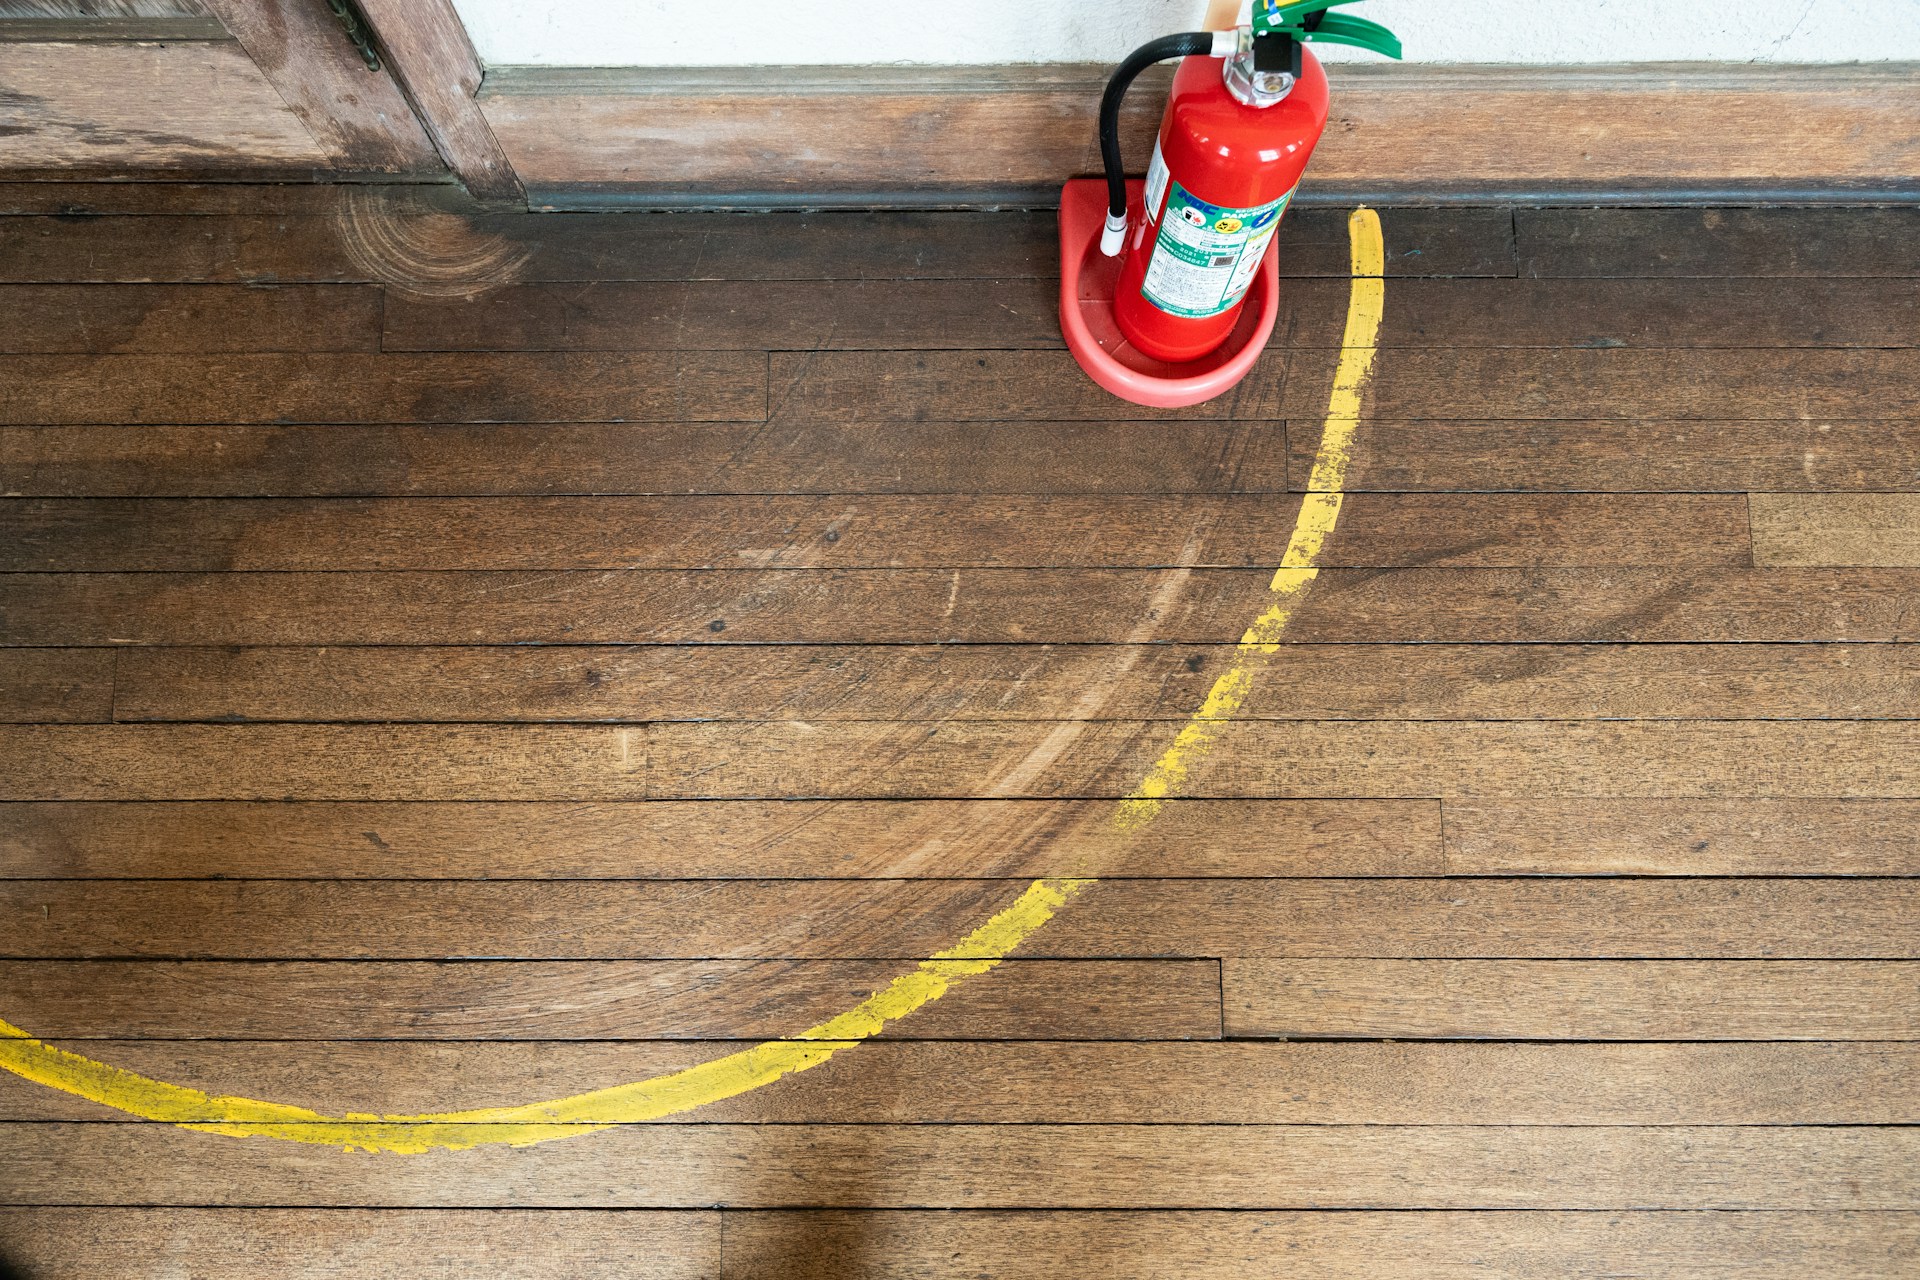
Floor levelling isn’t the most exciting part of a hardwood floor installation, but it’s one of the most important. A smooth and even surface sets the stage for everything that goes on top of it. Without it, your planks won’t sit right, gaps can appear, and creaking becomes a problem almost from day one. If you want results that last and look great, you’ve got to begin with the right foundation.
In Toronto and Southern Ontario, homes often come with their share of uneven spots, especially in older builds. By the time you’re ready to install new wood floors, your subfloor might already have dips, lumps, or even old adhesive patches that are hiding trouble spots. Managing this early helps prevent bigger issues later and gives your floors the flat, stable base they need to stay in good shape long-term.
Assessing Your Current Floor Condition
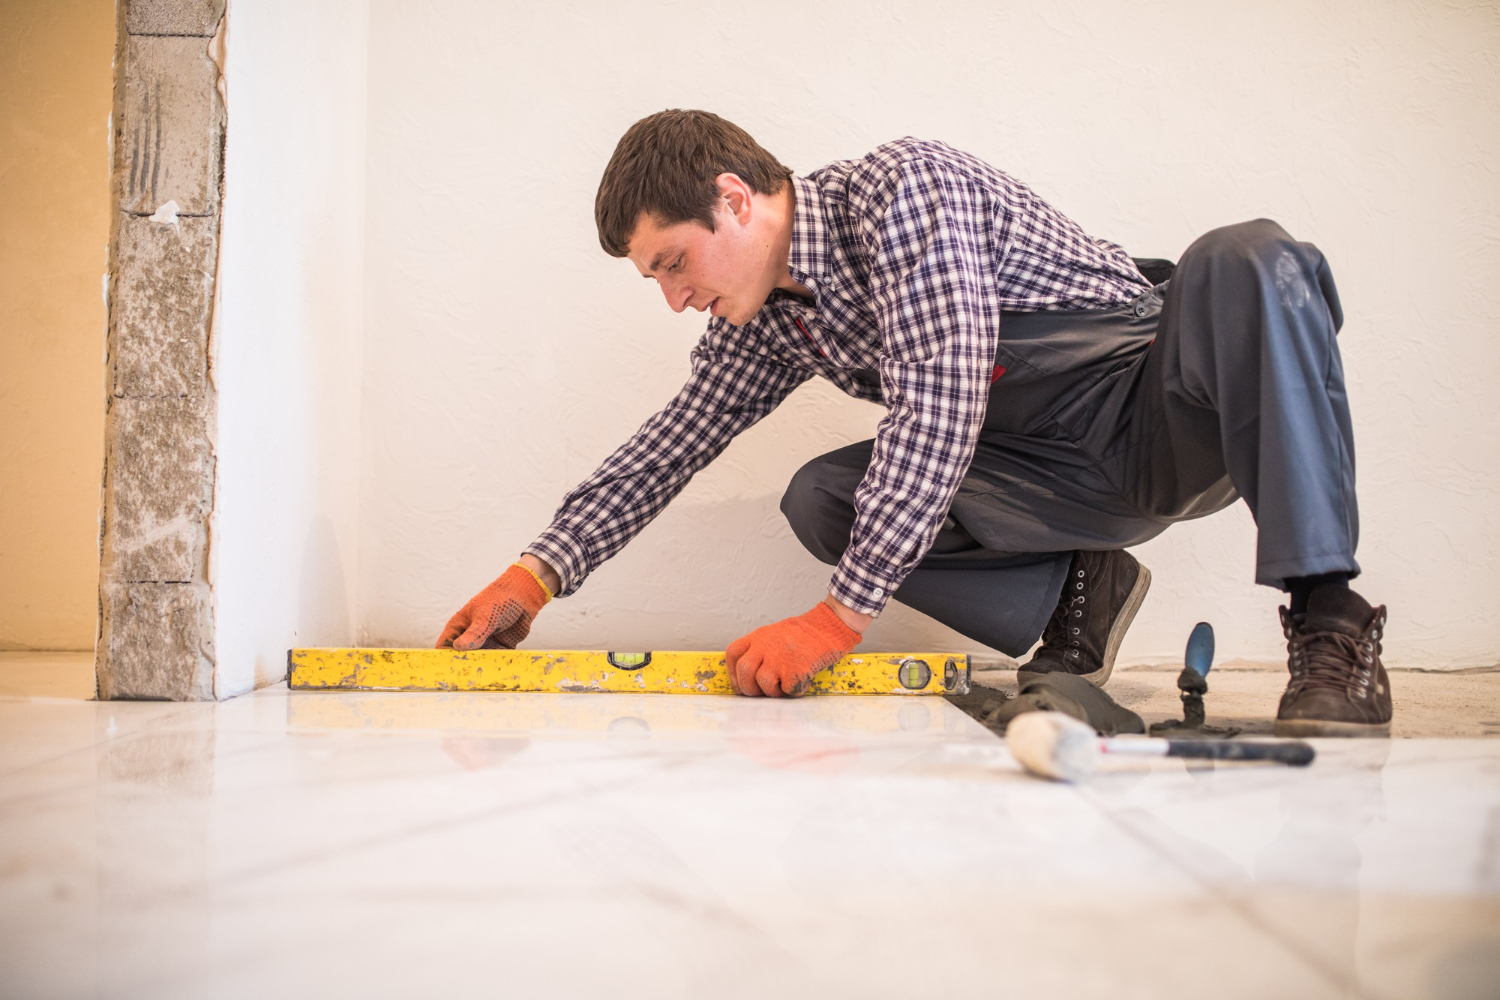
Before jumping into fixes, start with a clear picture of what you’re working with. Subfloor surfaces may look fine at first glance, but it’s worth digging a little deeper to see what lies beneath.
Here’s what to do to get started:
1. Walk slowly across the room. Pay attention to any creaks, dips, or soft spots under your feet. These may point to hidden damage or uneven areas.
2. Place a long level or straightedge on different parts of the floor. Try several spots across the space to catch gradual slopes or ridges.
3. Shine a flashlight along the floor’s surface from a low angle. This will help highlight raised or sunken patches that may be harder to see under regular lighting.
4. Use a measuring tape to check how far off the floor might dip compared to surrounding points. Even small differences can matter when laying hardwood.
To make this assessment easier, you might need simple tools like:
- A long straightedge or spirit level
- Tape measure
- Flashlight
- Chalk to mark uneven areas
- A notepad to track where attention is needed
These checks help narrow down which sections of the floor need levelling. Don’t skip them, even if the surface looks good enough. Whether it’s a tiny hollow in front of a fireplace or an area where old flooring was patched over, these details make all the difference when it’s time to install hardwood. Taking the time now will save you a lot of frustration later.
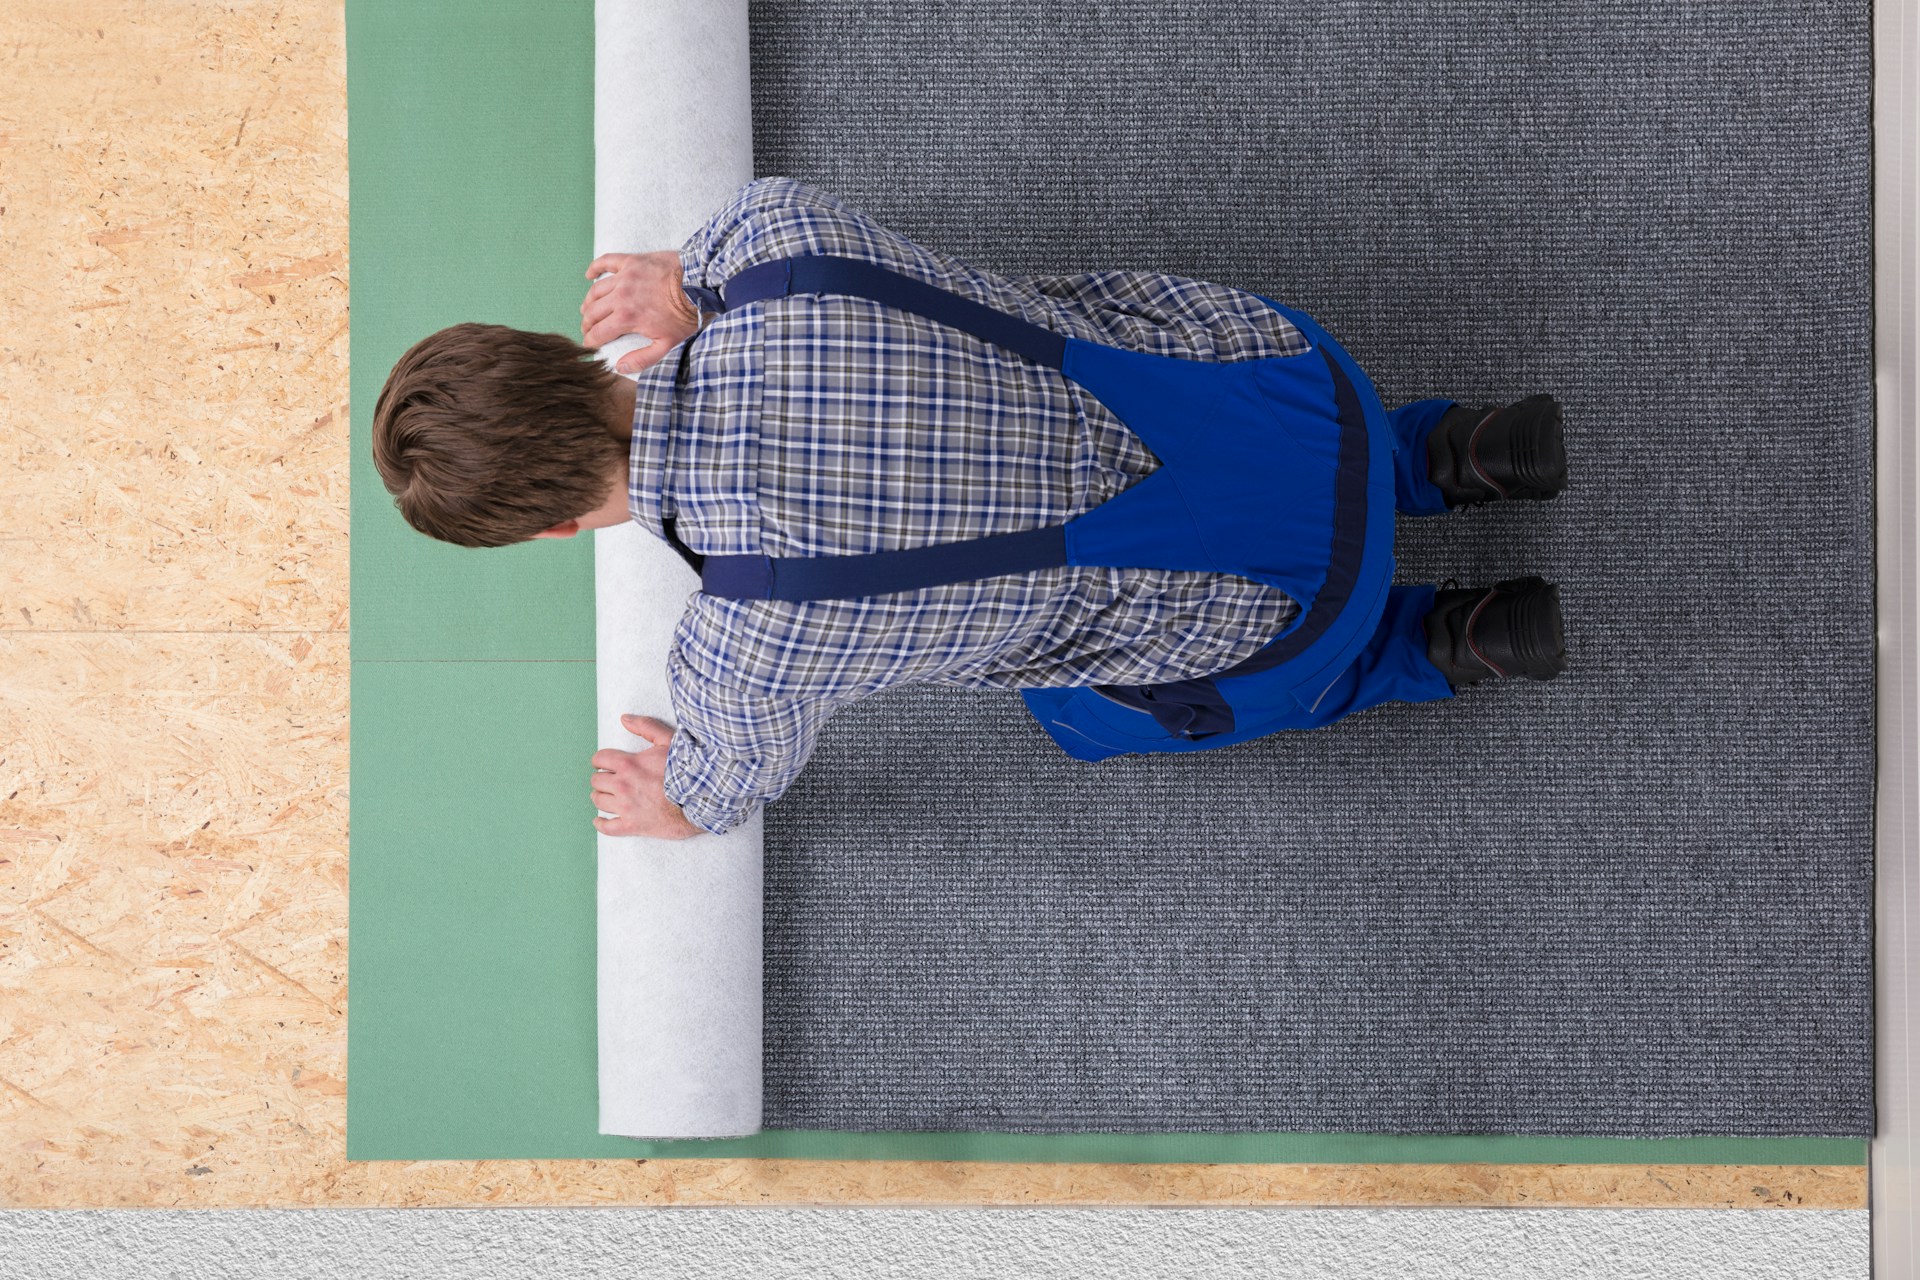
Preparing The Subfloor
Once you’ve identified which parts of the floor need adjusting, it’s time to get things ready. A clean and clear subfloor makes the next few steps go much smoother.
Begin by removing any debris, staples, nails, or leftover glue. Old bits of adhesive or even dust can affect how floor levelling materials bond to the surface. If you’ve pulled up tiles or laminate before this, make sure to go over the surface again. A quick vacuum and wipe with a damp mop usually does the trick.
Now that the space is clean, it’s time to deal with small dips and humps:
- For dips: Use a patching compound or floor levelling product suitable for minor corrections. These are often pre-mixed and can be applied with a trowel. Let them dry fully according to the product instructions before moving forward.
- For high spots: Sanding or grinding them down is usually more effective than trying to fill around them. Be sure to wear proper gear if you’re sanding areas, especially in older homes where dust control is important.
One example: if your subfloor has a gradual slope from one corner of the living room to the other, it might not stand out right away. But once hardwood is down, that slope can cause planks to separate or lift. Fixing it before installation makes sure your finished flooring won’t shift or creak every time you walk across it.
Details like this don’t just improve the look of your hardwood floors. They help them perform better year after year. Tuning your subfloor now gives your installation the best chance of success.
Levelling Techniques That Work
Once the subfloor has been cleaned and problem spots identified, it’s time to choose a levelling method. There isn’t a single solution that fits every case. You’ll need to match the approach to your floor’s condition. Using the wrong technique can leave you with more problems than you started with.
One of the most common solutions is self-levelling compound. It’s designed to flow and fill dips in concrete or wooden subfloors. You simply pour it out and guide it into low spots using a trowel or straightedge. It dries into a hard, flat surface that’s ready for the next steps in the installation process. This works best in rooms where the dips are shallow and widespread rather than in just one place.
For wooden subfloors that aren’t too far off level but still need patching, another option is adding thin sheets of plywood over trouble areas. When installed properly, wood panels can even out a section that was previously sagging. Sometimes you may need to add shims underneath the plywood to build it up to the right height. This technique takes more time and care but gives solid results when you’re dealing with uneven framing or older construction.
Here’s a quick snapshot of when each method works best:
- Self-levelling compound: Great for minor dips, wide areas
- Plywood panels and shims: Helpful for wooden floors with structural unevenness
- Sanding down high spots: Works when only part of the floor is raised
Make sure your chosen method lines up with the material and condition of your subfloor. A patch job may fix a dip, but if the floor framing underneath is shifting or loose, you might need deeper support before laying anything over it. Levelling isn’t about hiding flaws. It’s about building a better base.
Why Professional Levelling Makes A Difference
It’s tempting to assume floor levelling is just a matter of pouring some compound or adding a board, but a lot can go wrong when you approach it with guesswork. Gaps, squeaks, and lifting boards usually point to a levelling step that didn’t hit the mark. That’s why working with trained floor installers makes all the difference in results.
Professionals come with tools and training that homeowners often don’t have. They’re able to spot uneven framing, moisture trouble, or subfloor damage that could go unnoticed. They also know which types of underlayments, shims, or levelling compound suit each surface and space. While it might seem like you’re just getting help with the floor, you’re actually making sure the rest of the flooring process can move forward without surprise problems.
A good installer will also check how your walls, baseboards, and transitions will meet the new floor. In a lot of Toronto homes, especially ones with a mix of additions or older renovations, that kind of attention is key to getting a clean and stable finish. You’ll have fewer gaps at the edges, fewer adjustments during the install, and a surface that takes hardwood beautifully.
Doing it right from the start shortens the install time and gives you a floor that looks great from the first step and stands up well to daily use. You might not see the levelling once the boards go down, but you’ll definitely feel it.
Give Your Flooring The Foundation It Deserves
Finishing a hardwood floor isn’t just about picking the colour or grain you like. Behind every smooth, quiet, long-lasting wood floor is a level surface holding everything firm. That part of the job doesn’t get a lot of attention, but it matters just as much as the finish or the wood you choose.
Levelling your subfloor before installation is one of the smartest steps you can take to improve the final look and feel. It gives each plank a secure place to sit, helps keep squeaks out, and avoids awkward dips or shifts that can show up down the line. A good job here gives your flooring every chance to last and stay beautiful.
If your home’s in Toronto or Southern Ontario, remember that older builds can come with quirks that take time and experience to sort out. So even though levelling might seem tucked away under the surface, it’s where a great installation really begins.
For homeowners in Toronto and Southern Ontario, getting a level floor is just the foundation for a successful installation. If you’re thinking about updating your space with new wood floors, a professional touch can make all the difference. Discover how expert hardwood floor installation gives your home a smooth, durable, and long-lasting finish. Trust NewRidge Refinishing Group to help you get the best results from the ground up.