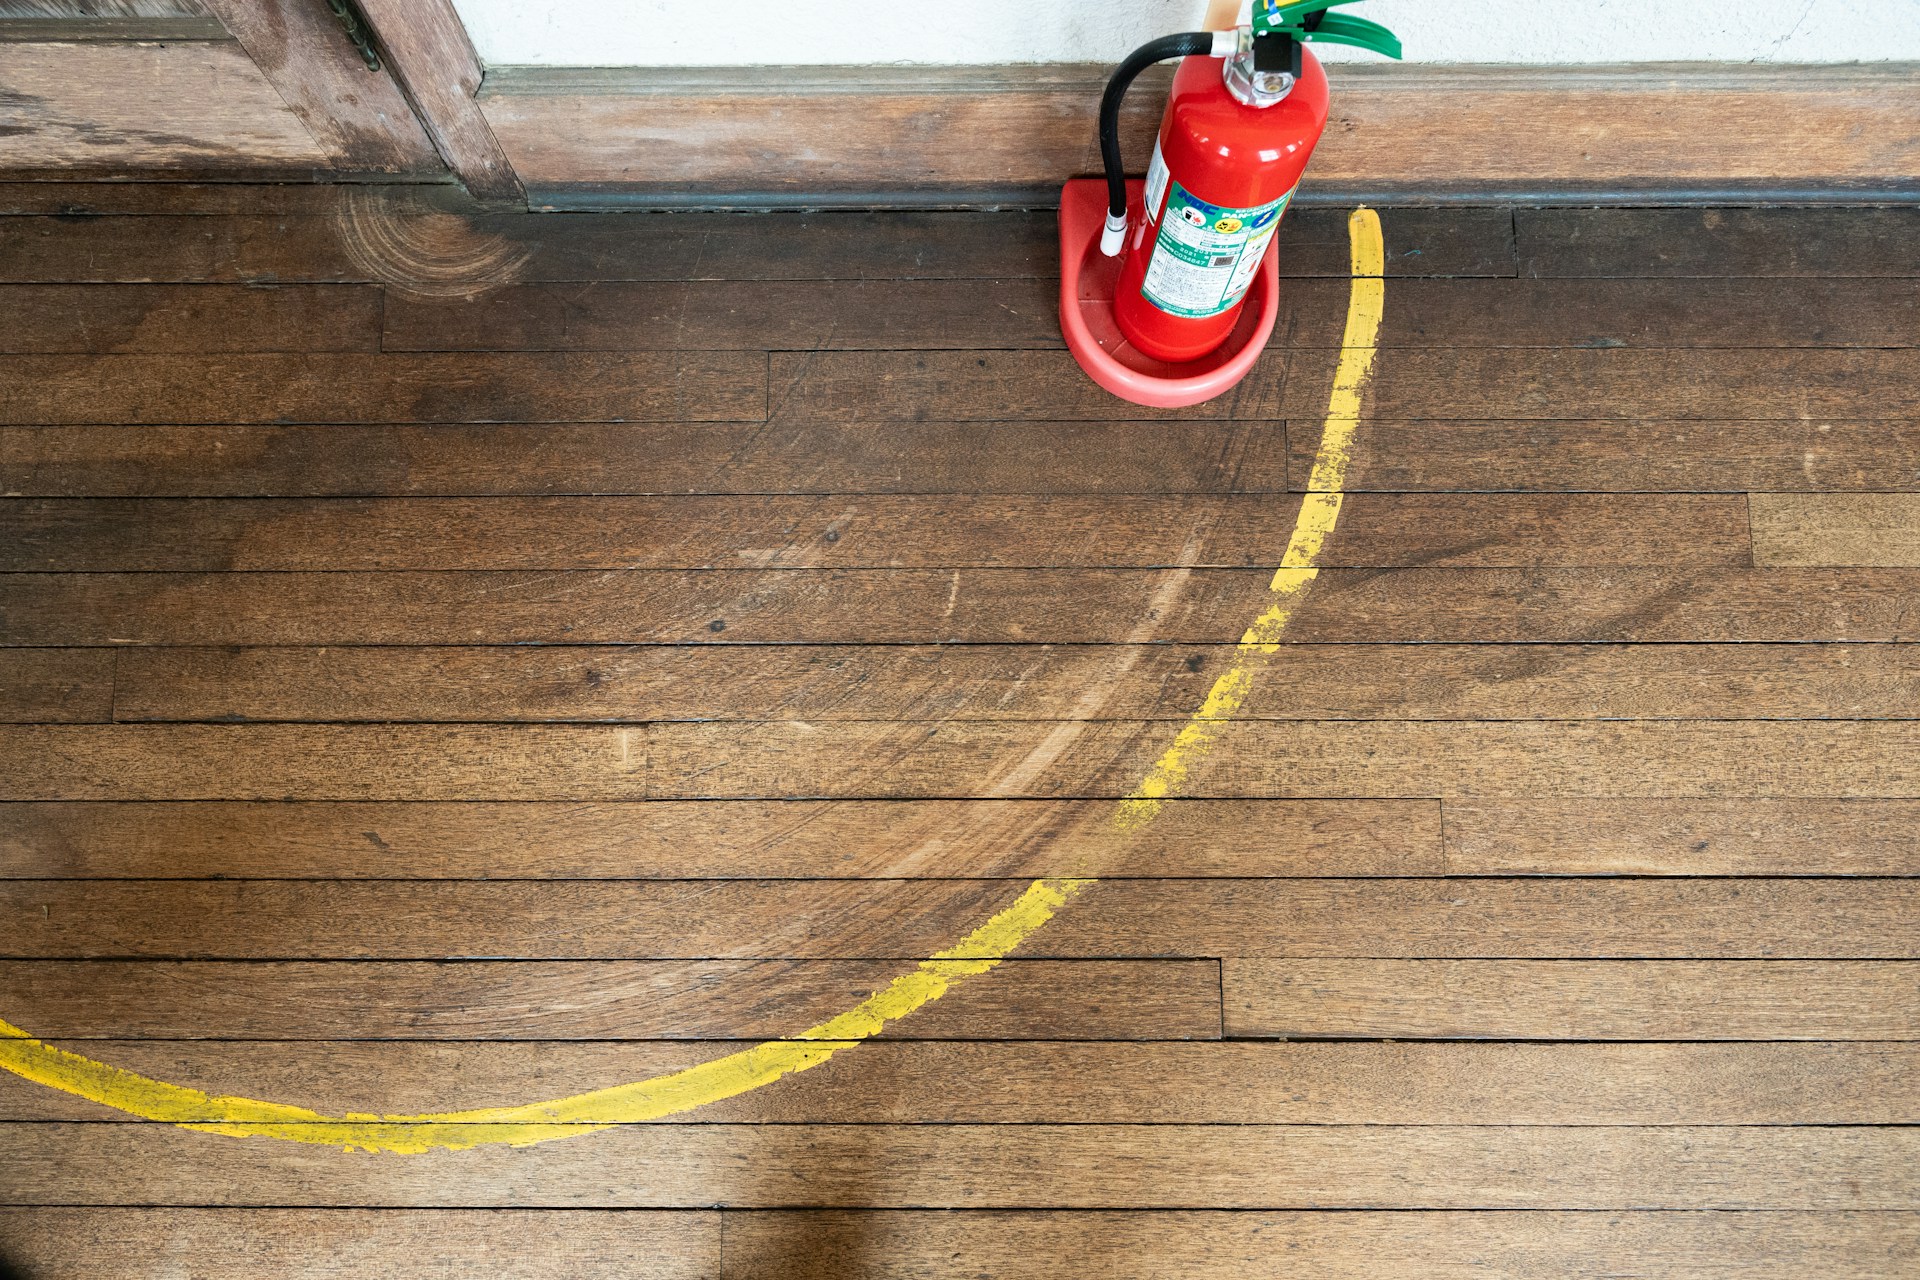
Floor sanding is a critical step in giving your hardwood floors a fresh and polished look. Over time, floors can become scratched, dull, or worn down, making sanding essential to restoring their beauty. Whether you’re sprucing up a room for personal enjoyment or preparing a property for sale, getting floor sanding right can make a big difference. It’s a process that demands precision and skill to ensure that the wood is not only smooth but also ready for the final finish.
However, sanding isn’t always as straightforward as it seems. Many people assume they can handle it on their own, but without proper guidance, mistakes can occur. In Toronto, professional floor sanding services are available to tackle these challenges effectively. Common issues, such as uneven sanding or incorrect paper usage, can lead to more harm than good. Recognizing these pitfalls will save time and protect your flooring investment, leading to better results and a stress-free experience.
Skipping Preparation Steps
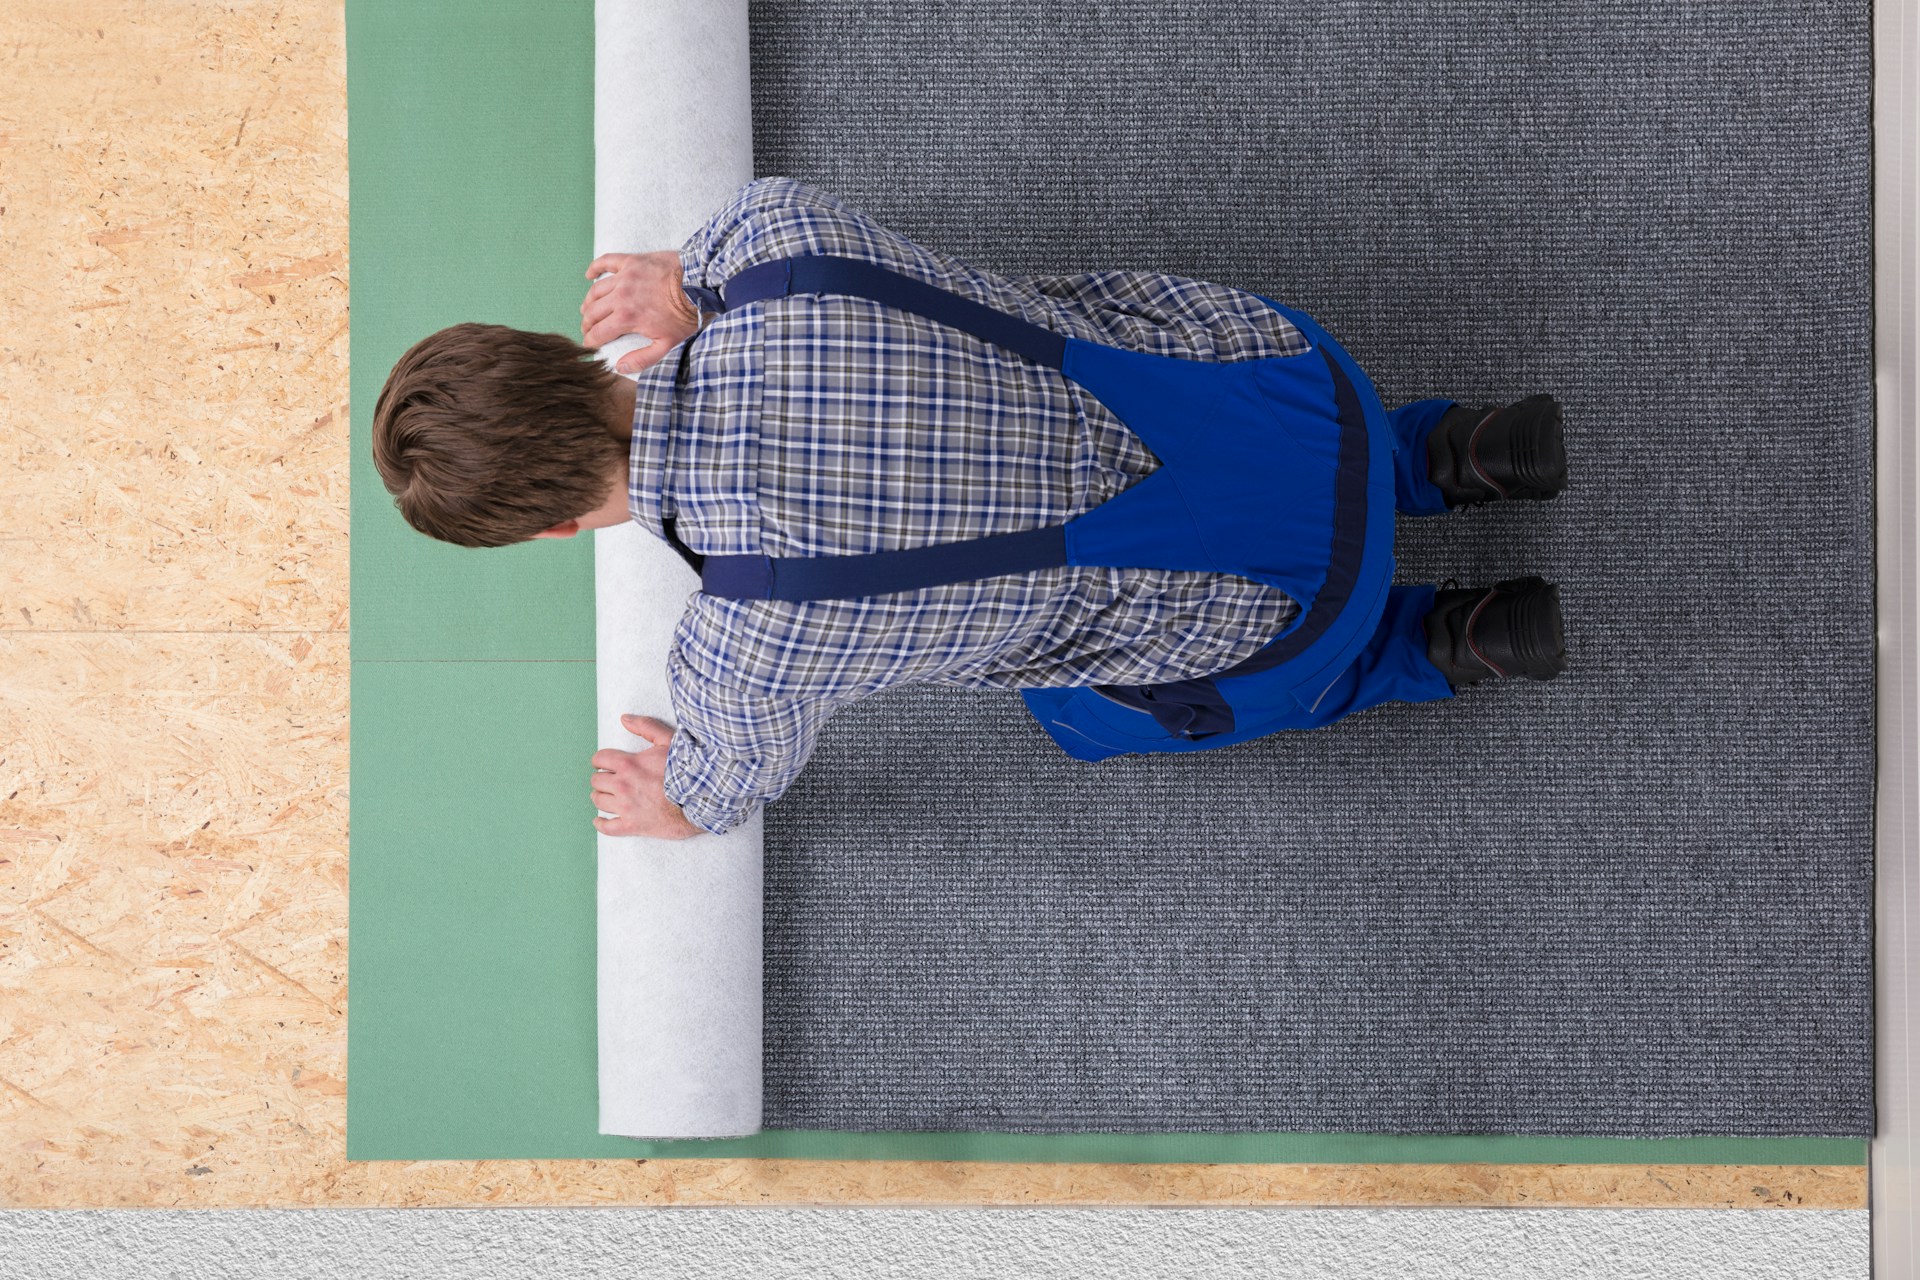
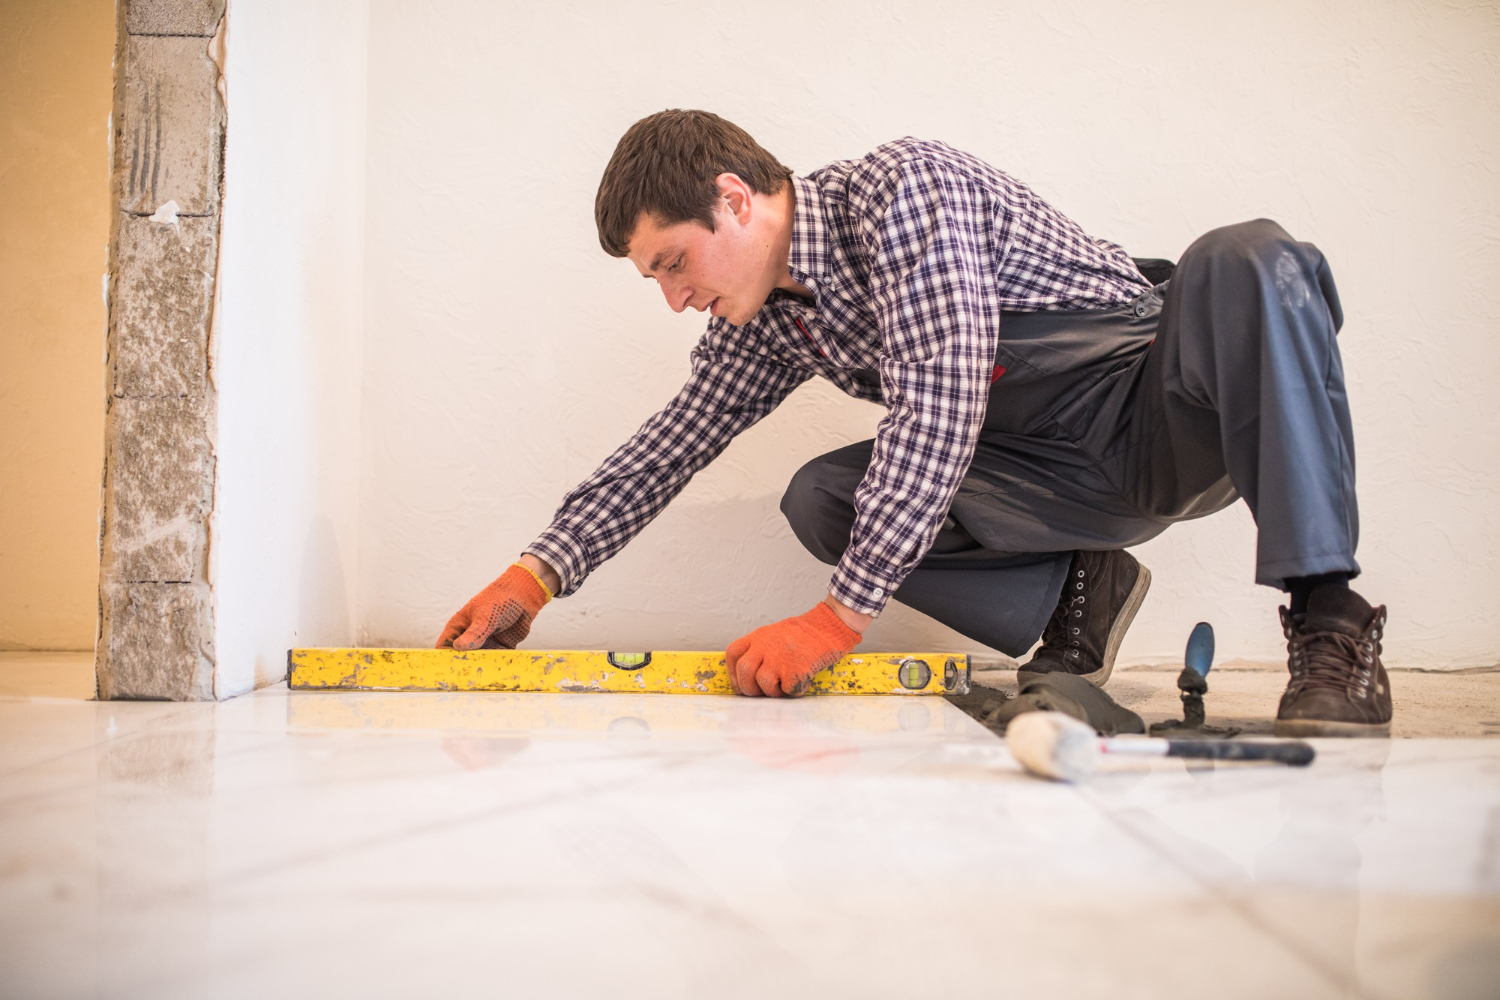
Preparation is key when it comes to successful floor sanding. Jumping straight into sanding without taking the necessary pre-sanding steps can result in less than ideal outcomes. One common oversight is failing to clear the area of all furniture and decor, which might seem basic, but leaving anything in the way can cause uneven sanding or accidental damage.
Another frequent mistake is not thoroughly cleaning the floor before beginning. Dust and debris can affect the sanding equipment’s performance and ultimately, the finish. It’s important to vacuum and mop the floors to remove any dirt. Also, check for nails or staples sticking out, as these can tear the sandpaper or even harm the sander.
For those about to prepare for sanding, here’s a quick preparation list to ensure everything is in place:
– Clear out furniture and any loose items.
– Clean the floor, ensuring there’s no debris.
– Inspect for nails or staples and hammer them down, making it smooth.
– Close off doors and openings to limit dust migration.
Proper preparation ensures the smooth application of sandpaper on the wood, leading to an even and professional-looking finish.
Incorrect Use of Sandpaper
Sandpaper might seem like a simple tool, but using the wrong type or grit can lead to significant issues. Different grit levels serve different purposes, and selecting the right one is vital. A common error is selecting sandpaper that’s too coarse, which can quickly remove too much material, leaving the floor uneven.
Conversely, choosing sandpaper that’s too fine may take longer and might not effectively remove old finishes or deep scratches. Here’s how to approach sandpaper selection:
1. Coarse Grit (20-40): Best for initial sanding where paint, varnish, or deep scratches need removing.
2. Medium Grit (60-80): Used after the first pass to smooth out rough surfaces.
3. Fine Grit (120 and above): Ideal for final sanding to give wood a smooth, polished look.
Selecting the proper grit can save time and prevent potential floor damage. Matching sandpaper to the appropriate sanding stage helps achieve even and smooth floors ready for finishing touches.
Inconsistent Sanding Pressure
Maintaining consistent pressure when sanding is essential to achieving an even surface. Applying too much force can wear down areas unnecessarily, while too little pressure can leave the floor grainy and rough. It’s all about finding that perfect balance where the sander is guided steadily across the floor without pushing down excessively.
One effective technique is using both hands to guide the sander evenly, allowing the machine’s weight to maintain natural pressure. Signs of inconsistent pressure typically include visible sanding marks or patches that appear slightly uneven. Regularly checking the floor during the sanding process can help to promptly adjust your technique if needed.
Focusing on equal pressure helps the sanding machine run smoothly over the surface, minimizing the risk of gouges or streaks. With attention to these details, anyone can master the art of floor sanding, ensuring a flawless foundation for further treatment or stain.
Ignoring Safety Precautions
When sanding floors, it’s essential to think about safety. The gear you use and the precautions you take can really make a difference. Neglecting even small safety measures can lead to accidents or errors that might cause further issues. Make sure to wear protective gear like masks and goggles; dust and small wood particles can easily become airborne and pose a respiratory hazard.
Floors in older homes often come with their own set of challenges and hidden problems. Watch out for potential hazards like weak boards, loose nails, or even old finishes that could release harmful fumes. Taking a few minutes to check the area can prevent a lot of headaches. Always ensure good ventilation in the room to reduce dust and help with air quality during the sanding process.
Precautionary steps are important to guarantee not just a job well done, but the safety of everyone involved. Making sure you follow safety rules and guidelines helps make the project smooth and completed without harm.
Poor Dust Management
Proper dust management during sanding is key to a successful outcome. Sanding produces a lot of dust, which can settle back onto the floor and affect your finish. Worse, the dust can get into every corner of your house, spreading much further than you’d expect. Poor management of this dust can lead to more cleaning and less-than-perfect results.
To keep things under control, investing in a professional-grade vacuum system is a smart choice. This will help capture dust directly from the source. If that’s not an option for you, at least aim for using a vacuum attachment on your sander. Seal off doorways and vents with plastic sheeting to contain dust within the room you’re working in.
Regularly stopping to vacuum the area during the sanding process not only helps to control dust but also lets you see your progress more clearly. Keeping dust under control helps ensure that the floor remains clean and ready for whatever comes next.
Wrapping Up Your Floor Sanding Project
As you near the end of your floor sanding project, take a moment to reflect on the key steps that got you there. From choosing the right sandpaper grit to maintaining consistent pressure, all these efforts lead to a successful finish. Make sure to walk through the space and inspect for any areas that might need a quick touch-up.
Before applying any sealant or finish, vacuum the entire area one final time. Then, let the floor rest for a bit, allowing any remaining dust to settle, and vacuum again. It might seem repetitive, but these steps ensure that the floor is as clean as possible for the finishing stage.
Finally, remember that sanding is just one part of maintaining beautiful hardwood floors. Regular care, attention, and sometimes a little professional help will keep them looking their best for years to come. Consider professional refinishing services in Toronto for advice or assistance to ensure top-notch results, protecting your flooring investment and enhancing the beauty of your space.
For those looking to achieve the perfect finish for their floors, understanding the benefits of floor sanding services in Toronto can make all the difference. Trust NewRidge Refinishing Group to lend their expertise and help maintain the beauty of your hardwood floors. Explore their various offerings and ensure your flooring is both expertly restored and beautifully polished.