Installing hardwood floors is a fantastic way to enhance the beauty and value of your home. However, before you can enjoy your new floors, proper preparation is essential. Preparing your home for hardwood floor installation ensures a smooth process and a long-lasting, beautiful result. Skipping essential preparation steps can lead to issues like uneven floors, gaps, or even damage to your new hardwood.
In this guide, we’ll walk you through everything you need to know about getting your home ready for hardwood floor installation. We will cover the crucial steps, starting with assessing your current flooring and subfloor to ensure they are suitable for new hardwood. Then, we’ll move on to practical advice on clearing the room and making the space ready for work. We’ll also discuss why acclimating your hardwood is vital for successful installation. Finally, we’ll outline the tools and materials you’ll need to ensure you’re fully prepared for the task.
By following these guidelines, you’ll be well-prepared to install your new hardwood floors, ensuring they look great and last for years. Proper preparation can make the difference between a straightforward installation and one filled with unexpected challenges. Let’s get started on making your hardwood floor installation a success.
Assessing Your Current Flooring and Subfloor
Before installing hardwood floors, start by assessing your current flooring and subfloor. This step ensures that your new hardwood will have a solid foundation to rest on, which is crucial for longevity and appearance.
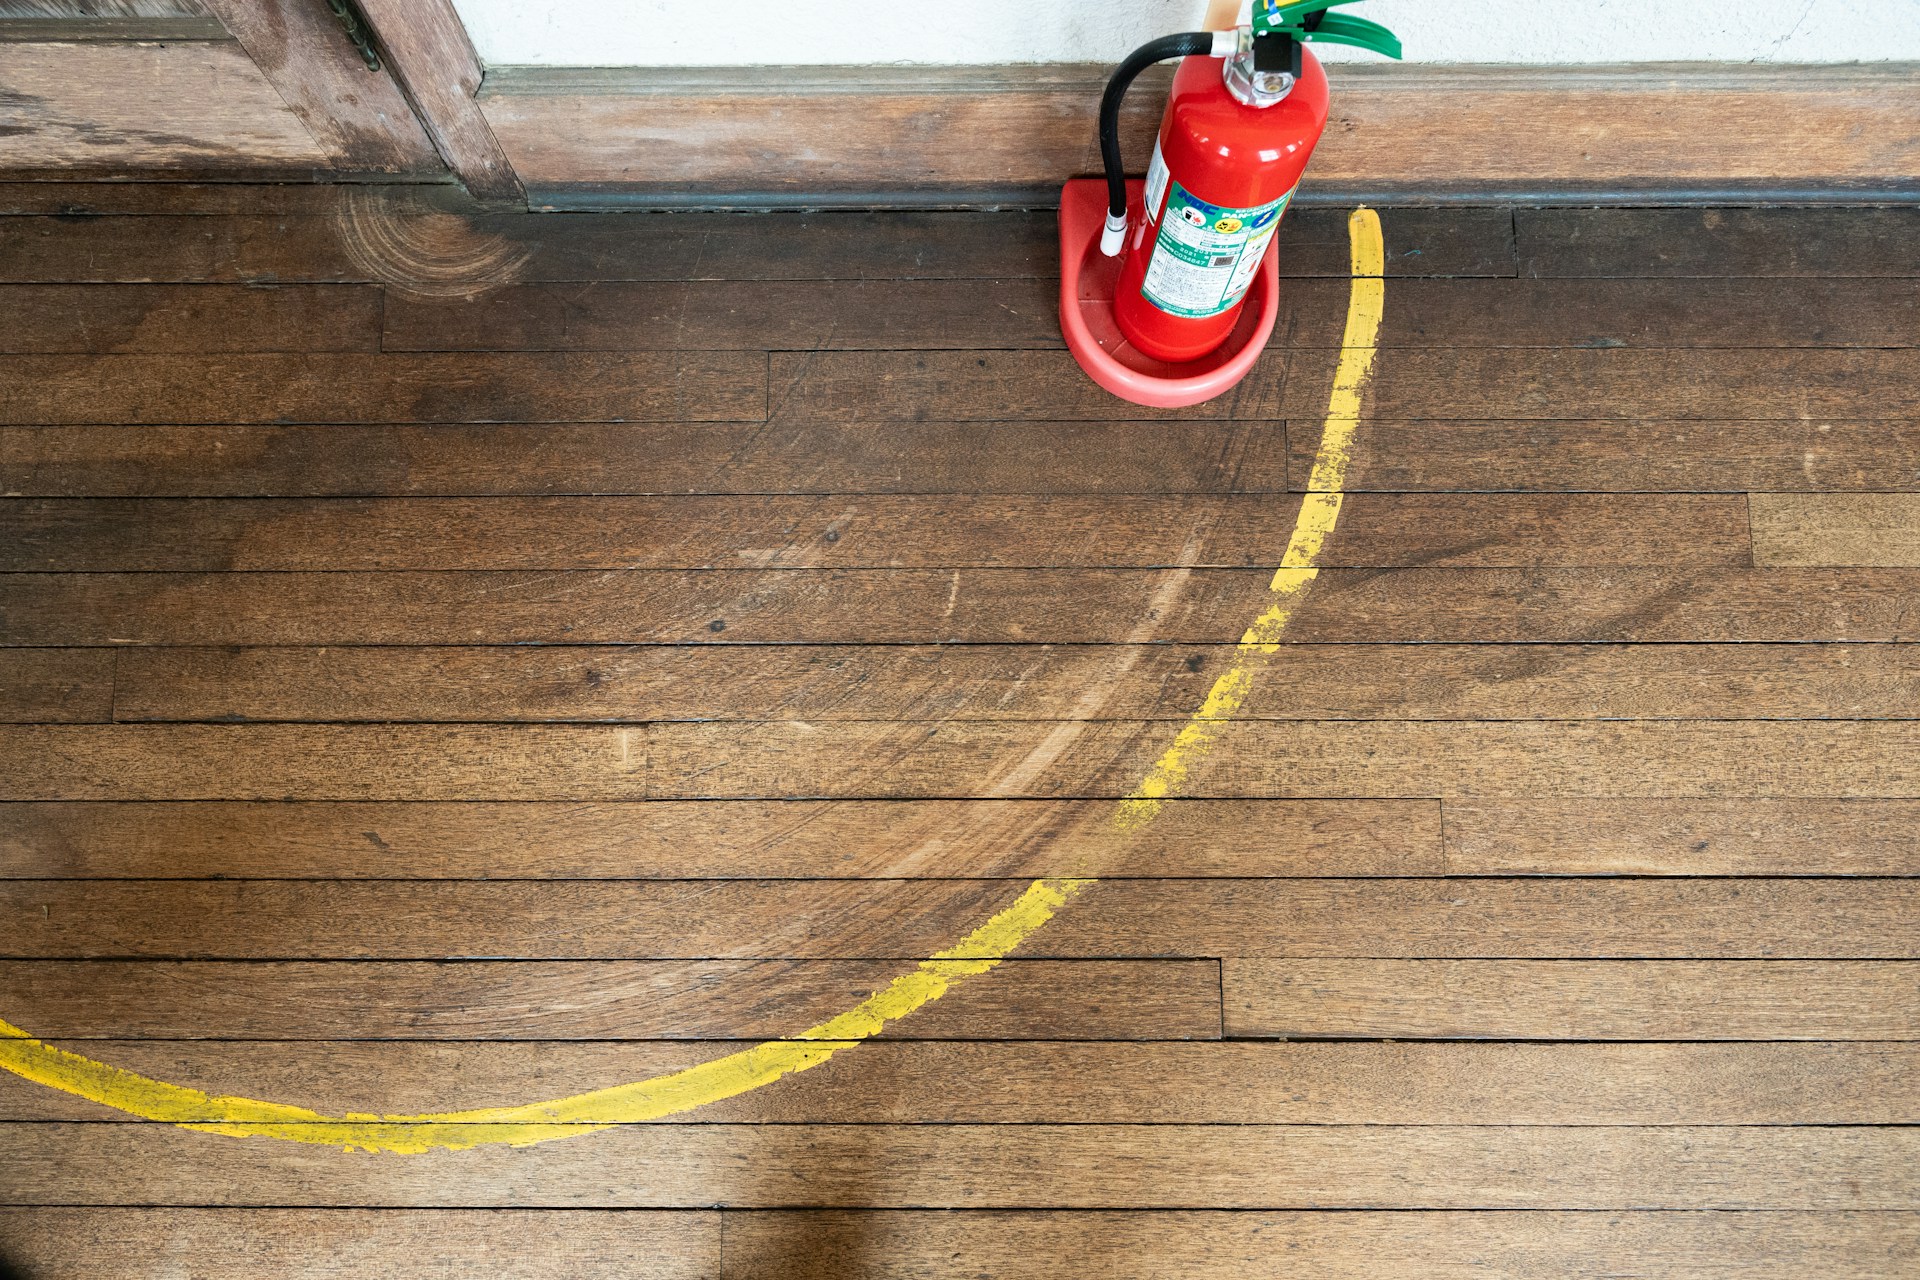
First, examine your existing floor. Remove any carpeting, vinyl, or laminate that covers the subfloor to get a clear view. Check for any signs of damage like warping, moisture, or mould. Any damaged areas need to be repaired before you proceed. If your current floor is in good condition, you can lay hardwood over it. However, remember that adding a new layer can raise the floor height, affecting doors and transitions to other rooms.
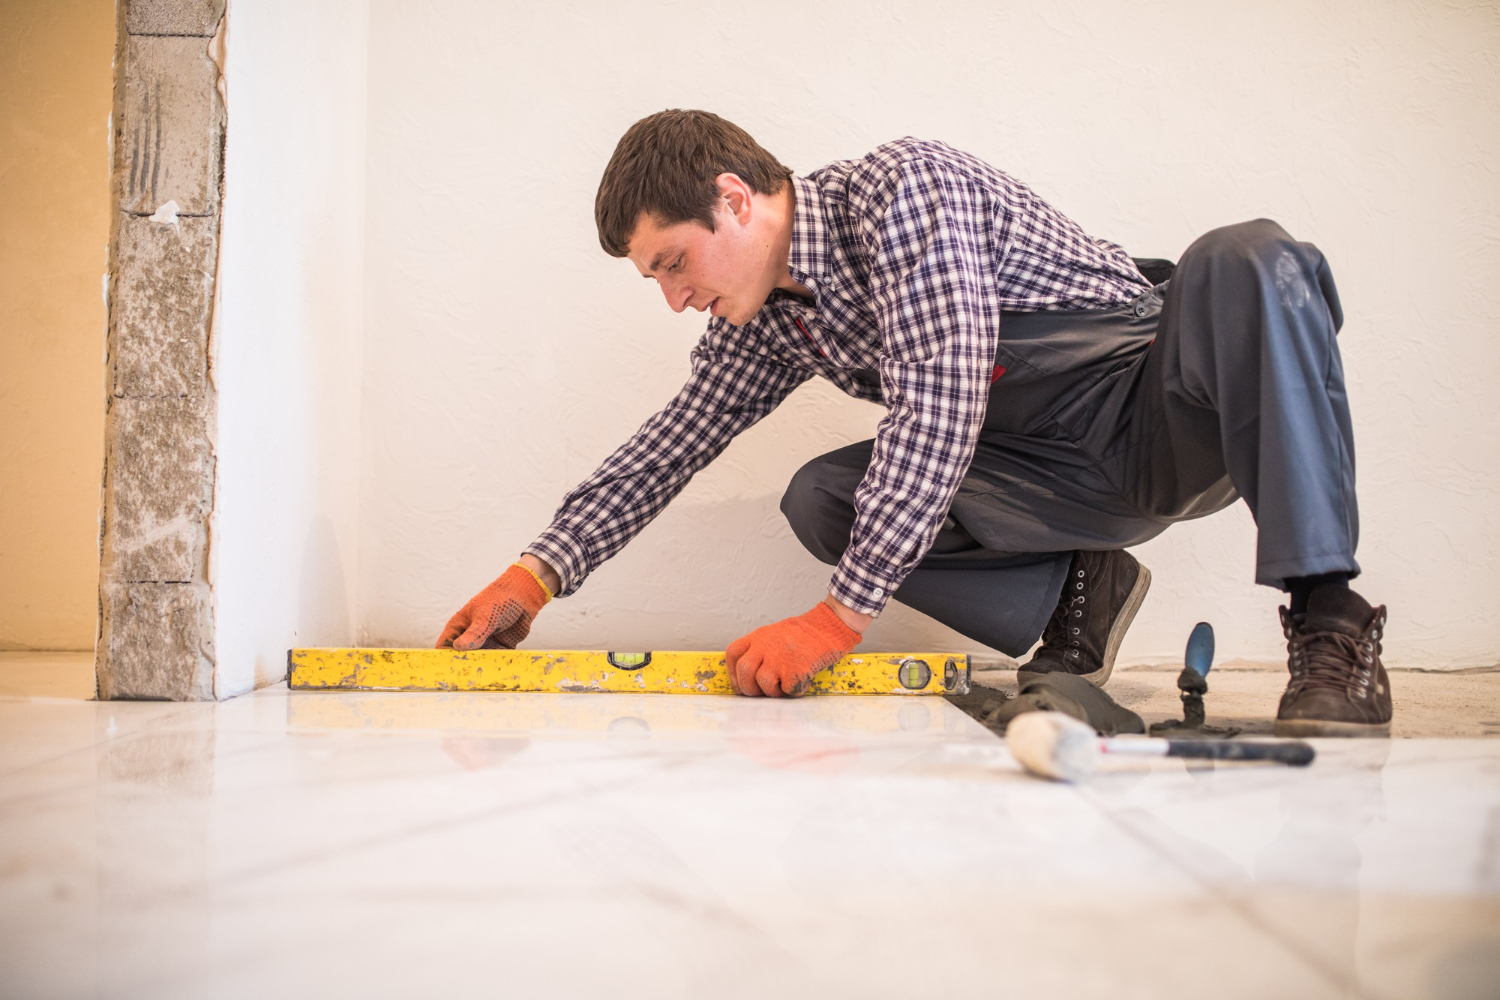
Next, inspect the subfloor. Look for loose or squeaky sections and secure them with screws. Make sure the subfloor is clean, dry, and level. Uneven areas can result in gaps and creaky floors. Use a level to check for any discrepancies, and if needed, sand down high spots or fill low spots with a levelling compound. Addressing these issues beforehand will save you time and trouble during installation.
By thoroughly assessing and preparing your existing floor and subfloor, you ensure a smooth and durable hardwood floor installation.
Clearing Furniture and Preparing the Room
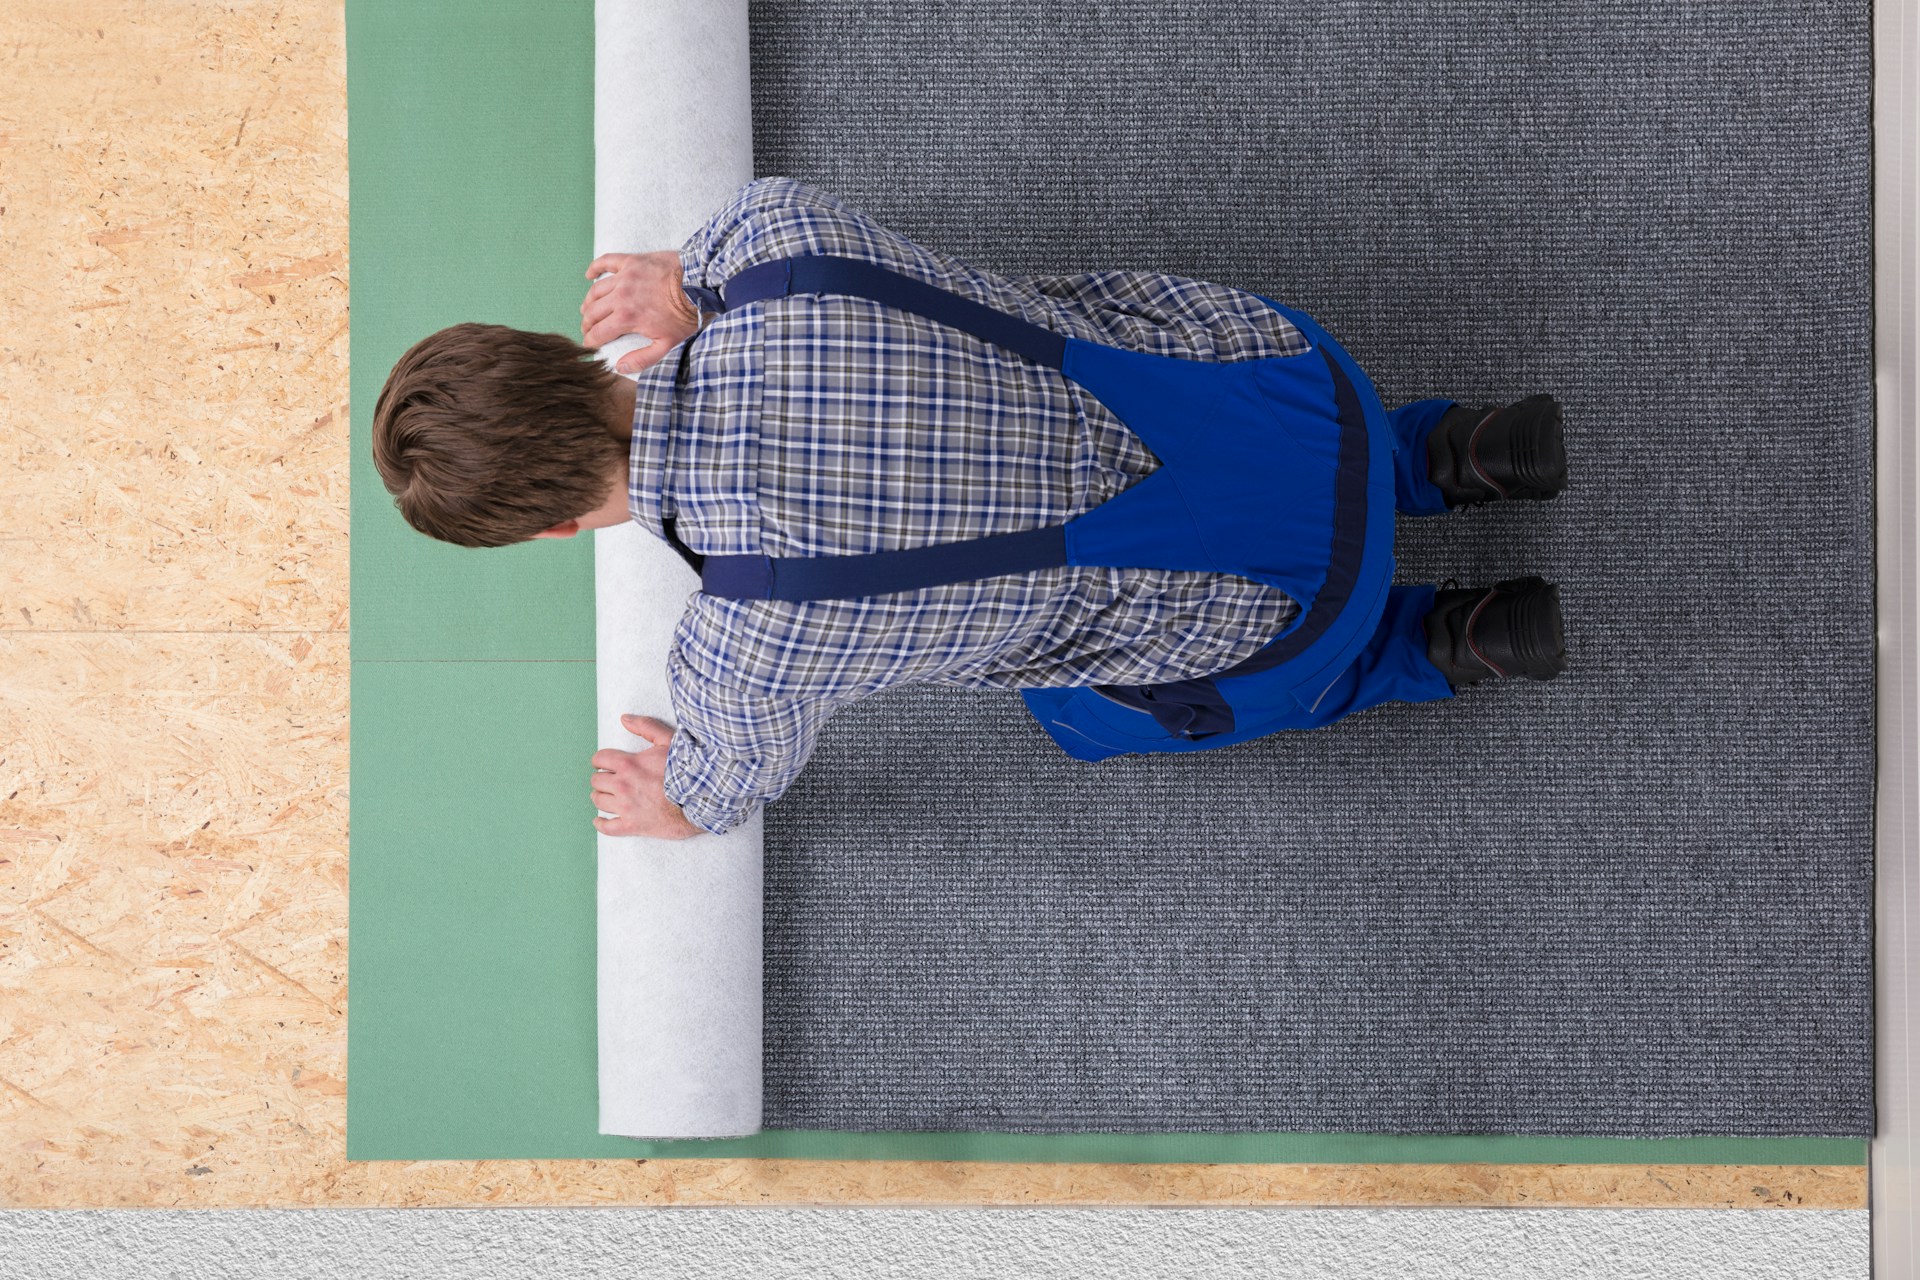
Preparing the room is a crucial step for a seamless hardwood floor installation. Start by clearing all furniture and personal items from the room. This not only provides a clean workspace but also prevents any potential damage to your belongings.
Here are steps to clear and prepare the room effectively:
1. Empty the Room: Move furniture, rugs, and decorations to a safe location. If possible, disassemble bulky pieces to make them easier to move.
2. Remove Baseboards: Carefully remove baseboards and trim using a pry bar. This will make installing the new floor easier and allow for proper expansion gaps.
3. Prepare Doorways: If the new hardwood floor will be higher than the current one, you might need to trim the bottom of the door and any door jambs. Use a handsaw or an oscillating tool for precise cuts.
4. Protect Adjacent Areas: Use plastic sheeting and painter’s tape to seal off other rooms and protect them from dust. Cover any fixtures or items that cannot be removed.
5. Check for Nails and Staples: Inspect the floor for any remaining nails or staples from previous flooring. Remove them to ensure a smooth surface for the new hardwood.
By taking the time to clear furniture and prepare the room properly, you create an ideal environment for installing your new hardwood floor. This will help avoid complications and ensure the best possible outcome.
Acclimating Your Hardwood Flooring
Acclimating your hardwood flooring is a crucial step before installation. This process allows the wood to adjust to the humidity and temperature of your home, preventing issues like warping and gaps once installed.
To properly acclimate your hardwood flooring, follow these steps:
1. Bring the Wood Inside: Hardwood should be brought into the installation area at least 3 to 5 days before you plan to install it. This gives the wood enough time to adjust to the room’s conditions.
2. Leave the Boxes Open: Open the boxes of hardwood flooring but leave the wood stacked neatly. This allows air to circulate around the planks, helping them acclimate evenly. Avoid placing the wood directly on concrete floors; instead, place it on a slightly raised surface.
3. Monitor Room Conditions: Keep the room at a stable temperature between 18°C and 24°C (65°F to 75°F) and maintain a humidity level between 35% and 55%. Use a hygrometer to monitor the humidity. These conditions are ideal for acclimating hardwood flooring.
4. Check Moisture Levels: Use a moisture meter to check the moisture content of both the hardwood and the subfloor. They should be within 2% to 4% of each other to ensure compatibility. Adjust the room conditions if necessary and allow more time for acclimation if the levels are not within this range.
By properly acclimating your hardwood flooring, you set the stage for a successful installation and a floor that will remain stable and beautiful for years to come.
Tools and Materials You’ll Need for Installation
Having the right tools and materials on hand is essential for a smooth hardwood floor installation. Here’s a list of what you’ll need:
1. Measuring Tools: Tape measure, square, and chalk line to ensure accurate cuts and a straight layout.
2. Cutting Tools: A mitre saw for cutting planks to length and a jigsaw for cutting intricate shapes and notches around obstacles.
3. Fastening Tools: A flooring nailer or stapler makes the job easier and helps secure the planks tightly. You’ll also need a hammer and nails.
4. Adhesive: If you plan to glue down your hardwood, ensure you have the correct wood glue and a notched trowel for even application.
5. Pry Bar and Rubber Mallet: These tools will help you fit the boards together snugly without damaging the wood.
6. Spacers: Use spacers to maintain a consistent expansion gap around the perimeter of the room.
7. Protective Gear: Wear knee pads, safety glasses, and ear protection to stay safe and comfortable while working.
Gathering these tools and materials beforehand ensures you are well-prepared to handle the installation process smoothly. Having everything ready will make the job quicker and more efficient.
Final Thoughts
Preparing your home for hardwood floor installation is a critical step that can greatly impact the final result. From assessing your current flooring and subfloor to acclimating your hardwood, each phase ensures your new floor will look great and last for many years. Proper room preparation and having the right tools and materials on hand will save you time and prevent potential issues during the installation.
We at NewRidge Refinishing Group are dedicated to helping you achieve the best possible outcome for your hardwood flooring projects. With our expertise in hardwood buffing and coating, refinishing, and installation, you can trust us to deliver top-quality results. Contact NewRidge Refinishing Group today to get started on your next flooring project.