Transforming your home with the warmth and elegance of hardwood flooring is an exciting decision. Before the first plank is laid, careful preparation can make the installation process go smoothly and efficiently. A little planning goes a long way to ensure your beautiful new floors become a lasting feature in your home.
Proper preparation begins with assessing your current flooring and room conditions. It’s important to address any existing issues and make necessary adjustments to temperature and humidity. This ensures a stable environment for your new hardwood. Likewise, gathering the right tools and materials saves time and avoids mid-project surprises.
With a focus on the subfloor, cleaning and leveling set a solid foundation for your new flooring. Ensuring you’ve selected appropriate underlayment and addressed moisture barriers helps protect the integrity of your new floors. By arranging your space for installation, you clear the way for installers, avoid unnecessary disruptions, and pave the way for your home’s stunning transformation.
Assessing Your Current Flooring and Room Conditions
Before new hardwood floors can become part of your home, you must first take a close look at your existing flooring and room conditions. Begin by checking for any issues in your current floor. Look for damaged areas, squeaky spots, or uneven sections that need repair. Addressing these issues now ensures a smooth installation process later on.
Next, evaluate the room’s humidity and temperature. Hardwood floors can expand or contract depending on these factors, so it’s crucial to create a stable environment. Use a hygrometer to measure humidity, aiming for a level between 30% and 50%, which is ideal for hardwood. If necessary, use humidifiers or dehumidifiers to maintain optimal levels.
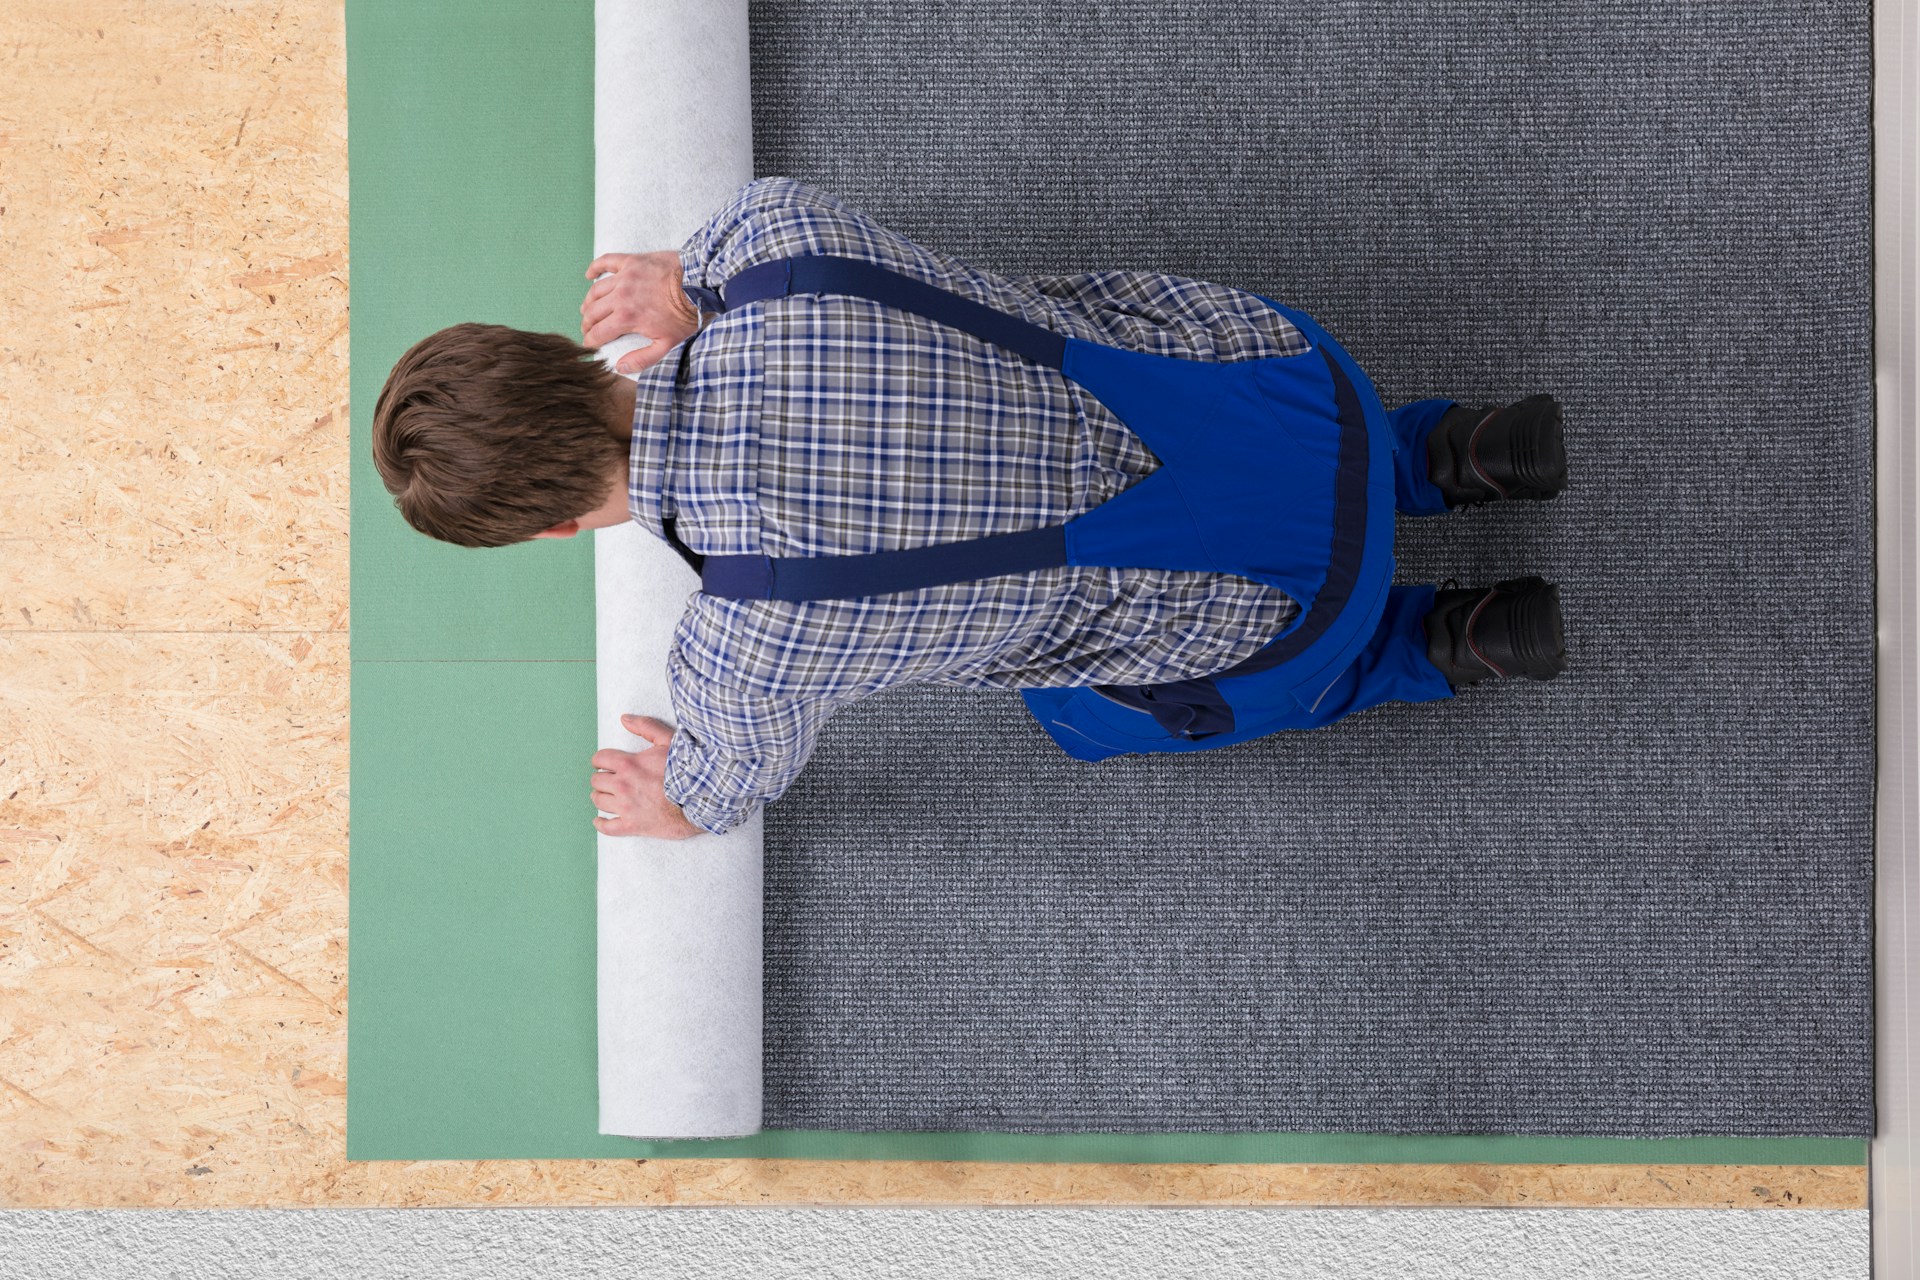
Removing carpets and old flooring is another important step in preparation. Start by carefully taking out any current floor coverings, including nails and staples that might impede the new installation. Roll up carpets, ensuring all padding is removed, and dispose of them according to your local waste guidelines. Preparing a clean, level surface proves essential for a successful hardwood installation and ensures that your new floors lie flat and secure.
Gathering Necessary Tools and Materials
Once you’ve assessed your home’s flooring condition, it’s time to gather all the necessary tools and materials for the installation. An organized approach reduces stress and keeps the project on track. Begin with essential tools like a tape measure, chalk line, rubber mallet, saw, and flooring nailer. These help in accurate cutting and fitting of the wood pieces.
Next, consider the type of hardwood suitable for each room. Choices like oak, maple, or walnut come based on durability and design preferences. Remember, areas with higher moisture levels may benefit from engineered hardwood that’s less susceptible to water damage. Selecting the right type of wood ensures long-lasting results.
Ensuring correct measurements is crucial. Use the tape measure to record the room’s dimensions accurately, taking note of any irregular spaces. Having precise measurements allows you to order the right amount of flooring, minimizing wasted material and cost. Double-check these numbers and round up when ordering to account for cuts and adjustments.
By gathering the right tools and choosing suitable materials, you lay the groundwork for a smooth and successful hardwood flooring installation. With the preparation phase complete, you’re one step closer to transforming your home with beautiful new floors.
Preparing the Subfloor for Installation
A well-prepared subfloor is vital for a successful hardwood flooring installation. Begin by cleaning the subfloor thoroughly, removing all debris, dirt, and any adhesive residue that could affect the new flooring. Use a broom and vacuum to ensure a completely clean surface. After cleaning, inspect the surface for any uneven areas or imperfections.
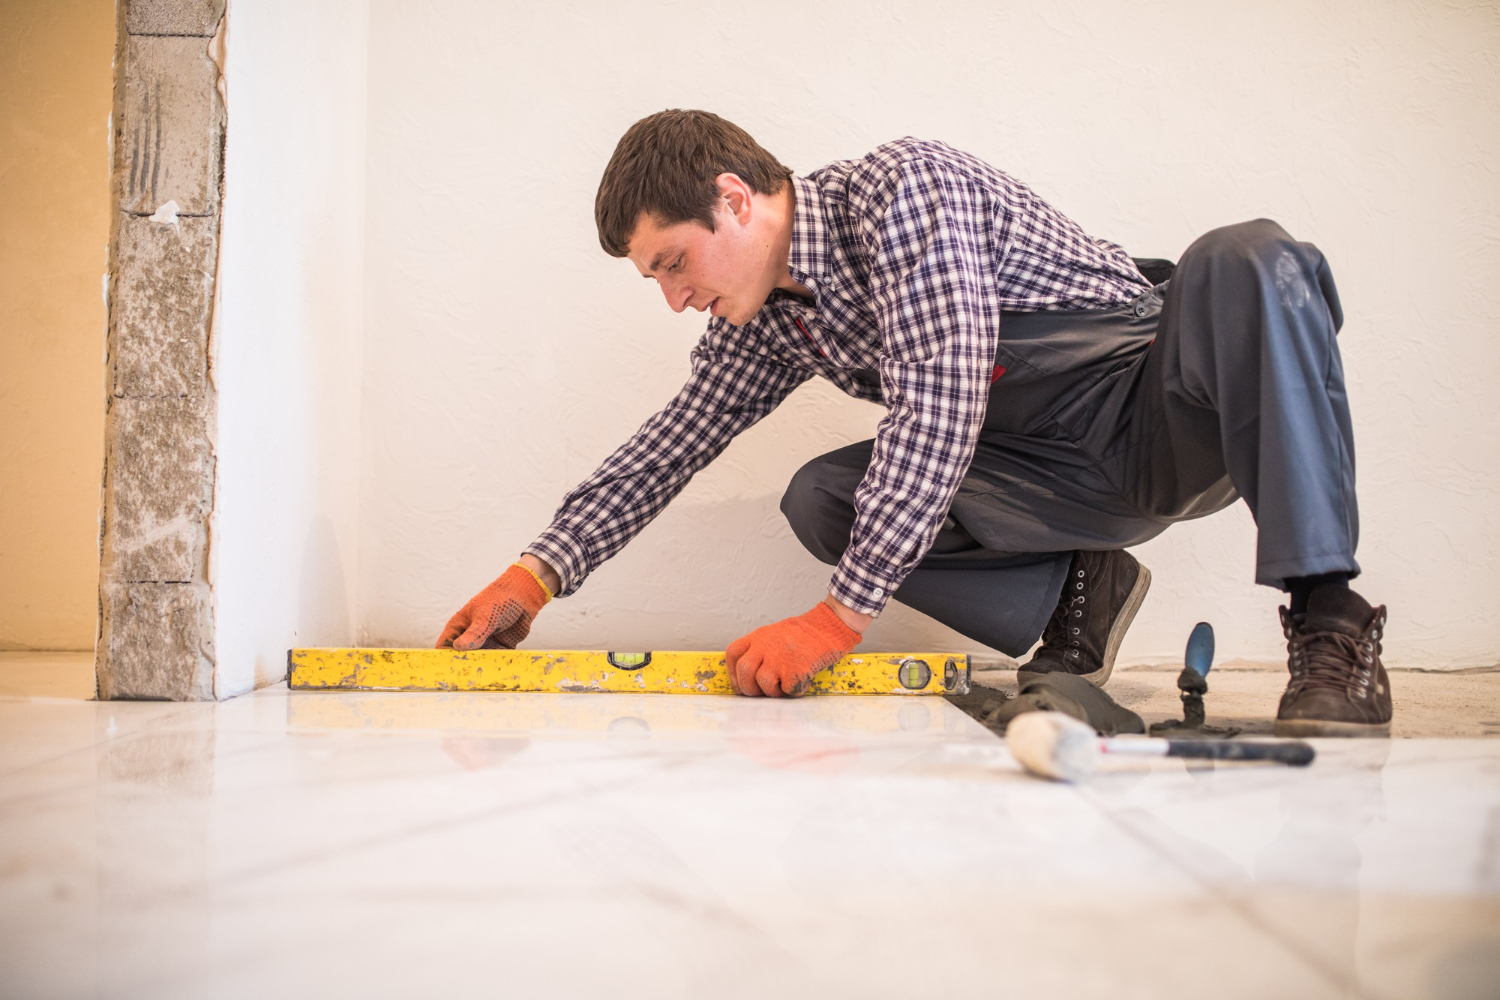
Leveling the subfloor is crucial because a flat surface ensures the hardwood lays smoothly. Use a level to find uneven spots, then apply a flooring compound if necessary to even out the surface. This prevents future issues like creaks or gaps from arising.
Selecting the appropriate underlayment is another key step. The right underlayment provides a cushioning effect, reducing noise and offering moisture protection. Consider the specific needs of each room; thicker underlayment might be needed for sound reduction in upstairs rooms, for example.
Moisture barriers depend on the type of subfloor. For concrete bases, a moisture membrane can prevent water damage. For wooden subfloors, verify that they are in good condition and moisture-free to avoid complications. Preparing your subfloor properly sets the stage for a durable, lasting hardwood floor.
Arranging Your Space for Installation Day
To streamline the hardwood flooring installation process, prepare your space in advance. Start by clearing the area of all furniture and personal items. This not only protects your belongings but also provides ample working space for the installers.
Planning for potential disruptions is essential. Consider the room’s accessibility and ensure clear pathways for installers to carry materials in and out. You might also need to restrict access to certain areas of your home while the project is underway. Arrange an alternative space for daily activities to minimize the impact on your routine.
Effective communication with the installation team enhances the process. Discuss any specific requirements or preferences with them beforehand. Share any concerns about protecting other areas of your home and address them early on. This ensures you and the installers are working together effectively, resulting in a smooth and efficient installation.
Conclusion
Preparing your home for hardwood flooring installation involves thoughtful planning and detailed preparation. By assessing your current flooring and considering ambient conditions, gathering the appropriate tools and materials, and focusing on subfloor readiness, you establish a strong foundation for your new floors. Arranging the installation space in advance helps to avoid unnecessary delays and ensures the process goes off without a hitch.
Choosing to upgrade your home with hardwood flooring is a big step, and being properly prepared elevates the quality of the final result. Whether you’re looking for the warmth and character of classic wood or a contemporary style that makes a statement, this preparation guide helps you achieve a smooth transition from old to new.
Ready to take the next step in transforming your space? Contact NewRidge Refinishing Group to schedule your luxury hardwood flooring installation. Our team of experts will guide you through the entire process, ensuring your new floors become a stunning and enduring part of your home. Reach out today and let us help bring your vision to life.