Refinishing wood floors can completely change the look and feel of your home. It’s a way to bring old, tired floors back to life, giving them a fresh and polished appearance. This task isn’t just about making things look good; it’s also about preserving the wood and extending its lifespan. Whether your floors are scratched, dull, or simply outdated, refinishing can offer a solution that makes them shine as if they were new.
Imagine walking into your living room and feeling proud of the beautiful wooden floors you see. You don’t need to be a professional to achieve these results. With the right techniques and a bit of patience, homeowners can refinish their own floors and enjoy that professional finish without the hefty price tag. Let’s explore how you can assess your flooring needs and prep your space, so you’re ready to revive your floors like the pros.
Assessing Your Floors
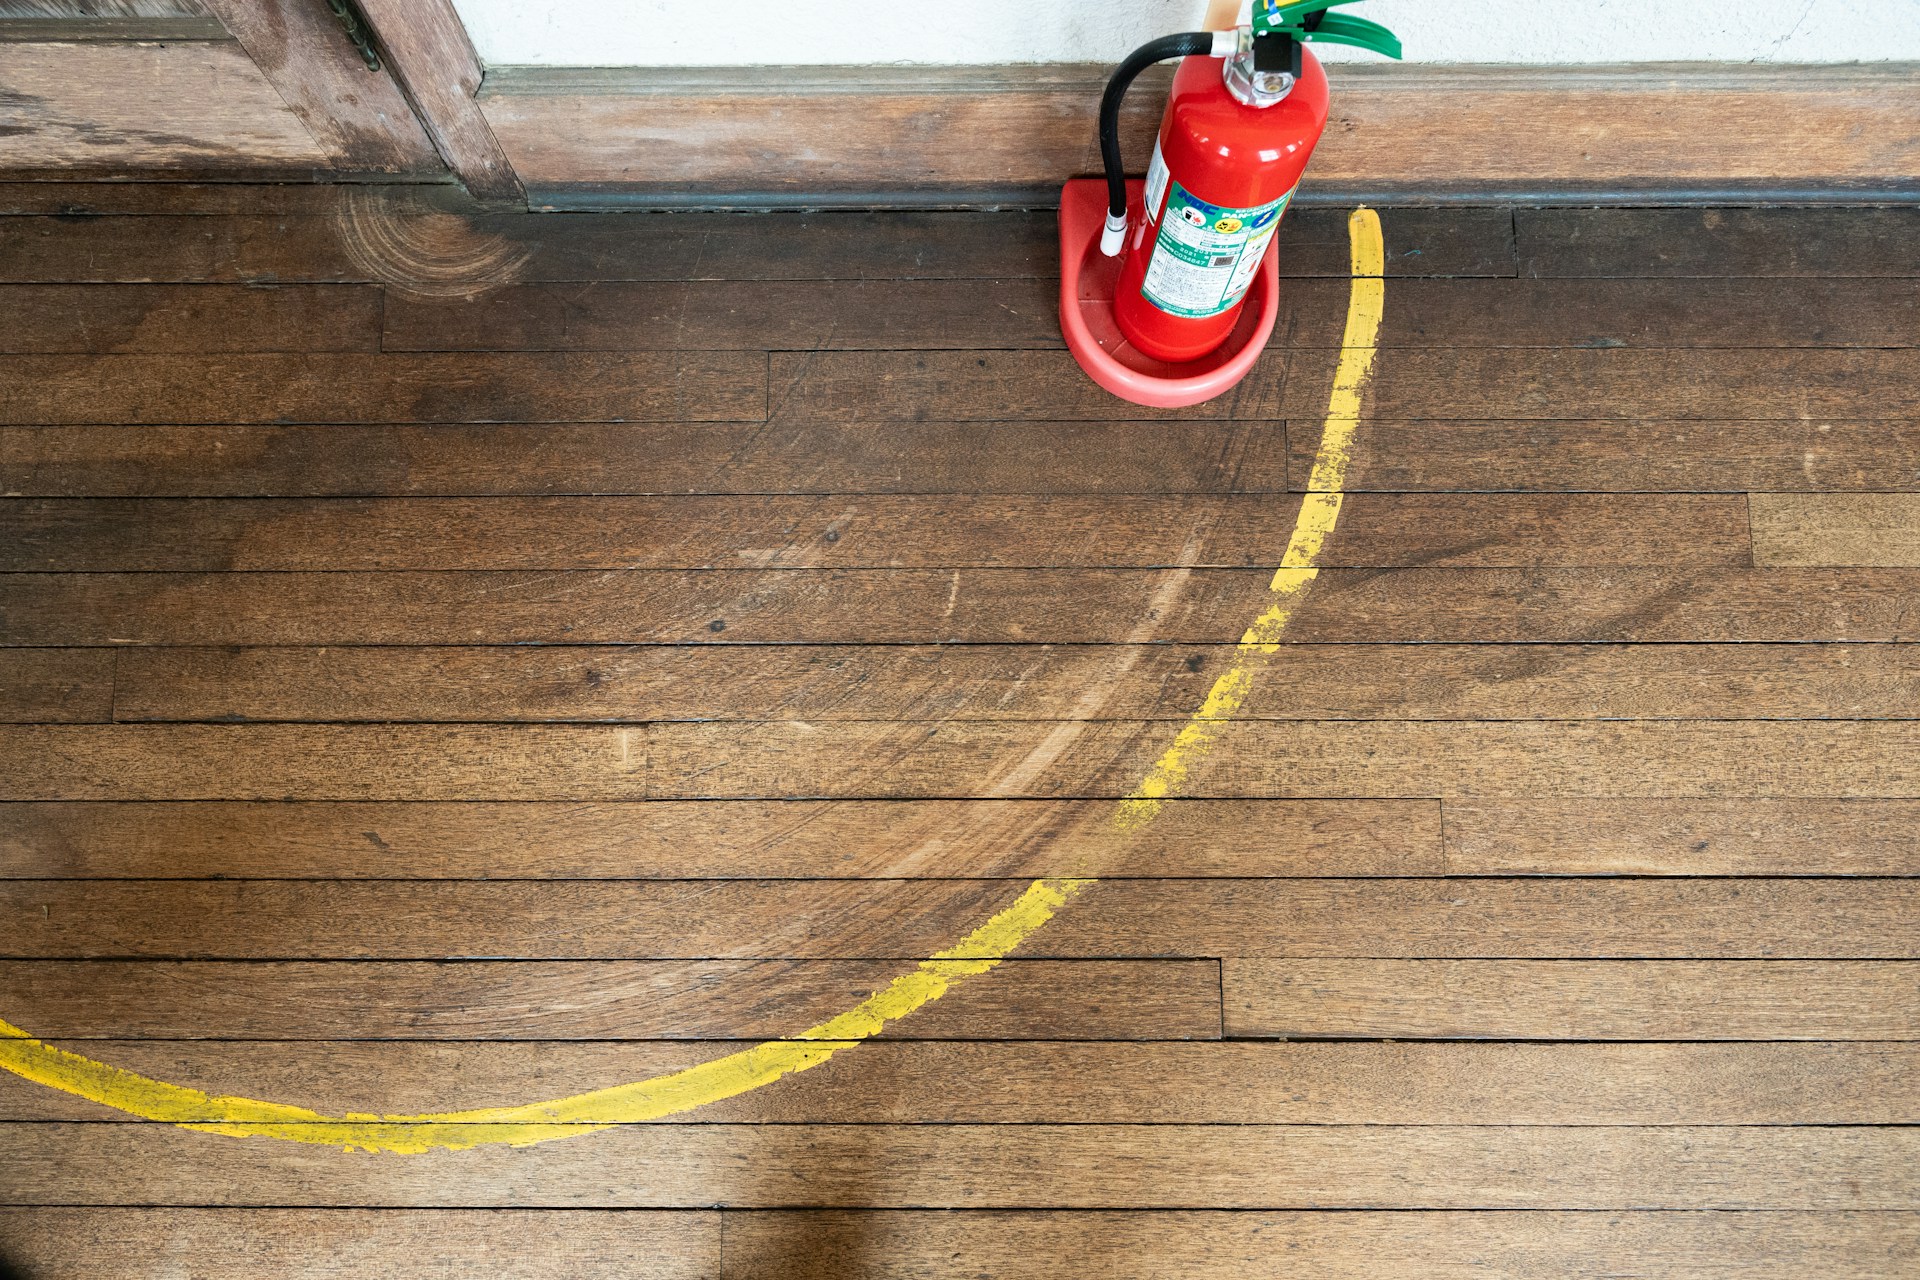
Before starting refinishing, it’s a good idea to assess whether your floors actually need it. A simple assessment can save you time and unnecessary work. Start by looking for visible signs like deep scratches, noticeable wear, or faded areas where the finish has worn away. These are all indicators that it might be time to refinish.
– Evaluate the surface for scratches and dents.
– Check for uneven coloration or faded spots.
– Pay attention to any loose or creaky boards.
You’ll also need a few basic tools for a thorough assessment. A flashlight will help you spot scratches, while a ruler can check for warping. If you find signs that your floors are due for refinishing, you’re ready to move on to prepping your area. Proper inspection is key; it ensures you’re putting effort where it’s truly needed, avoiding an unnecessary refinishing project.
Prepping the Area
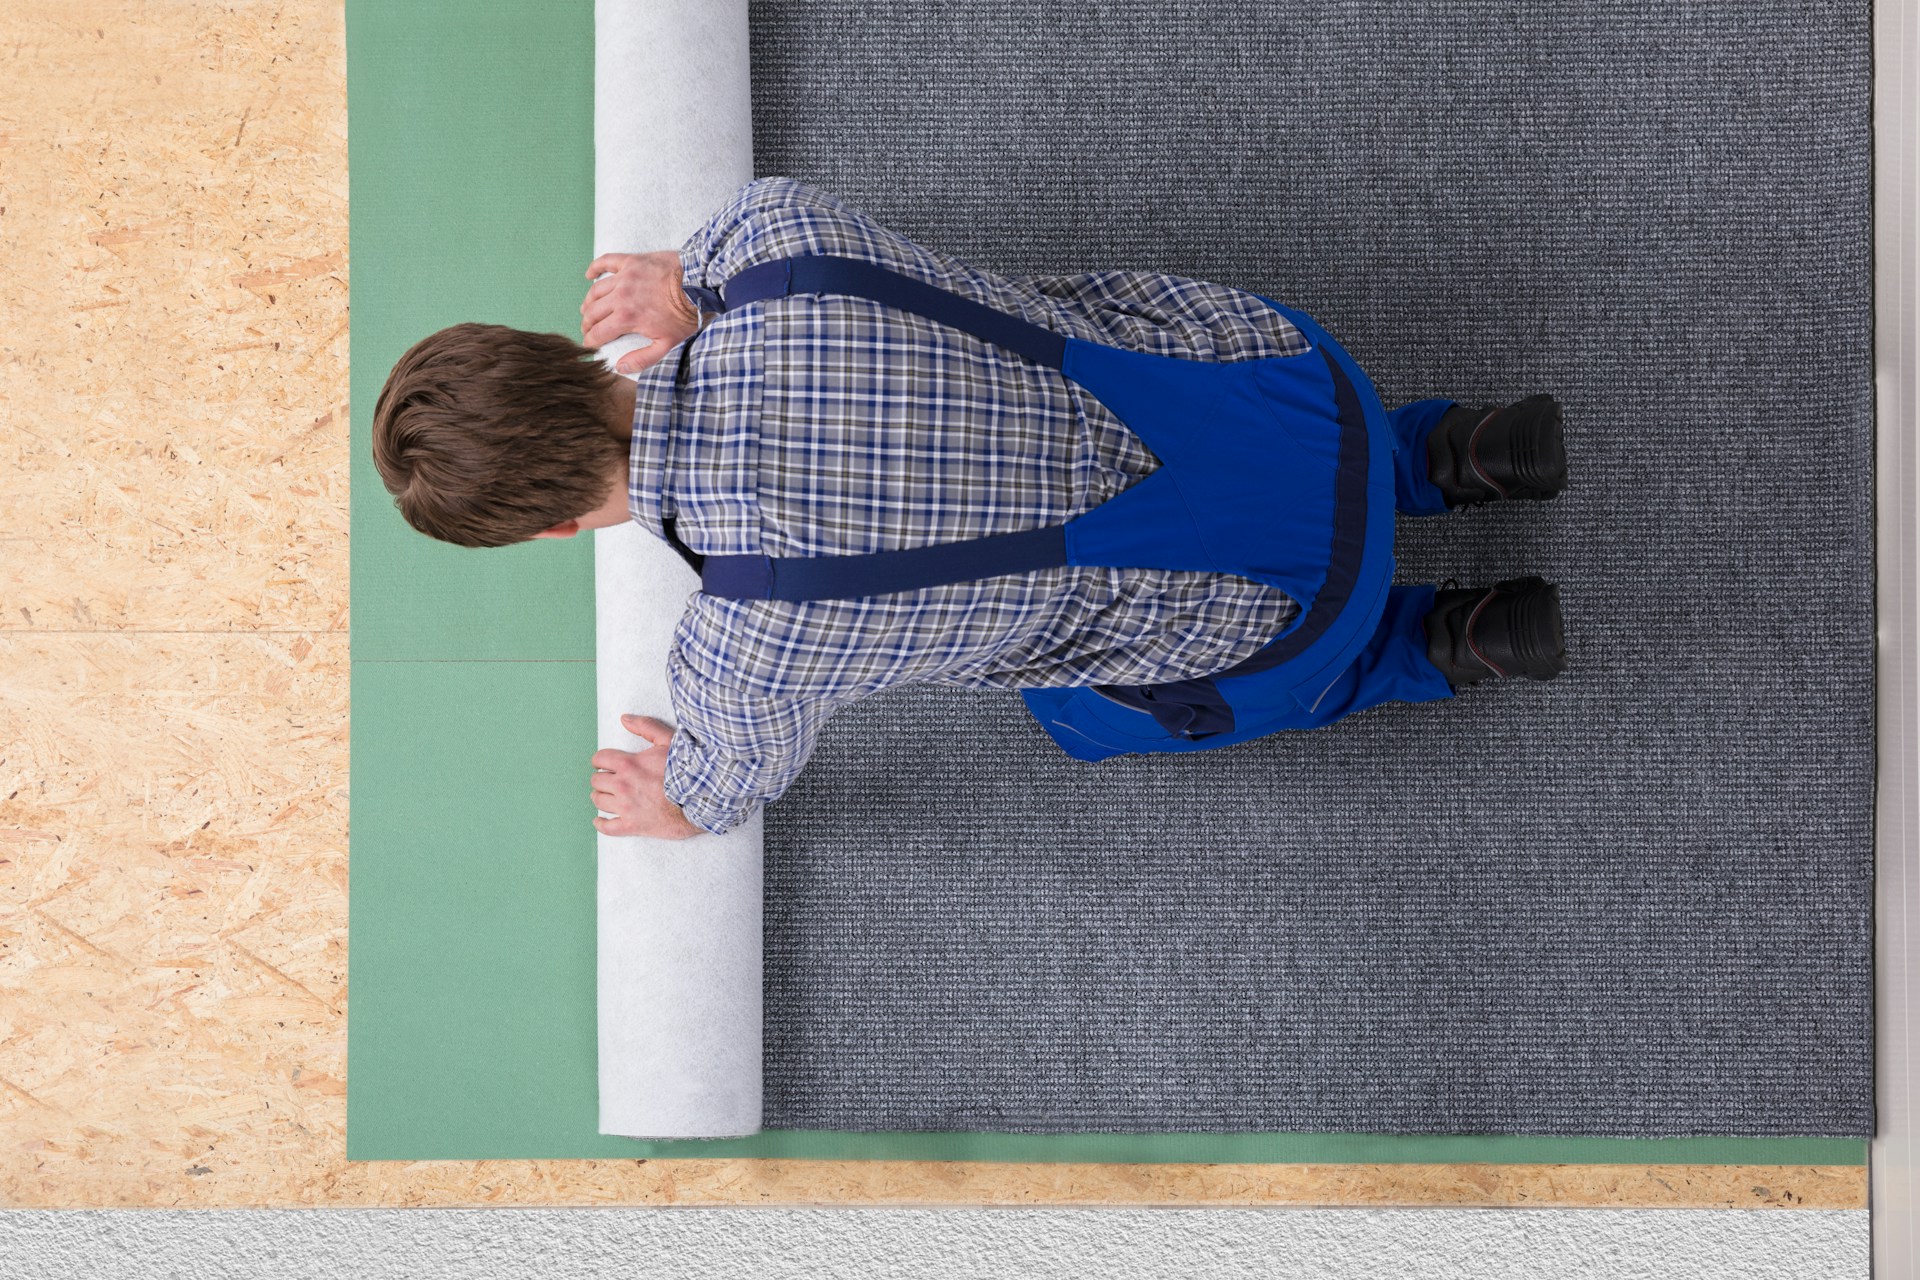
Once you’ve confirmed your floors are in need of some TLC, the next step is to prep the area. This preparation is crucial for a successful refinishing job. Begin by clearing the room of all furniture and decor. This gives you the space you need to work freely. You might need to remove any carpets or rugs, ensuring there’s nothing in your way.
Safety should be at the top of your prep list. Equip yourself with protective gear like masks and goggles to shield against dust and debris. Refinishing can get messy, so it’s important to be prepared. Block off the room by sealing doors with plastic sheets to contain dust and protect other parts of your home.
Also, think about the small details. Cover air vents to prevent dust from circulating through your HVAC system. Protect baseboards and nearby walls with painter’s tape or plastic to avoid accidental damage. These steps set the stage for a smooth refinishing process, ensuring your focus stays where it needs to be – on achieving a professional-looking floor.
Refinishing Techniques
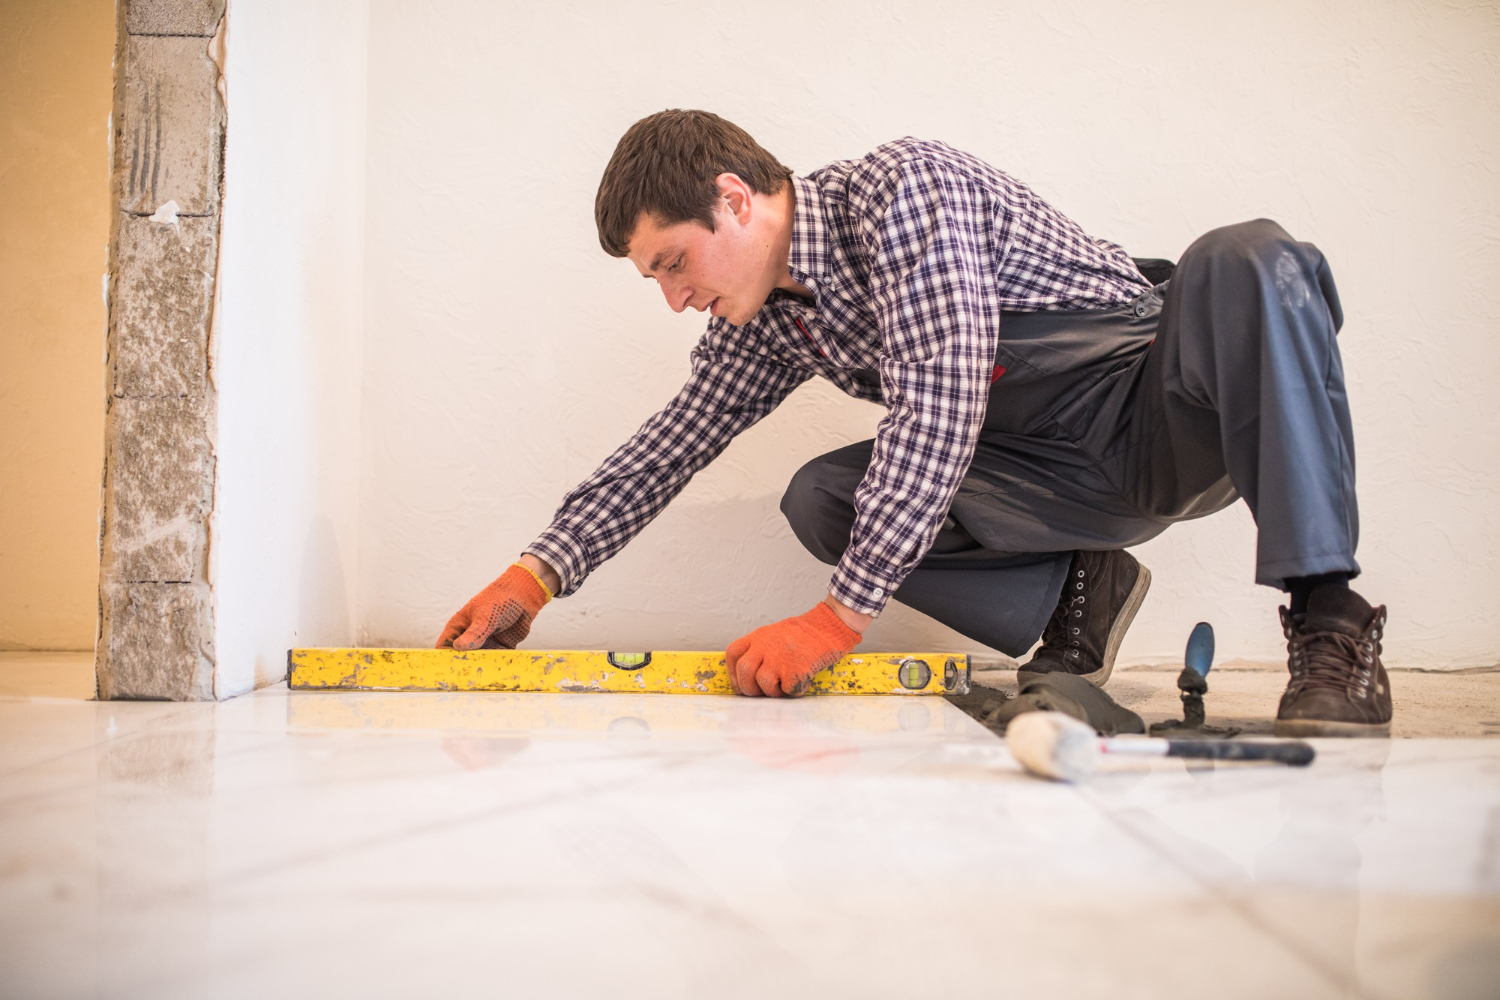
Once the space is ready, it’s time to focus on the techniques that offer a professional finish. The initial step is sanding the wood. This process removes the old finish and evens out the surface. Using a drum sander is usually the best choice for this task. Always sand along the grain to prevent scratches. Begin with a coarse grit sandpaper, then move to finer grits for a smooth finish. Pay attention to corners and edges, as these can be tricky and may require a handheld sander for better control.
After sanding, staining is next. Choosing the right stain gives the floor its desired colour and enhances the wood’s natural pattern. Opt for a stain that complements the overall decor of your home. Apply it with a clean cloth or a brush, ensuring even coverage. Let the stain dry thoroughly before moving on, as rushing this step can affect the finish.
Finally, sealing the floor protects it from daily wear and tear. Polyurethane is a popular choice for a durable finish. Apply the sealant in thin, even coats, allowing each coat to dry for at least a couple of hours before applying the next. This layering method helps in achieving a flawless, long-lasting surface.
Aftercare Tips
Now that the floors are refinished, keeping them looking pristine involves some straightforward aftercare. Regular maintenance not only preserves the shine but also extends the floor’s lifespan. Use a soft bristle broom or vacuum designed for hardwood to keep dust and dirt at bay. For deeper cleaning, a damp mop will do, but ensure not to leave water standing on the surface.
– Place mats at entryways to reduce the amount of debris and moisture brought in.
– Use felt pads under furniture legs to prevent scratches.
– Implement a no-shoe policy to reduce wear.
It’s also important to conduct periodic inspections. Look out for signs of damage like chipping or fading, addressing these concerns quickly can prevent major refinishing again anytime soon. Having a maintenance schedule for your floors can help ensure consistency in care and appearance.
Giving Your Floors a Professional Look
Now that you’ve refreshed your floors yourself, it’s rewarding to stand back and admire the transformation. A summary of what you’ve accomplished includes assessing the need for refinishing, thoroughly prepping, mastering key refinishing techniques, and applying adequate aftercare measures. These steps have equipped you with the basics needed to maintain stunning floors.
While DIY efforts can lead to satisfactory results, don’t hesitate to seek professional services if necessary. Flooring experts can offer invaluable insights and solutions for more complex challenges that might arise, ensuring your floors always look their best. A well-executed refinishing job not only enhances the aesthetics of your home but also contributes to its overall value and comfort.
Ready to achieve truly outstanding flooring results? Take your floor transformation to the next level with expert assistance. Trust NewRidge Refinishing Group to help you refinish wood floors to perfection. Contact us today for more information and get started on making your floors the talk of Toronto and Southern Ontario.