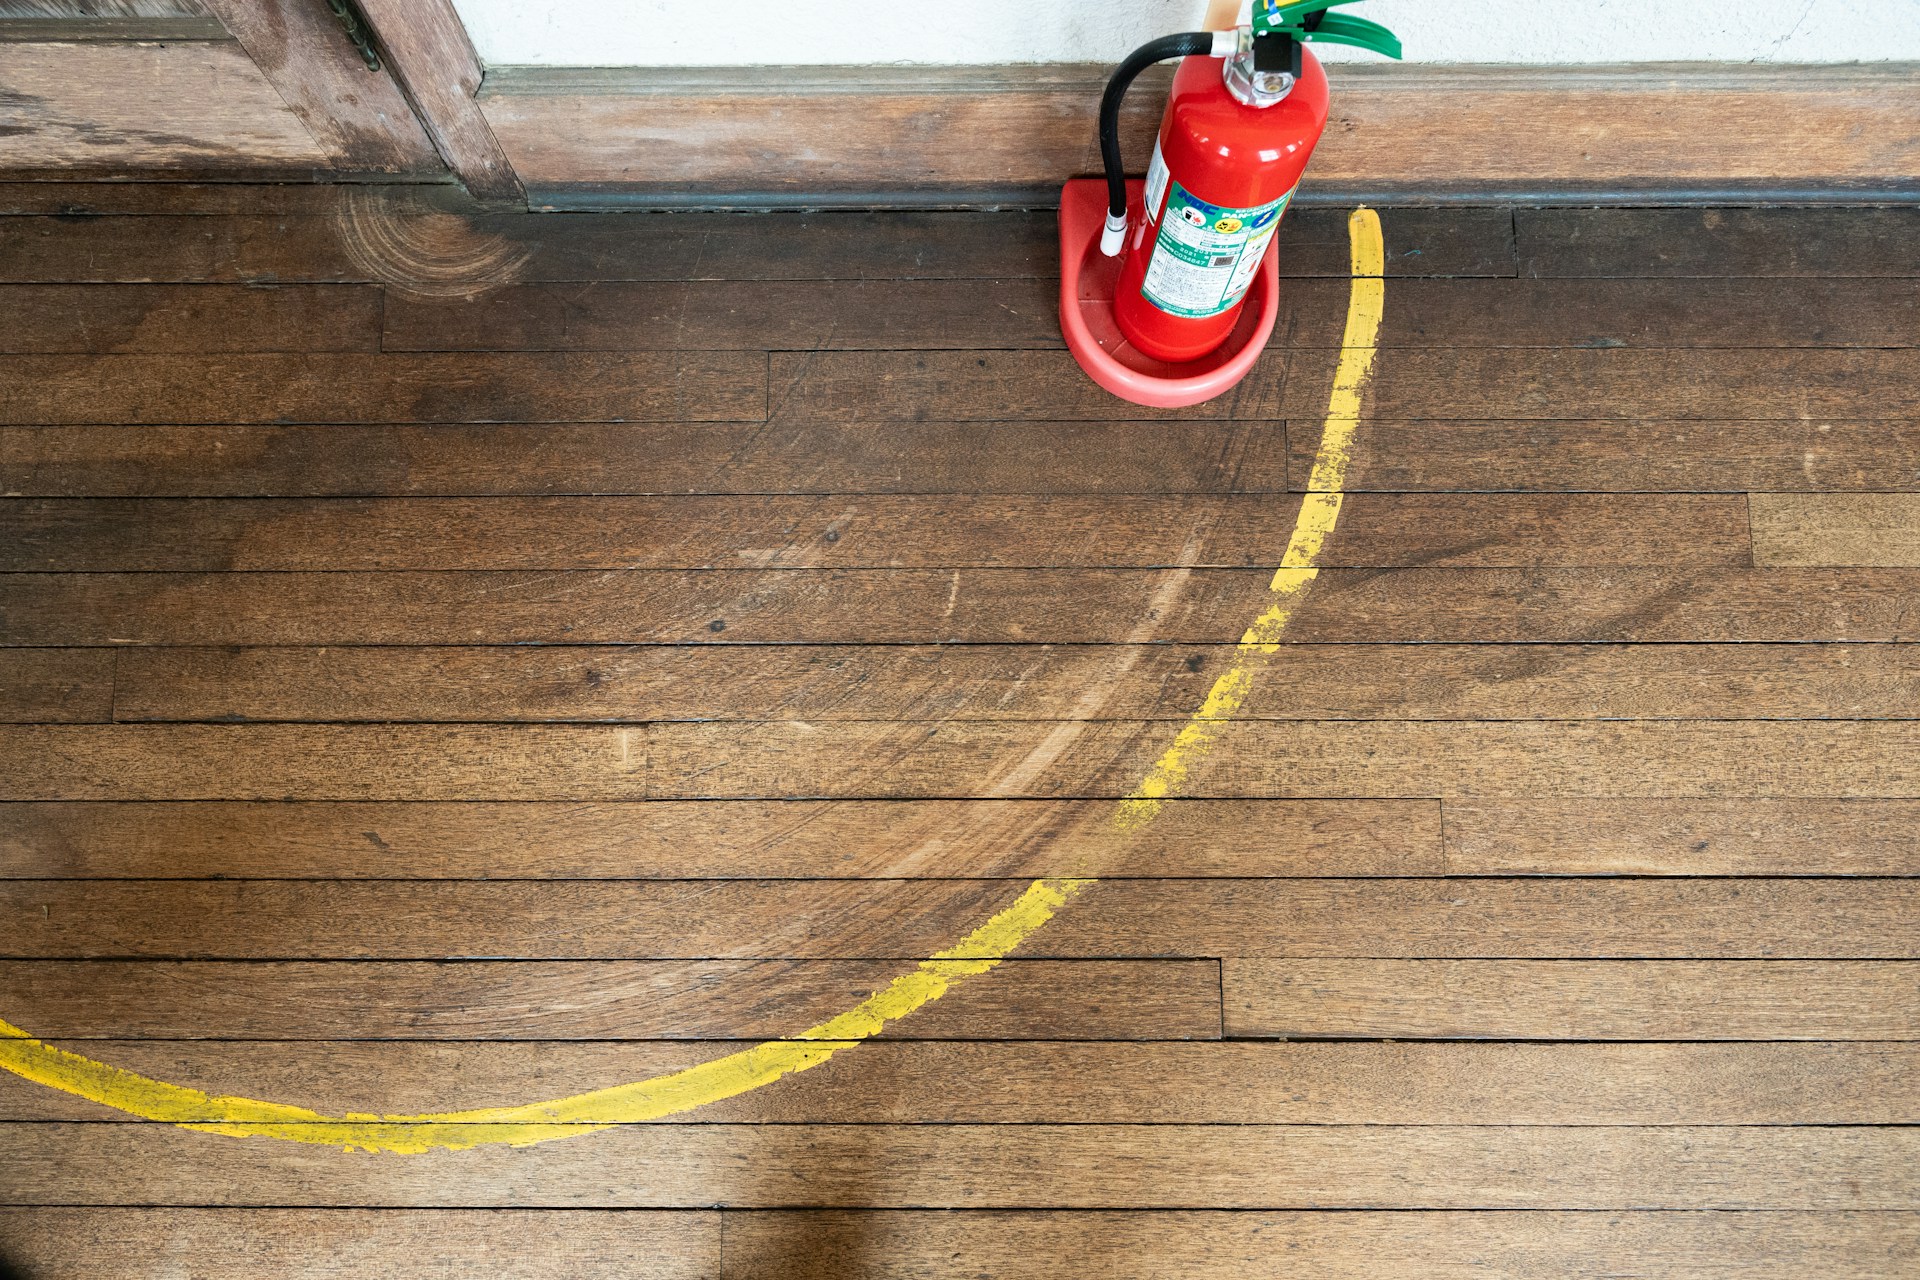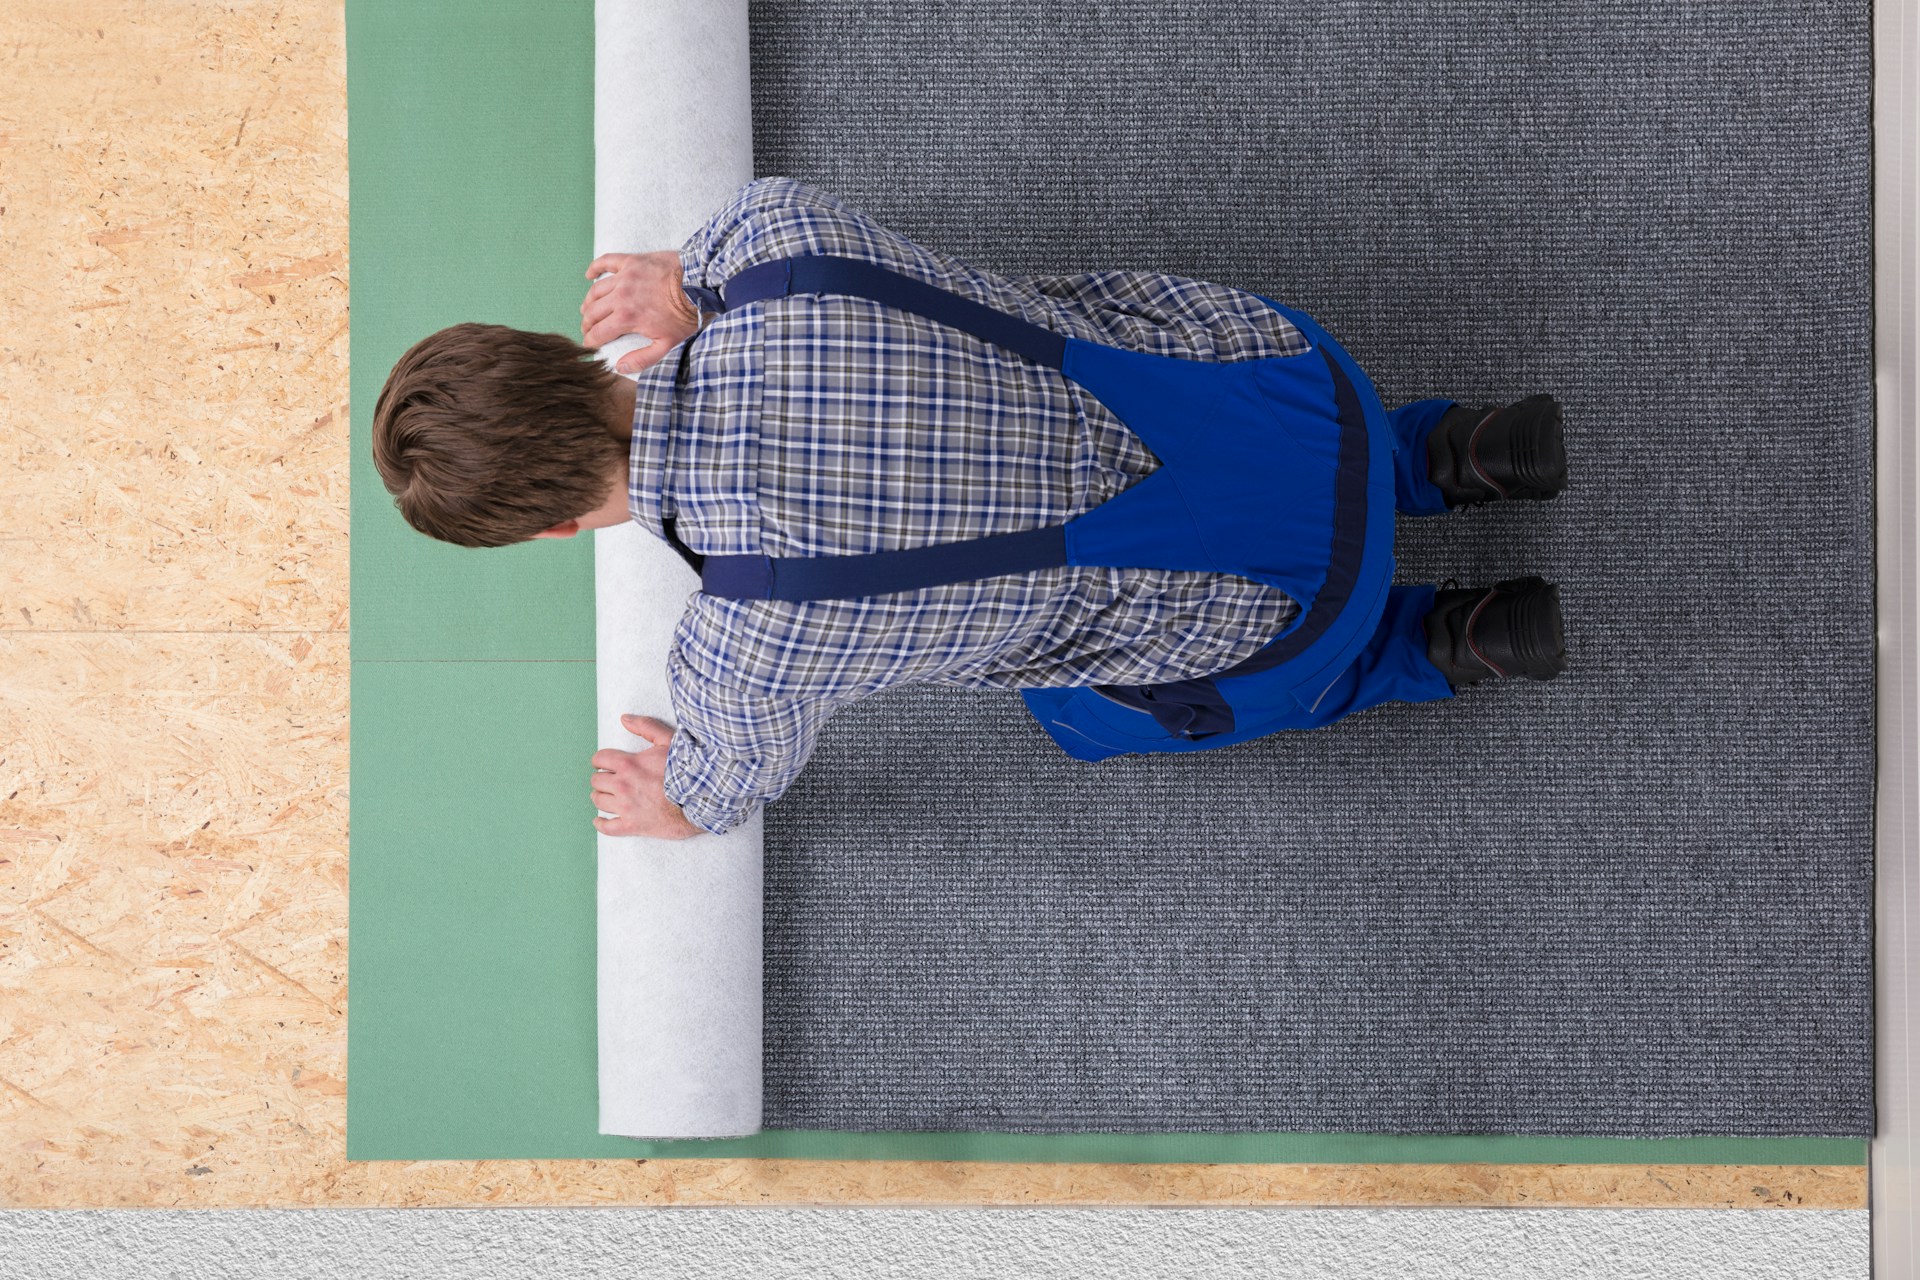
Pulling up an old carpet can be a rewarding project until you look down and see hundreds of staples stuck in the hardwood underneath. What should be an exciting first step toward beautiful floors turns into an unexpected mess. Staples are usually left behind from tack strips or underlay, and while they may seem small, they can split boards, cause scratches during sanding, or create uneven patches if not removed properly. Taking your time here pays off in the long run.
If you’re planning hardwood flooring repairs or refinishing anytime soon, getting rid of those carpet staples is one task that shouldn’t be rushed. Whether you’re dealing with a single room or a full main floor in your Toronto or Southern Ontario home, doing a careful check and removing staples safely helps preserve the wood and avoids delays later. Mid-August is a great time for this kind of work, with plenty of light and good conditions for floor projects that often follow carpet removal.
Tools And Preparations
Before you start pulling, it’s smart to gather the right tools and set up your space to make the job easier. Having everything within reach helps you move faster and avoids unnecessary mistakes or repeat steps. You won’t need anything expensive or hard to find, but using tools meant for the task makes a big difference.
Here are some basic tools that come in handy:
1. Pliers: Long-nose or flat-nose are best for gripping staples firmly without snapping them.
2. Floor scraper or putty knife: Good for gently sliding underneath embedded staples.
3. Staple remover: A small tool with a V-shaped end that can lift staples without damaging the wood.
4. Pry bar: Useful for pulling out broken pieces if the staple snaps off halfway.
5. Shop vacuum: To keep the area tidy and to make sure you’re not stepping on loose metal bits.
6. Knee pads or folded towels: This job can be tough on your knees, especially over long stretches.
7. Work gloves: They protect your hands from cuts and splinters.
Get the room ready by clearing out all furniture and rugs. Make sure there’s enough overhead light, whether you’re using natural daylight or a work lamp. It helps you spot hidden staples that can blend in with the wood grain. Some homeowners mark trouble areas with temporary painter’s tape as they go, just to track their progress. That keeps you from missing a section or double-working one you already did.
If your floor has been under carpet for many years, expect a mix of older staples and possibly newer ones from a carpet reinstall. These can behave differently when removed. Older staples might crumble or rust through, which takes a little more patience and care to remove cleanly. Proper prep work helps protect the hardwood underneath and leaves a smooth base ready for repairs or refinishing down the road.
Step-By-Step Guide To Removing Carpet Staples
Once your tools are ready and your space is clear, it’s time to focus on removing the staples without leaving gouges or marks. The right technique helps reduce damage and gets you better results if you’re planning further work on the floor.
Start from one corner of the room. Pick a spot where there’s natural light or good visibility. Work your way along one edge before moving to the centre. This helps avoid walking on staples or stepping over tools. Go slow at first to get a feel for how the staples were embedded.
Here’s a step-by-step approach that works well for most hardwood floors:
1. Lightly tap the staple remover or putty knife under the staple to lift the edge. Be careful not to dig into the wood.
2. Once the staple starts to rise, grip it with your pliers and pull it out at the same angle it went in. This helps avoid breaking it off inside.
3. If the staple is flush or slightly buried, use the flat side of your pliers to nudge the ends up first.
4. Don’t yank staples straight up unless they’re already loose, as this can split or chip the wood.
5. For stubborn staples that snap or pull apart, use the pry bar carefully to pull out each side or remaining piece.
6. Vacuum frequently to clear sharp fragments and make it easier to see what’s left.
Take breaks every so often to double-check your work. Feel the area with your hand (wearing gloves) to catch any sharp tips you might’ve missed. Staples near edges, vents, or doorways tend to get missed, so give those spots extra attention.
And watch your posture. Bending or kneeling for long stretches can wear you out. Switch knees, adjust your position, and take short walking breaks to keep your energy up. With consistency and care, you’ll have a smooth, staple-free surface ready for whatever comes next with your hardwood flooring repairs.
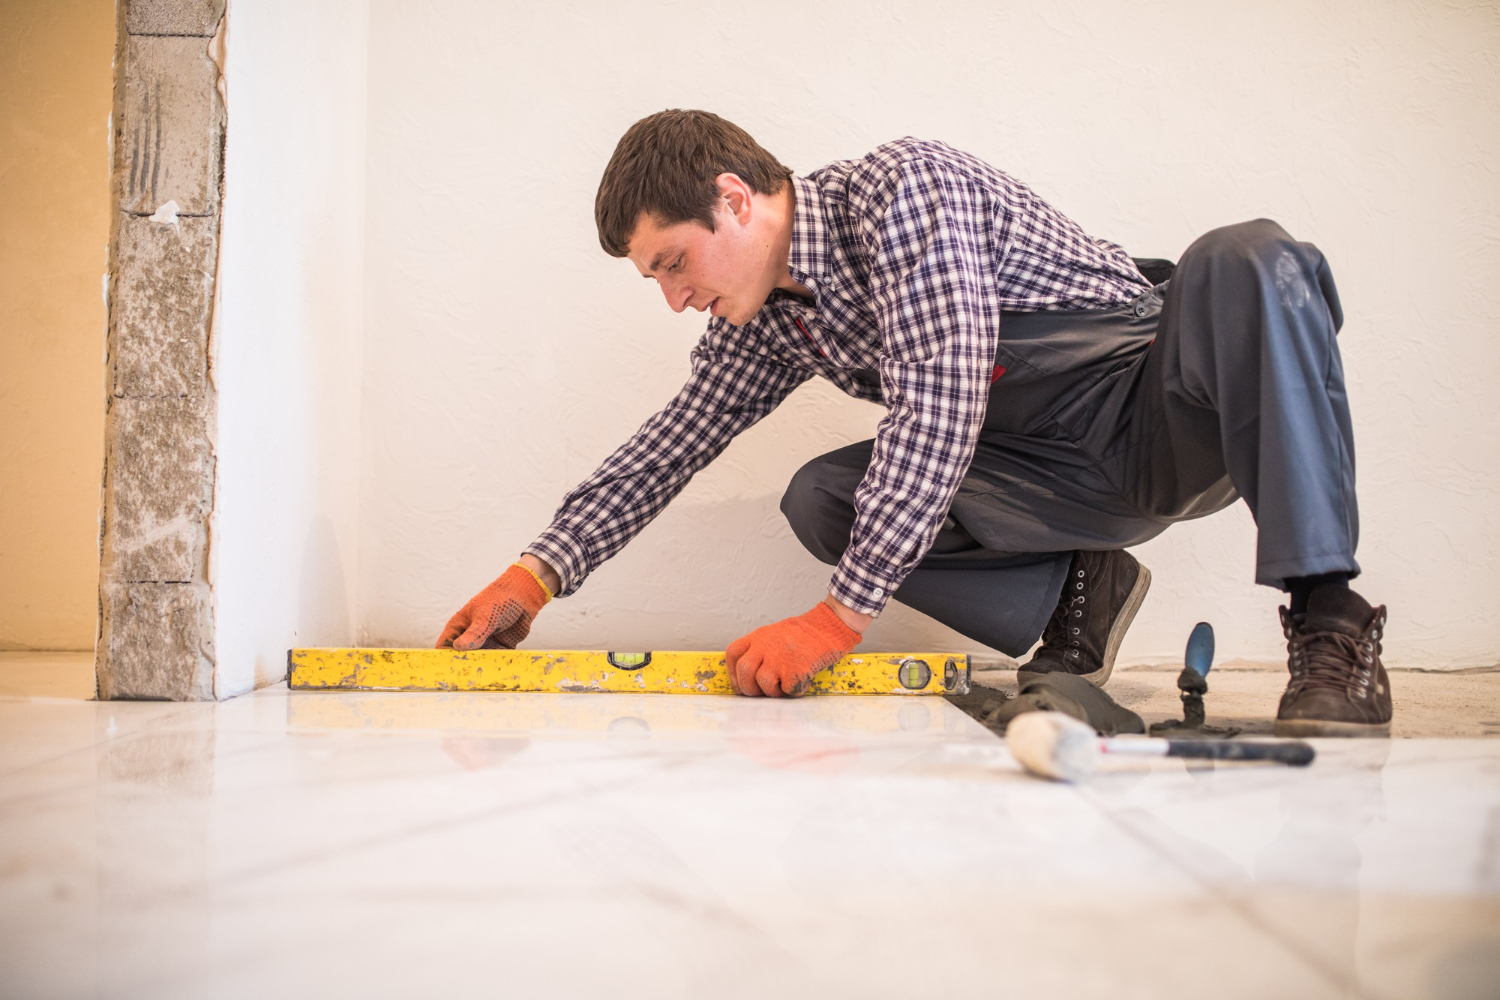
Inspecting And Repairing Minor Damage
Once all the staples are gone, it’s time to inspect the floor closely. Even when you’re careful, some staples can leave behind tiny holes or surface scratches. These don’t always seem like much, but they can show up clearly when you refinish. Running your hand across the boards can help you find any spots that need attention.
Start by checking for shallow divots or light scratches that came from the tools. These are common near the edges of staples, especially if they were rusted or firmly embedded. Make a note of where they are, either on a notepad or by using small pieces of painter’s tape to mark them for later.
To deal with minor surface marks, fill them using a tinted wood filler that matches your floor’s colour. This works best on small punctures around the size of a staple leg. Smooth the filler on with a putty knife and scrape off any extra before it dries. Once it’s dry, give it a light sand by hand to level it with the rest of the floor. For finer scratches, a sanding screen or buffing pad can reduce their appearance, especially if you plan to refinish or recoat soon.
Look closely near thresholds and baseboards too. These areas often get overlooked and can hold more than just staples—bits of tack strips, leftover glue, or debris that needs to be cleared before sanding or sealing the floor. Be patient when handling these sections since the boards can be delicate after years of being covered.
Fixing these tiny imperfections now pays off later when finishes are applied. Without prep, even small blemishes will show through the stain, and that can be frustrating once all the work is done.
Final Cleaning And Maintenance Tips
Removing carpet staples kicks up a lot of mess, and cleaning up properly helps set the stage for your next steps. Whether you’re preparing for sanding, staining, or just exploring your floor’s condition, a good clean makes everything easier.
Here’s a basic checklist to help you finish strong:
1. Vacuum the entire space, then vacuum again. Use a soft brush attachment to pull debris from corners and between boards without scratching the surface.
2. Wipe down the floor with a barely damp cloth to collect fine dust, but avoid excess moisture. Hardwood doesn’t like a lot of water.
3. Check the walls at floor level and under baseboards for any leftover metal bits or wood debris. Sweeping here matters if you’re sanding next.
4. Dispose of staples and fragments safely. They can puncture garbage bags or be hazardous if stepped on later.
After cleaning, give the floor another sweep with your eyes. Sometimes, staples get missed, or a small bit of filler needs another touch. It’s a good time to patch small areas, test filler colour matches, or even do a dry run with sanding gear if you’re going forward with floor repairs.
Going forward, keeping your hardwood free from unnecessary wear helps it last a lot longer. Put protective pads on furniture legs if they’re not already there, and avoid dragging items across the floor. If you’ve just uncovered hardwood that’s been under carpet for years, it may need more attention later, but getting it clean now makes future decisions easier.
Keep Your Hardwood Floors Pristine
A little care in the beginning can save a lot of hassle down the road. Removing carpet staples from hardwood floors isn’t the kind of job you want to rush through. Taking time, going slow, and protecting the wood through every step helps keep the surface intact and ready for whatever comes next.
Whether you’re refinishing, repairing, or just revealing old flooring for the first time, a clean, undamaged surface gives you better results and more options later. That first impression of tidy, staple-free boards makes a big difference once the room comes together again. It’s work worth doing right, especially in Toronto and across Southern Ontario where hardwood is often a much-loved part of older homes.
By following safe methods and taking care of the small details like cleaning and minor repairs, you give your hardwood its best shot at looking amazing again. Don’t rush it. Let the floor speak for itself once it’s ready.
To make sure your floors are in great shape and ready for what’s next, trust NewRidge Refinishing Group for professional hardwood flooring repairs. We’re proud to help homeowners across Toronto and Southern Ontario bring new life to their hardwood through careful restoration and expert refinishing.