Buffing hardwood floors is a great way to keep them looking their best without the hassle of a full refinishing job. While it may sound complicated, with the right tools and a bit of know-how, you can handle this task efficiently and effectively. Buffing not only enhances the appearance of your floors but also helps maintain their durability and longevity.
In this guide, we’ll walk you through each step of the buffing process, from getting your tools ready to maintaining your floors after buffing. By following these steps, you can achieve beautiful, polished hardwood floors without the fuss.
Essential Tools and Materials for Buffing
To successfully buff your hardwood floors, you will need the right tools and materials. Having everything ready before you start will make the job easier and faster. Here’s a list of essential items you’ll need:
1. Buffing Machine: This is the main tool for the job. You can rent one from a local hardware store if you don’t own one. Make sure it’s in good working condition and comes with the right attachments.
2. Buffing Pads: Choose the right type of pad for your floor’s current condition. There are different pads for light buffing and more aggressive buffing if your floors have deeper scratches.
3. Hardwood Floor Cleaner: Use a cleaner specifically designed for hardwood. Avoid harsh chemicals that can damage the wood.
4. Microfibre Mop: This helps to clean the floor before and after buffing. A clean floor ensures better results.
5. Protective Gear: Wear a mask and goggles to protect yourself from dust and particles kicked up during the buffing process.
6. Polishing Solution: Some floors may require a polishing solution to enhance the shine and protect the surface. Make sure it is compatible with your hardwood and finish.
By gathering these tools and materials beforehand, you’ll be well-prepared to buff your hardwood floors effectively.
Preparing Your Hardwood Floors
Before you start buffing, you need to prepare your hardwood floors properly. This preparation ensures that the buffing process goes smoothly and results in a beautiful, polished finish.
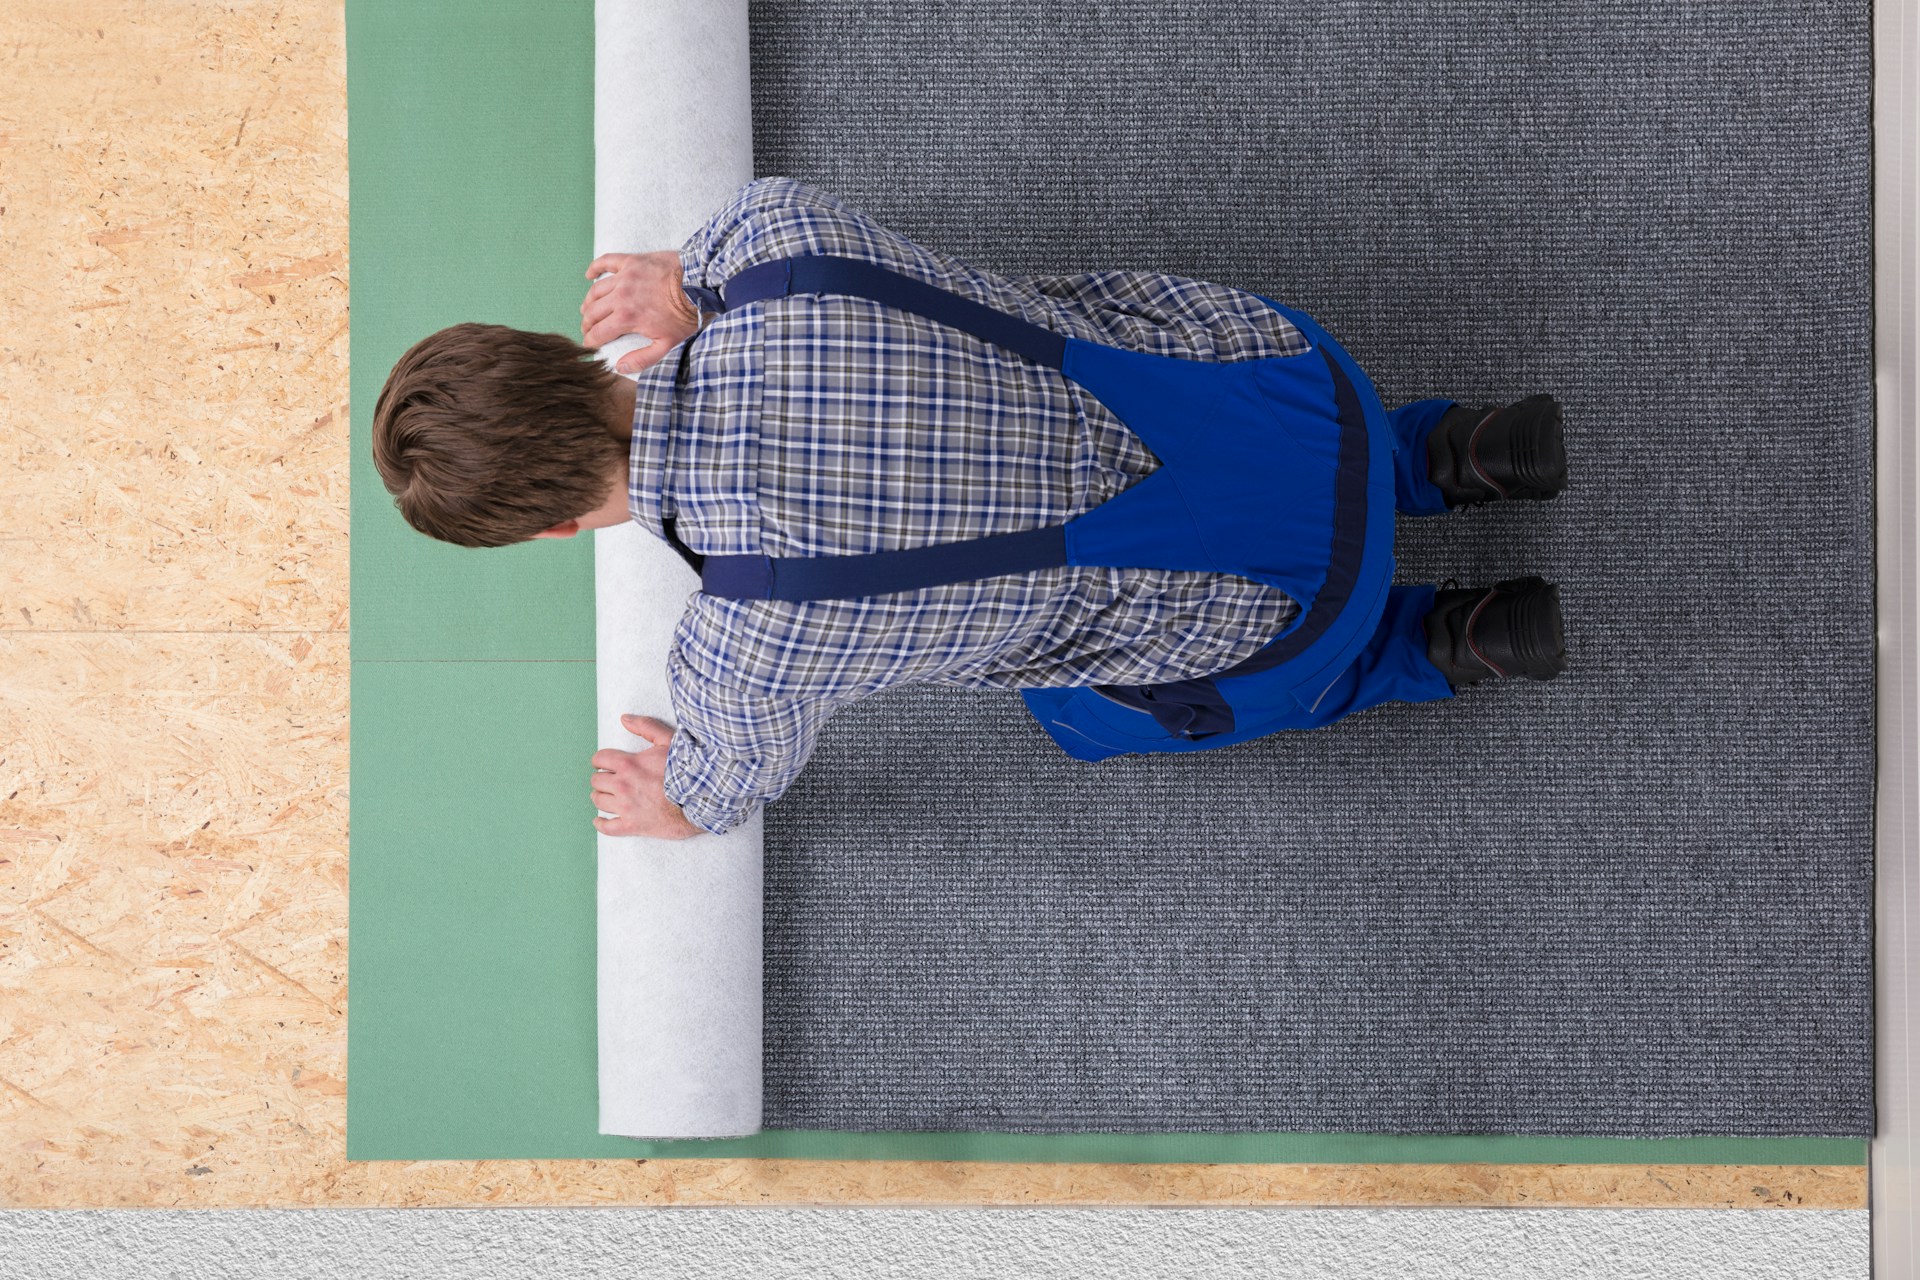
First, clear the room of all furniture and rugs. You don’t want any obstacles in your way while you’re working. Next, thoroughly clean the floor using a vacuum and a microfibre mop. Remove all dust, dirt, and debris, as these can scratch the floor during buffing.
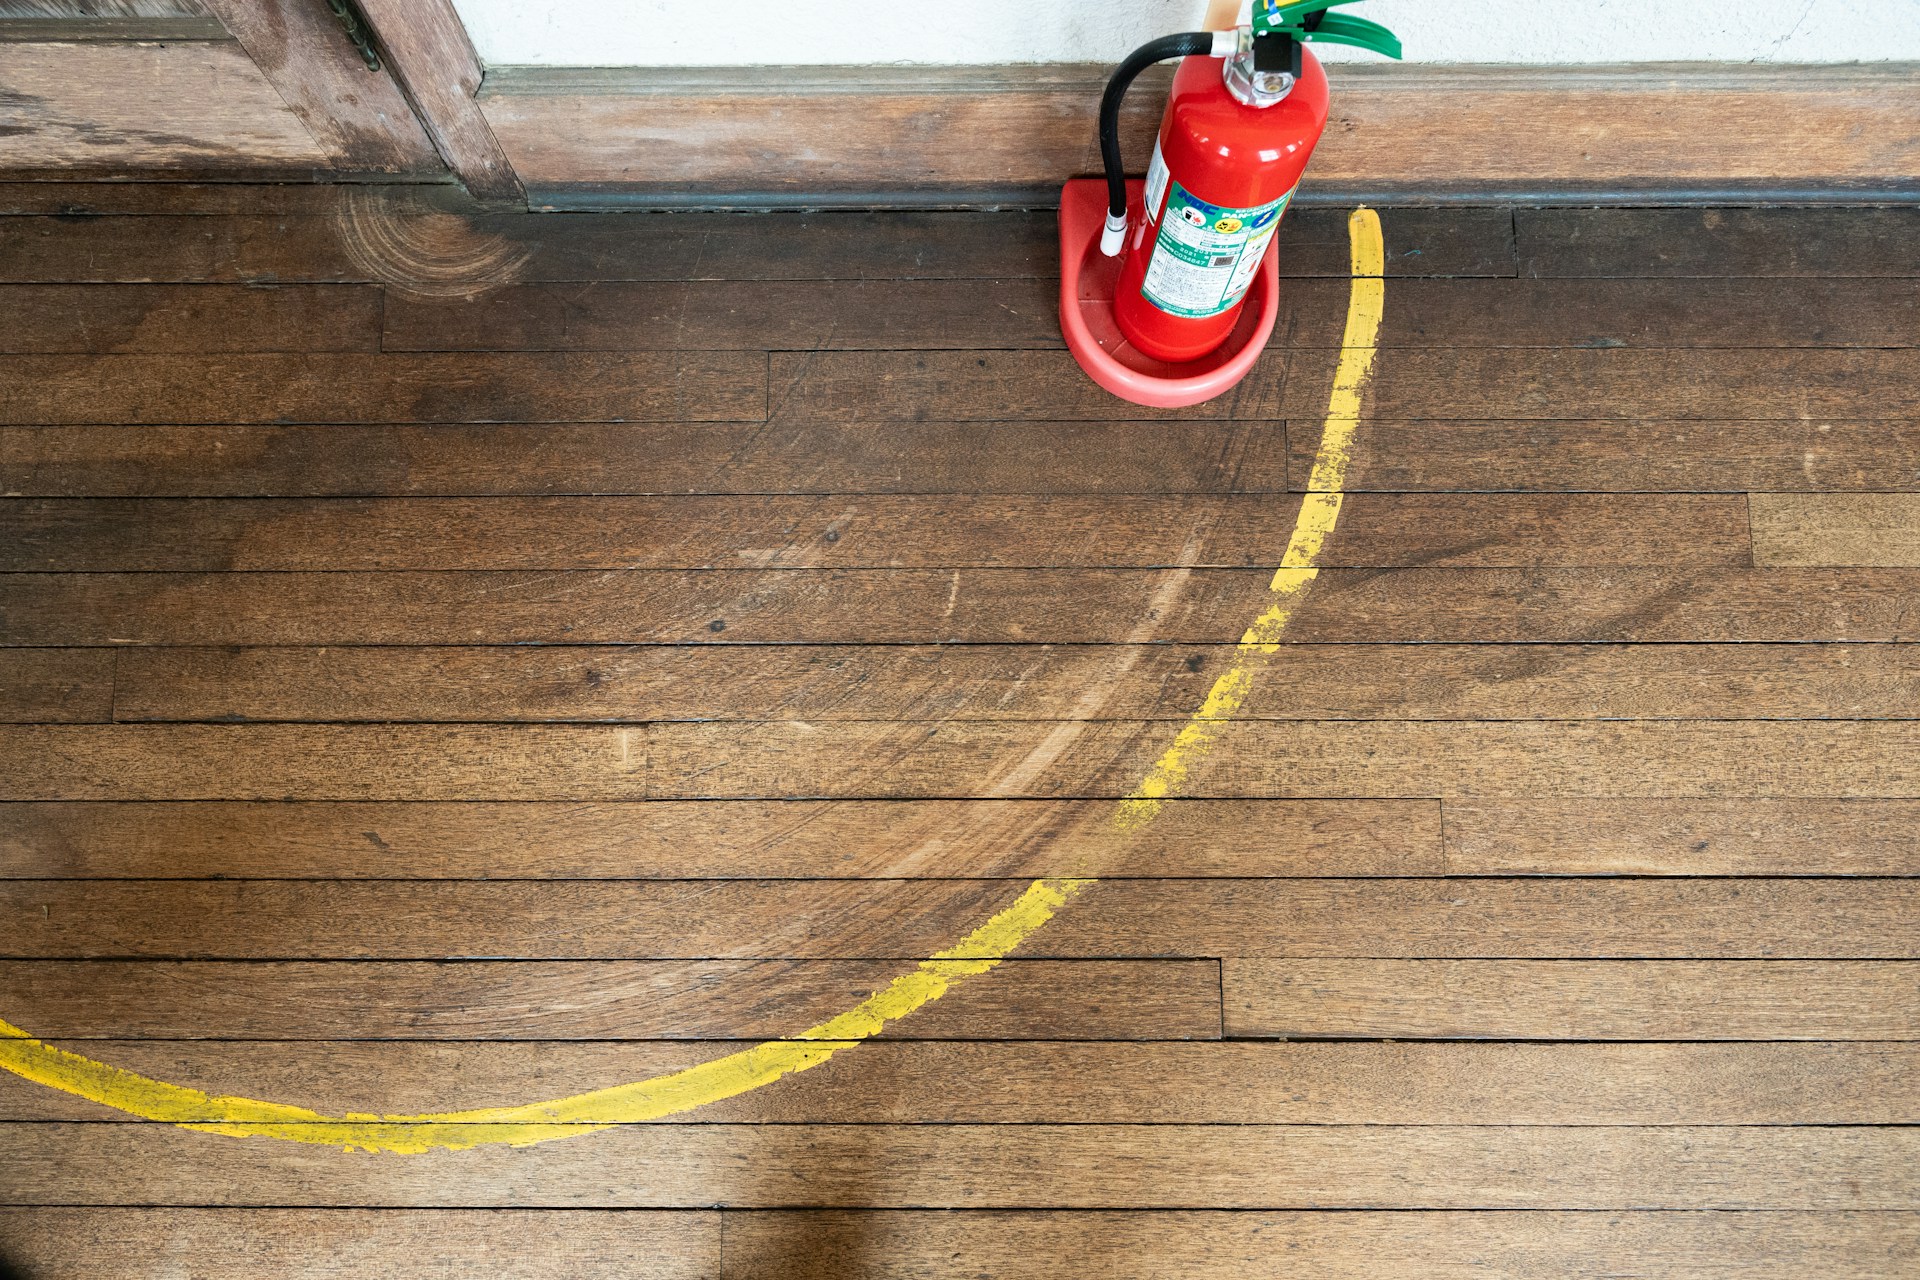
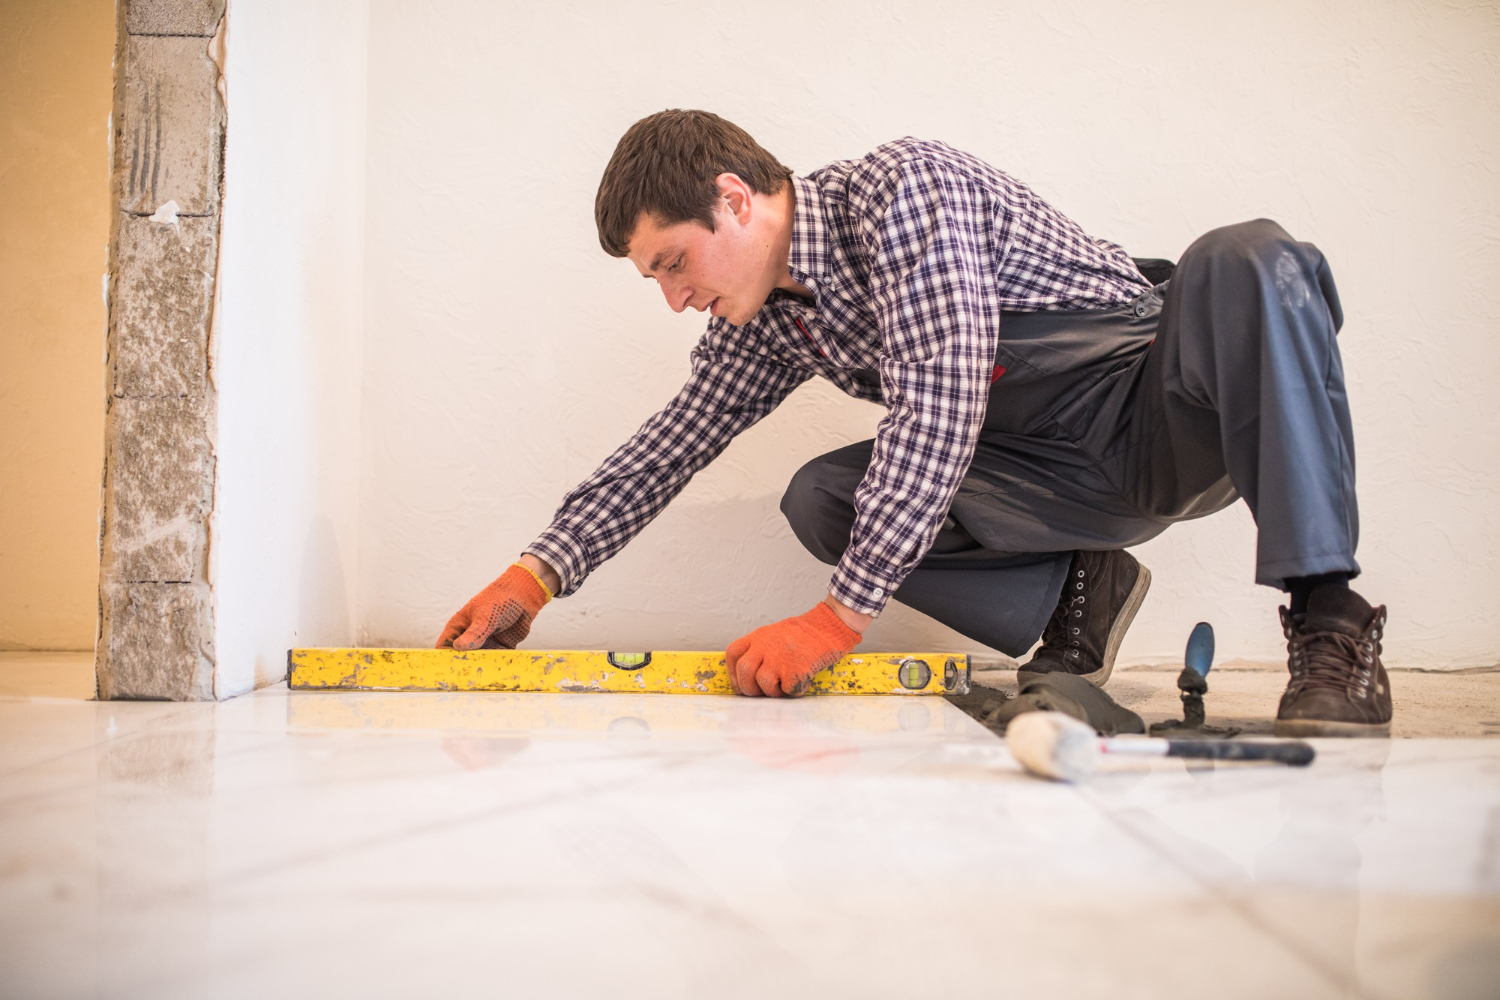
Inspect your floors closely for any nails or staples that might be sticking up. Hammer them down or remove them to avoid damaging the buffing pad or machine. Check for any loose boards or significant damage. Repair any issues before you start.
If your floors are particularly dirty, use a hardwood floor cleaner to remove any built-up grime or grease. Follow the cleaner’s instructions and make sure the floor is completely dry before you begin buffing.
Step-by-Step Buffing Process
Buffing hardwood floors can seem like a big job, but by following these steps, you can make it simpler and more manageable. Let’s break it down.
1. Set Up the Buffing Machine: Once your floor is prepped and clean, set up your buffing machine according to the instructions. Attach the appropriate buffing pad for your floor’s condition.
2. Start Buffing: Begin in one corner of the room and work your way systematically across the floor. Hold the machine firmly and turn it on. Move the machine in straight lines, slightly overlapping each pass to ensure full coverage.
3. Watch Your Speed and Pressure: Maintain a steady speed and avoid applying too much pressure. Let the weight of the machine do the work. Too much pressure can damage the wood and make uneven spots.
4. Vacuum and Wipe: Once you’ve covered the entire floor, vacuum to remove any dust created by the buffing process. Wipe the floor with a damp microfibre mop to pick up any remaining particles.
5. Apply Polishing Solution (Optional): If you decide to use a polishing solution, now is the time to apply it. Follow the manufacturer’s instructions carefully. Work in sections, making sure not to leave any streaks.
These steps will help you buff your hardwood floors effectively, creating a beautifully smooth and shiny surface.
Maintaining Your Floors After Buffing
Proper maintenance after buffing will keep your hardwood floors looking their best for a long time. Here are some tips to help you maintain that fresh, polished look.
1. Regular Cleaning: Sweep or vacuum your floors regularly to remove dirt and debris. Use a microfibre mop for dusting, as it effectively captures particles without scratching the surface.
2. Use Mats and Rugs: Place mats at entrances to catch dirt before it reaches your hardwood floors. Area rugs can also help protect high-traffic areas from wear and tear.
3. Furniture Pads: Attach felt pads to the bottom of furniture legs to prevent scratches when you move them. Avoid dragging furniture across the floor.
4. Maintain Humidity Levels: Wood floors are sensitive to moisture. Use a humidifier or dehumidifier to keep indoor humidity levels stable, ideally between 35% and 55%.
5. Re-Buff as Needed: Depending on the traffic and wear your floors experience, you may need to re-buff periodically. This could be every few months or once a year. Regular maintenance buffing keeps the floors looking new.
By following these maintenance tips, you can enjoy your beautiful, buffed hardwood floors for years to come.
Conclusion
Buffing hardwood floors doesn’t have to be a daunting task. With the right tools, proper preparation, and careful execution, you can achieve a polished, professional finish that enhances the beauty of your home. Regular maintenance will keep your floors looking their best, allowing you to enjoy the warmth and elegance of hardwood floors for many years.
Are you ready to bring the shine back to your hardwood floors? Contact us at NewRidge Refinishing Group today for expert advice and professional floor restoration services. Let us help you achieve the beautiful, polished floors you deserve!