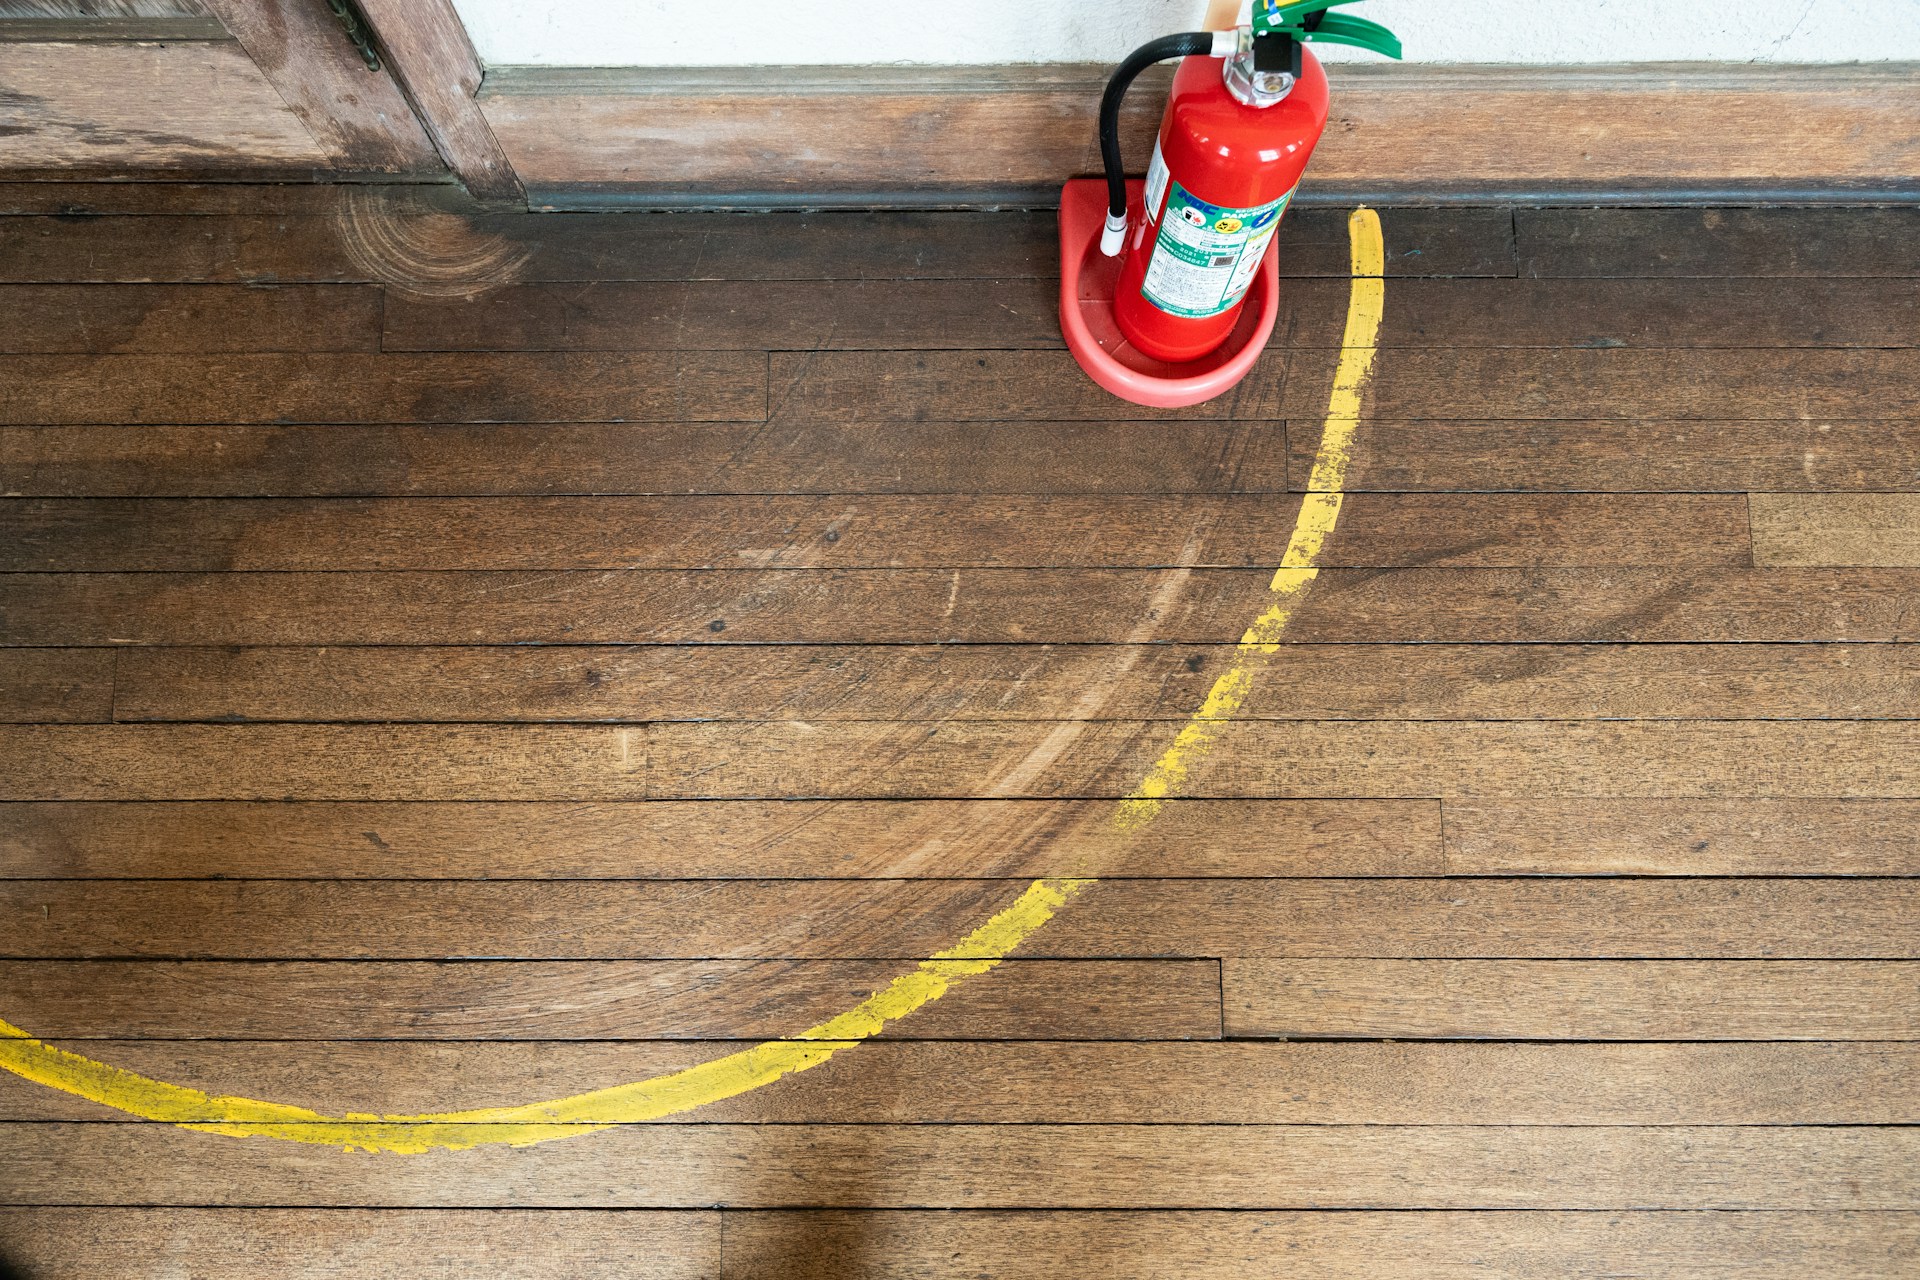
Hardwood floors bring warmth and elegance to any home, but over time, they can start to lose their shine due to wear and tear. Buffing and coating your hardwood floors is a straightforward way to restore their original beauty and protect them from further damage. With the right tools and techniques, you can achieve professional results without the need for costly renovations or replacements.
In this article, we will walk you through the process of buffing and coating your hardwood floors like a pro. We’ll start by gathering the necessary tools and materials to ensure you’re fully prepared before beginning. Next, we’ll discuss how to properly prepare your floors for the buffing process, followed by a detailed, step-by-step guide to buffing your hardwood floors. Finally, we’ll share expert tips on applying the perfect coat, ensuring a smooth and durable finish. By following these easy steps, you can rejuvenate your hardwood floors and maintain their lustre for years to come.
Gathering the Necessary Tools and Materials for Buffing and Coating
To achieve a professional finish, having the right tools and materials is essential. Here’s a list of what you’ll need to get started:
1. Buffer Machine: A commercial-grade buffer will help you sand the surface evenly.
2. Sanding Screens or Pads: These are necessary for the buffing machine to remove the old finish and smooth the surface.
3. Vacuum Cleaner: For cleaning dust and debris after buffing.
4. Hardwood Floor Cleaner: A cleaner specifically designed for hardwood floors.
5. Microfibre Mop: To apply the cleaner effectively and avoid residue.
6. Protective Gear: Safety glasses, dust mask, and knee pads to keep yourself safe and comfortable.
7. Polyurethane Coating: Choose between water-based for a quicker dry time and oil-based for deeper colour.
8. Applicator Pad or Brush: To spread the polyurethane coating evenly.
9. Tack Cloth: For wiping down the floor after sanding to remove fine dust particles.
Having these tools and materials ready before you start will make the process smoother and more efficient.
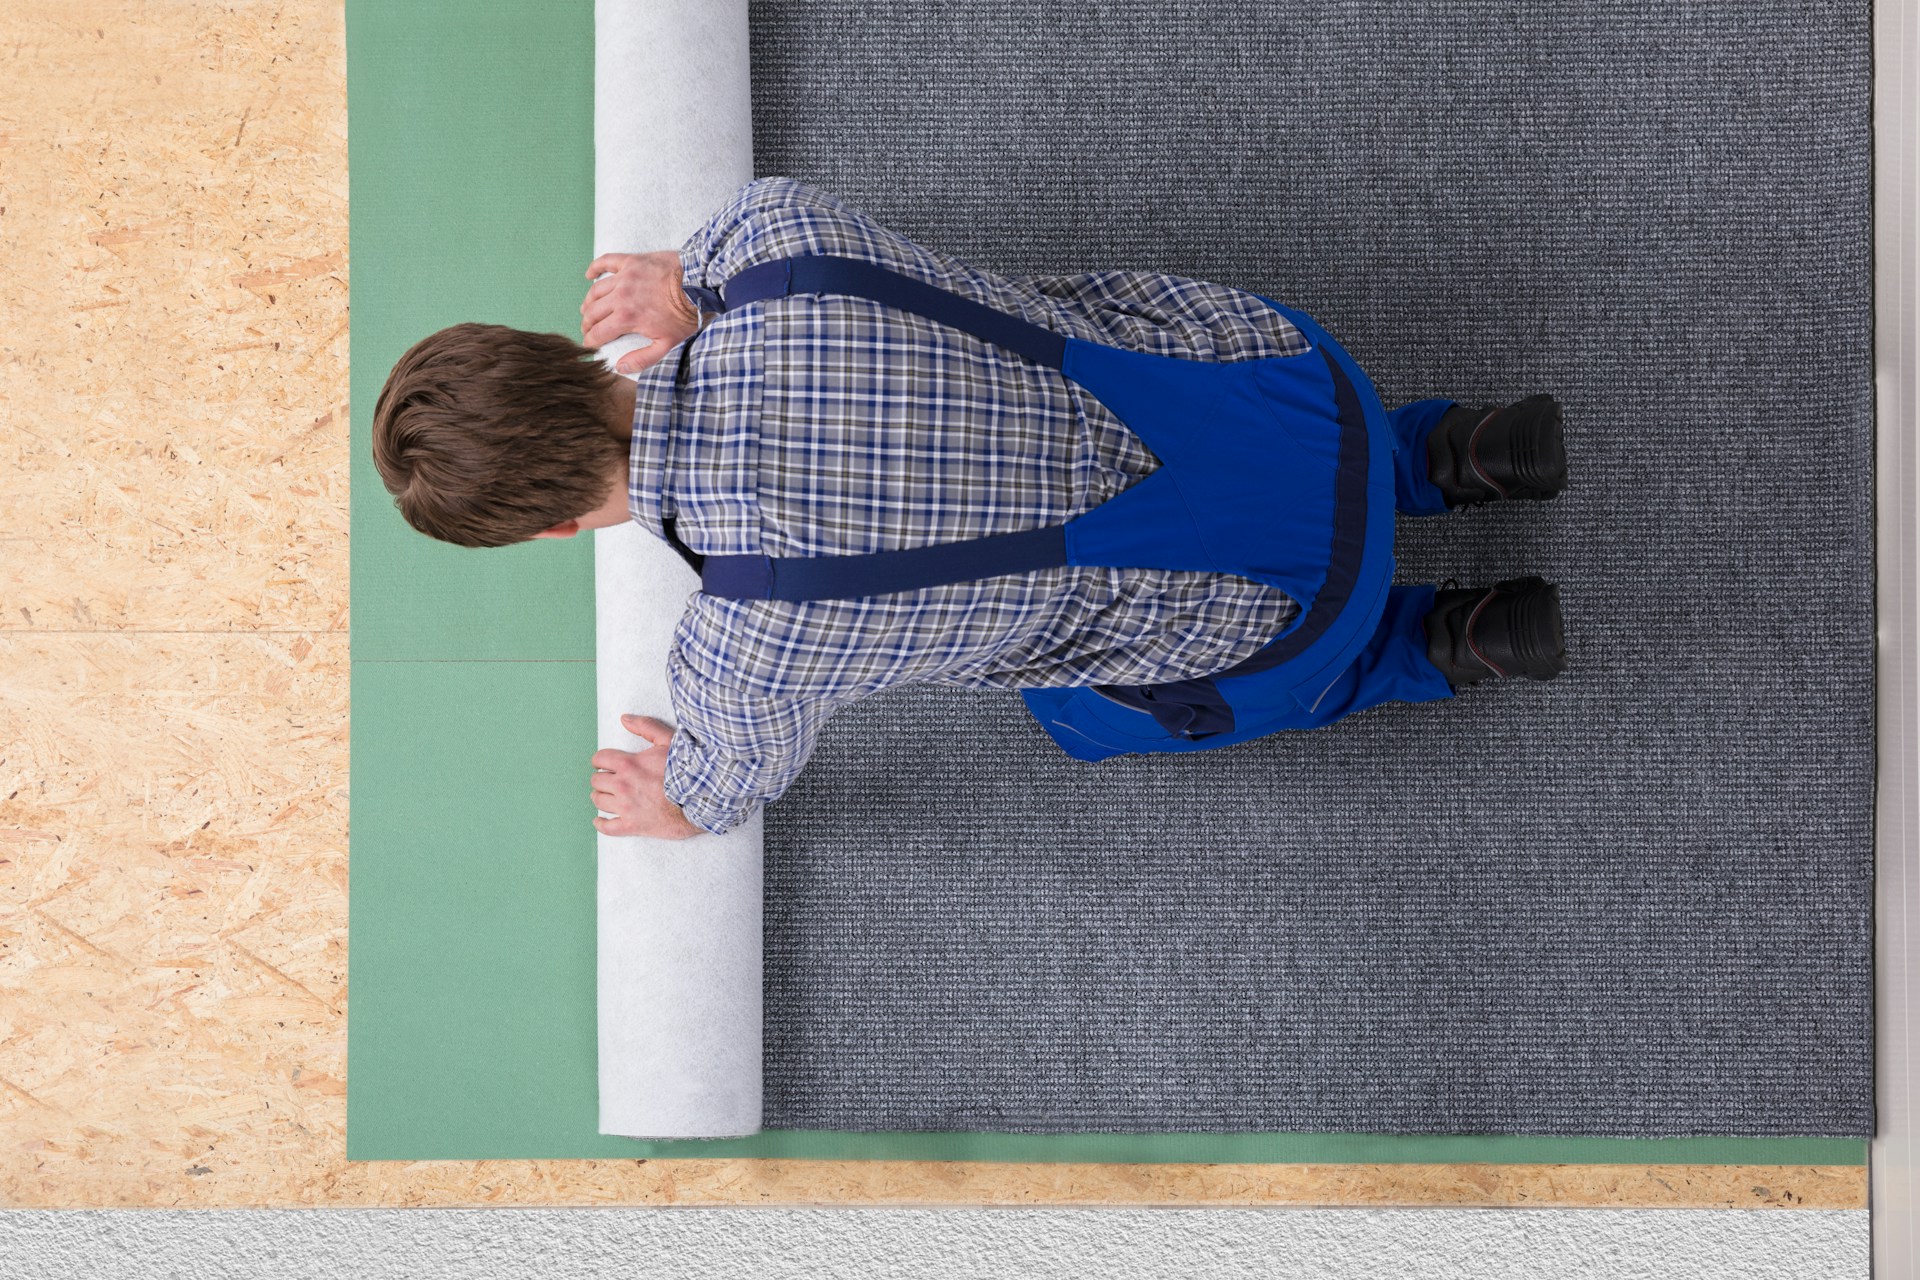
Preparing Your Hardwood Floors for the Buffing Process
Before you begin buffing your floors, you need to prepare the surface properly. Here’s a step-by-step guide to get your floors ready:
1. Clear the Room: Remove all furniture, rugs, and any other items from the room. Ensure that the area is completely clear to allow free movement while buffing.
2. Clean the Floor: Use a hardwood floor cleaner and a microfibre mop to thoroughly clean the surface. This will remove any dirt, dust, and grime.
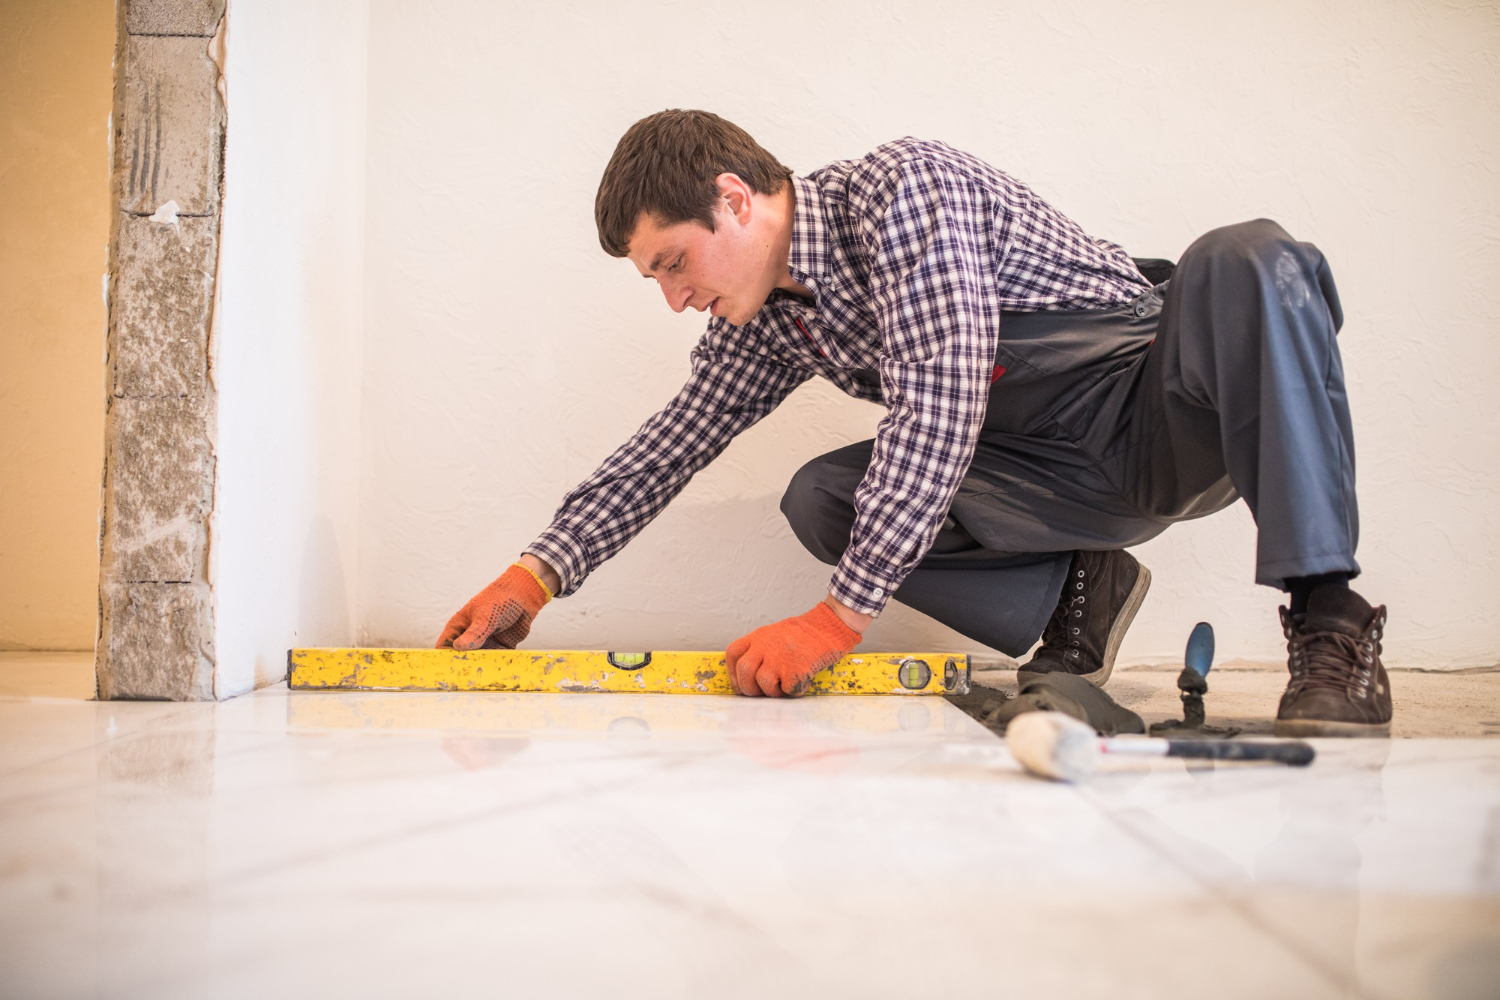
3. Perform an Initial Inspection: Check the floor for any nails, staples, or other protrusions that might damage the buffer or cause injury. Remove or secure these items.
4. Sand Problem Areas: If there are sections of the floor with deeper scratches or gouges, lightly sand these areas by hand to smooth them out.
5. Vacuum Thoroughly: Clean the floor using a vacuum cleaner to ensure that all dust and debris are removed. Follow this with a tack cloth to capture any fine particles that remain.
6. Dry Run: Perform a quick test run with the buffer machine (without turning it on) to ensure that it glides smoothly over the surface and to familiarize yourself with its handling.
These preparation steps are crucial for achieving a smooth and even finish when you move on to the buffing and coating stages. Proper preparation ensures that the floor is ready to accept the new coat, providing a durable and professional-looking result.
Step-by-Step Guide to Buffing Your Hardwood Floors
Now that your hardwood floors are prepared, it’s time to start buffing. Follow these steps to achieve a smooth and polished finish:
1. Install the Sanding Screen or Pad: Attach the appropriate sanding screen or pad to your buffer machine. Ensure it is securely in place to avoid any slipping during operation.
2. Begin Buffing: Start in a corner of the room and work your way across in small sections. Keep the buffer moving at a steady pace to prevent sanding too deeply in one spot.
3. Overlap Each Pass: To ensure an even finish, overlap each pass slightly. This helps to avoid any missed spots or lines on the floor.
4. Monitor Your Progress: Regularly check your progress to ensure you’re achieving the desired smoothness. If necessary, change the sanding screen or pad if it becomes too worn.
5. Buff All Areas: Make sure to get the entire surface, including the edges and corners. For tight spots, you might need to use a hand sander to ensure everything is smooth.
6. Clean Up: Once you’ve finished buffing, thoroughly vacuum the floor to remove all dust and debris. Follow this with a tack cloth to ensure a completely clean surface.
Following these steps will help you achieve a consistent and smooth finish that is ready for the final coating.
Applying the Perfect Coat: Techniques and Tips for a Professional Finish
Applying the coating is the final step to complete your hardwood floor restoration. Here’s how to do it like a pro:
1. Choose the Right Coating: Select a polyurethane coating that suits your needs—water-based for quicker drying or oil-based for deeper colour.
2. Stir, Don’t Shake: Stir the coating gently to mix it. Shaking can introduce bubbles that will affect the finish.
3. Apply the First Coat: Using your applicator pad or brush, start in a corner and work your way across the floor. Apply the coating evenly in thin, consistent layers to avoid puddling and streaking.
4. Follow the Grain: Always apply the coating in the direction of the wood grain for a smooth appearance.
5. Allow Adequate Drying Time: Let the first coat dry completely as per the manufacturer’s instructions before applying additional coats.
6. Sand Between Coats: Lightly sand the floor with fine-grit sandpaper between coats to remove any imperfections and ensure a smooth, even finish.
7. Apply Additional Coats: Follow the same steps to apply additional coats as needed, typically two to three coats for optimal durability and sheen.
8. Final Inspection: Once the final coat is dry, inspect the floor for any missed spots or uneven areas and touch up as necessary.
These techniques and tips will help you achieve a professional and enduring finish, enhancing the beauty and longevity of your hardwood floors.
Conclusion
Buffing and coating your hardwood floors can rejuvenate their appearance and protect them from future wear and tear. By following the outlined steps for gathering tools, preparing the floor, buffing, and applying the coating, you can achieve results that look as good as those done by professionals. With proper care and maintenance, your floors will remain beautiful and durable for years to come.
At NewRidge Refinishing Group, we’re dedicated to helping you with all your hardwood flooring needs. Whether you’re looking to restore existing floors or need a new installation, our team has the expertise to ensure excellent results. Contact us today to discuss how we can help transform your hardwood floors with our hardwood floor refinishing services!