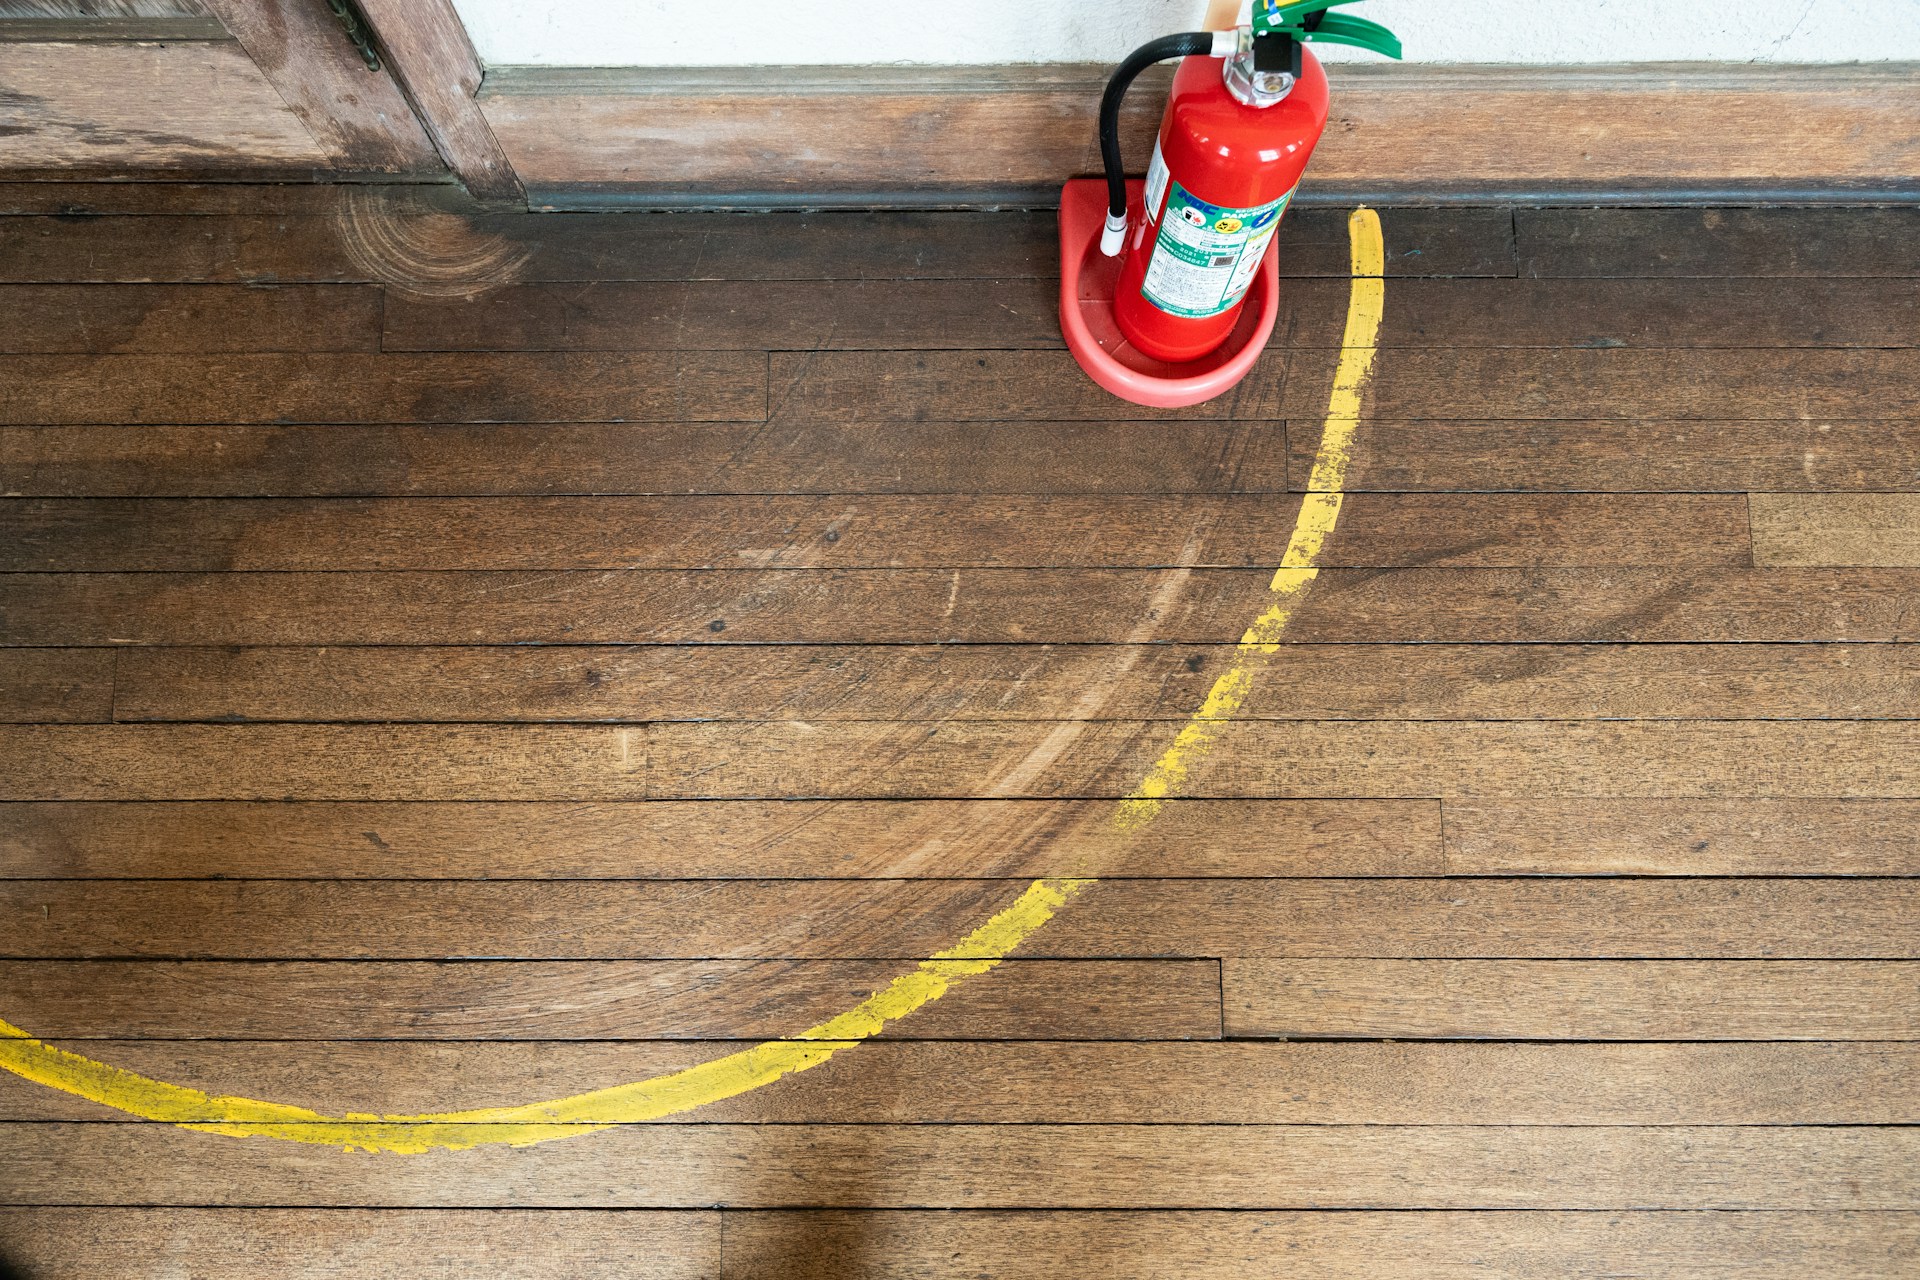
Buffing hardwood floors is a fantastic way to restore their shine and beauty without the need for a full refinishing job. It’s a convenient and cost-effective way to spruce up your floors, making them look almost as good as new. Buffing helps to remove minor scratches and dullness, bringing back the floor’s original luster. However, doing it incorrectly can cause more harm than good.
Understanding the correct techniques and having the right tools are essential for ensuring that your hardwood floors come out looking their best. In this guide, we will take you through the entire process, from understanding the benefits of buffing to the step-by-step method for achieving a flawless finish. We will also highlight common mistakes to avoid, ensuring that you get the most out of your efforts.
Getting started with buffing doesn’t require advanced skills, but it does need some preparation and attention to detail. With the proper knowledge and tools, you can tackle this DIY project with confidence. Our guide aims to provide you with all the information you need to successfully buff your hardwood floors, enhancing their appearance and extending their life. Let’s dive in and get your floors looking amazing.
Understanding the Benefits of Buffing Hardwood Floors
Buffing hardwood floors is an efficient way to maintain their natural beauty and prolong their life. Over time, foot traffic and daily wear can make your floors look dull and scratched. Buffing helps remove these surface imperfections, making your floors look refreshed without the need for a full refinishing job.
One of the primary benefits of buffing is that it enhances the floor’s appearance. By removing minor scratches and scuffs, buffing brings back the original shine and smoothness of the wood. This makes your home look cleaner and more polished. Additionally, buffing usually involves applying a new layer of finish, which adds an extra level of protection against future damage.
Another advantage is cost savings. Full refinishing can be expensive and time-consuming, requiring sanding down to bare wood. Buffing is a simpler process that can be completed in a shorter time and at a fraction of the cost. This makes it an attractive option for homeowners who want to maintain their floors but are working within a budget.
Buffing also helps in maintaining the integrity of your hardwood floors. Regular buffing can prevent the need for more extensive repairs later on. By keeping the finish in good condition, you’re protecting the underlying wood and ensuring that your floors will last longer.
Essential Tools and Materials for Buffing
Before you start buffing your hardwood floors, you need to gather the right tools and materials. Having everything you need on hand will make the process smoother and help you achieve the best results.
Here’s a list of essential tools and materials for buffing hardwood floors:
- Buffing Machine: This is the primary tool you will use. You can rent one from a local hardware store if you don’t already own one.
- Buffing Pads: These attach to the buffing machine and come in various levels of abrasiveness. Choose the right pad based on the condition of your floor.
- Vacuum Cleaner: A strong vacuum is essential for cleaning up dust and debris before and after buffing.
- Microfiber Mop: Use this for a final clean after vacuuming to ensure the floor is dust-free.
- Floor Cleaner: A suitable hardwood floor cleaner will help in preparing the surface before you start buffing.
- Protective Gear: Safety goggles, a dust mask, and ear protection are crucial for your safety during the buffing process.
- Finishing Product: Depending on your floor’s needs, you might need a new coat of finish to apply after buffing.
Having these tools and materials ready will make the buffing process more efficient and help protect your floors from any potential damage. Proper preparation is key to achieving a beautiful, long-lasting finish on your hardwood floors.
Step-by-Step Process for Buffing Your Hardwood Floors
Buffing your hardwood floors can seem like a daunting task, but following a step-by-step process makes it manageable. Here’s how to get it done:
- Clean the Floor: Start by thoroughly cleaning your floor. Vacuum to remove dust and debris, and follow up with a damp microfiber mop. This ensures the surface is clean and ready for buffing.
- Attach the Buffing Pad: Secure the appropriate buffing pad to your buffing machine. Ensure it’s properly attached to avoid any mishaps during the process.
- Start Buffing: Turn on the buffing machine and begin in a corner of the room. Move the buffer in a side-to-side motion, slowly covering the floor area. Keep the buffer moving at all times to avoid creating any uneven spots.
- Apply Floor Finish: After buffing, you may need to apply a finishing product. Follow the product instructions carefully. Typically, you’ll apply the finish with an applicator pad, working in small sections.
- Let it Dry: Allow ample drying time based on the type of finish used. Avoid walking on the floor until it’s completely dry to prevent any marks or damage.
- Final Clean: Once the floor is dry, do a final sweep with a vacuum and mop to remove any residual dust or particles.
By following these steps, you’ll achieve a beautifully buffed hardwood floor that looks renewed and polished.
Common Mistakes to Avoid While Buffing
Buffing hardwood floors can be straightforward if you avoid common mistakes. Here’s what to watch out for:
- Skipping the Cleaning Step: Failing to clean the floor properly before buffing can result in debris getting caught in the buffer, which can scratch the wood. Always ensure the floor is thoroughly cleaned.
- Using the Wrong Pad: Different buffing pads serve different purposes. Using a pad that’s too abrasive can damage the finish. Ensure you’re using the right pad for your floor’s condition.
- Overusing the Buffer: Keeping the buffer in one spot for too long can leave marks or cause uneven surfaces. Keep the buffer constantly moving to avoid this.
- Ignoring Drying Times: Rushing the process by not allowing the finish to dry completely can ruin your hard work. Follow the drying instructions carefully.
- Lack of Protective Gear: Buffing can create a lot of dust and noise. Always wear protective gear such as goggles, a dust mask, and ear protection to ensure your safety.
By steering clear of these common mistakes, you can make your buffing job more effective and protect your hardwood floors.
Conclusion
Buffing hardwood floors is a practical way to rejuvenate their appearance without the need for a full refinishing job. By understanding the benefits, gathering the right tools and materials, following a detailed step-by-step process, and avoiding common mistakes, you can achieve professional-looking results on your own. Proper preparation and execution are key to a flawless finish.
If you find that buffing alone doesn’t achieve the desired results, or if you encounter more severe floor damage, professional help may be necessary. At NewRidge Refinishing Group, we specialize in hardwood floor restoration, including buffing, coating, and hardwood floor refinishing services. Our team is ready to assist with your flooring needs, ensuring your hardwood floors look their best. Contact us today to schedule a consultation and let us help you achieve beautiful, long-lasting floors.